
Resources
Unique slideshow animations for PowerPoint
Looking for something to make your PowerPoint more exciting? Try these unique animations

When you’re making a PowerPoint presentation, you can use tools like animations and transitions to make items stand out or create a cool visual effect. And while PowerPoint gives you plenty of effects to pick from, it can be hard to find something unique.
Here, we’ll walk through how to create a few unusual but effective slideshow animations in PowerPoint.
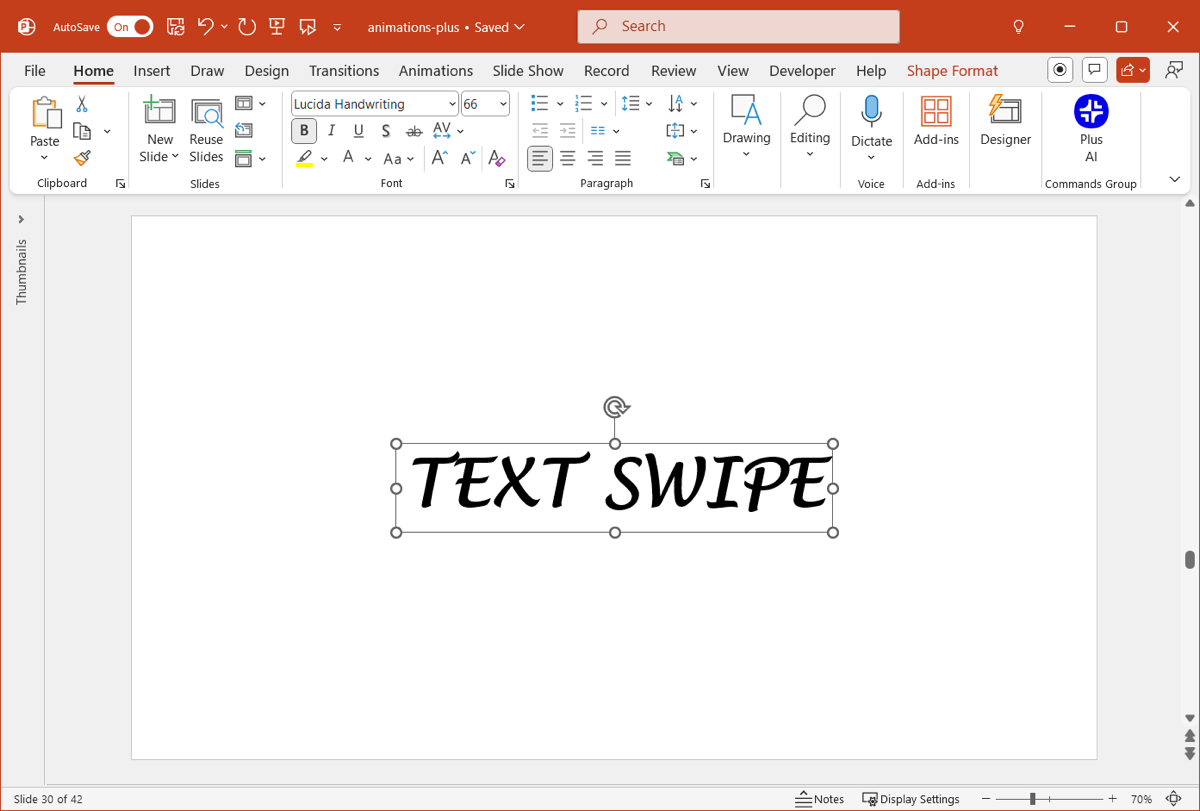
Text swipe
There are many nifty ways to make text appear on a slide. You can use animations to make the words fly in, float in, and bounce in. But for something out of the ordinary, you can use swipe actions to reveal the text using the Draw tools in PowerPoint. Here’s how.

- Add your text to the slide and use the Font tools in the floating toolbar or on the Home tab to pick a font style and size. Make the text the same color as the background. Note: You can change the text color later if it’s easier to see the font in the next steps.
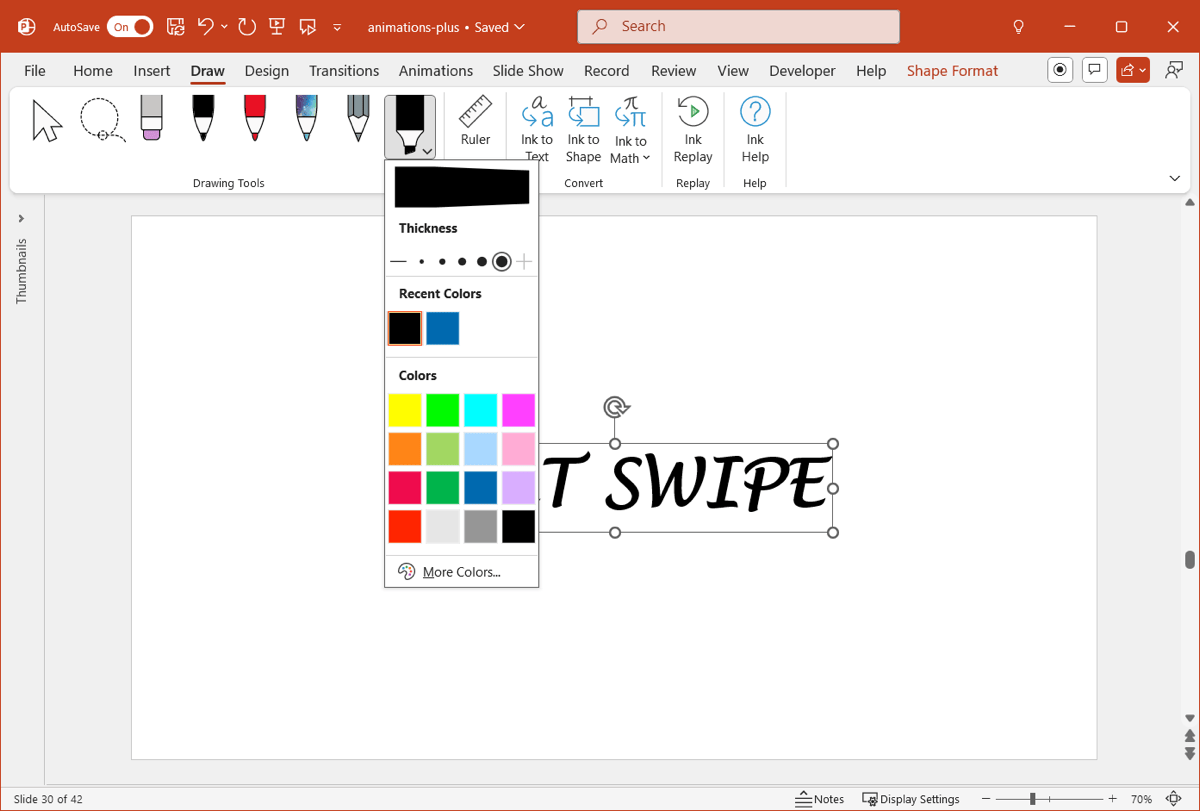
- Go to the Draw tab, open the Highlighter menu, select the largest size, and choose a color.
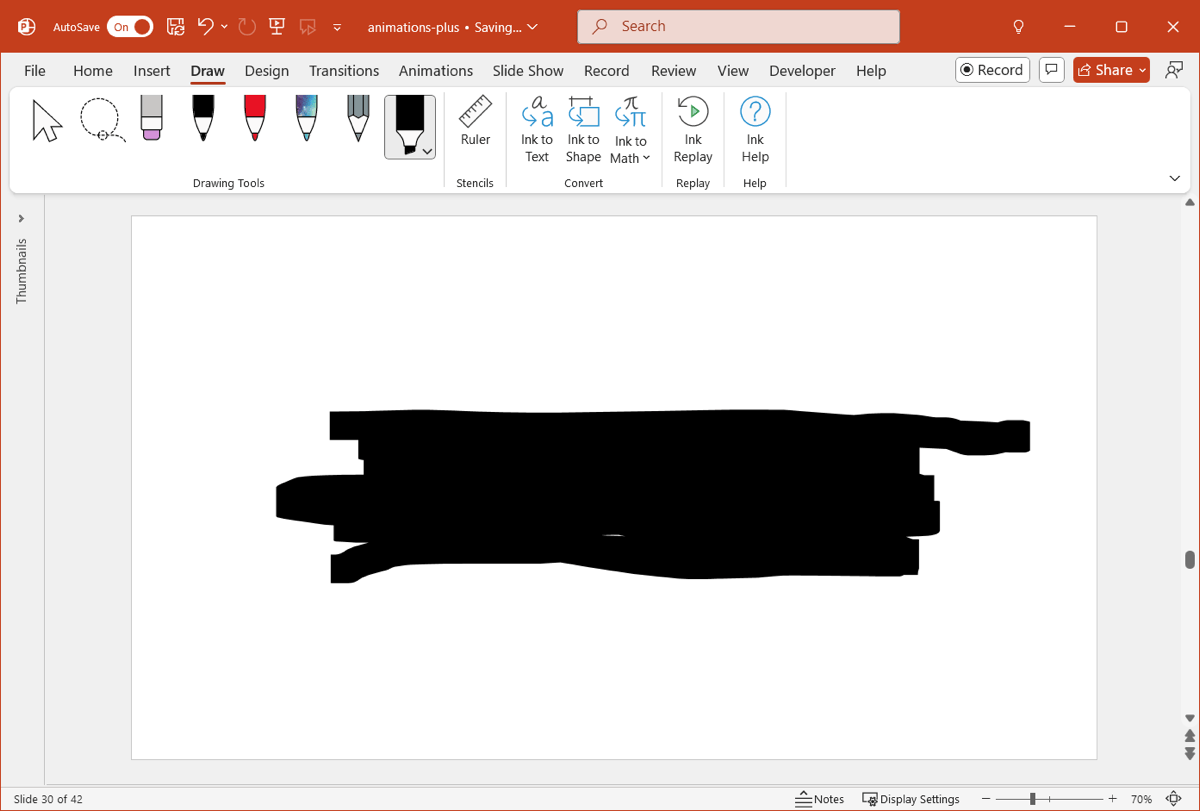
- Drag your cursor to create a swiping or wiping effect over the text. You can do this step off to the side of the text if you like, and then move it to cover the text.
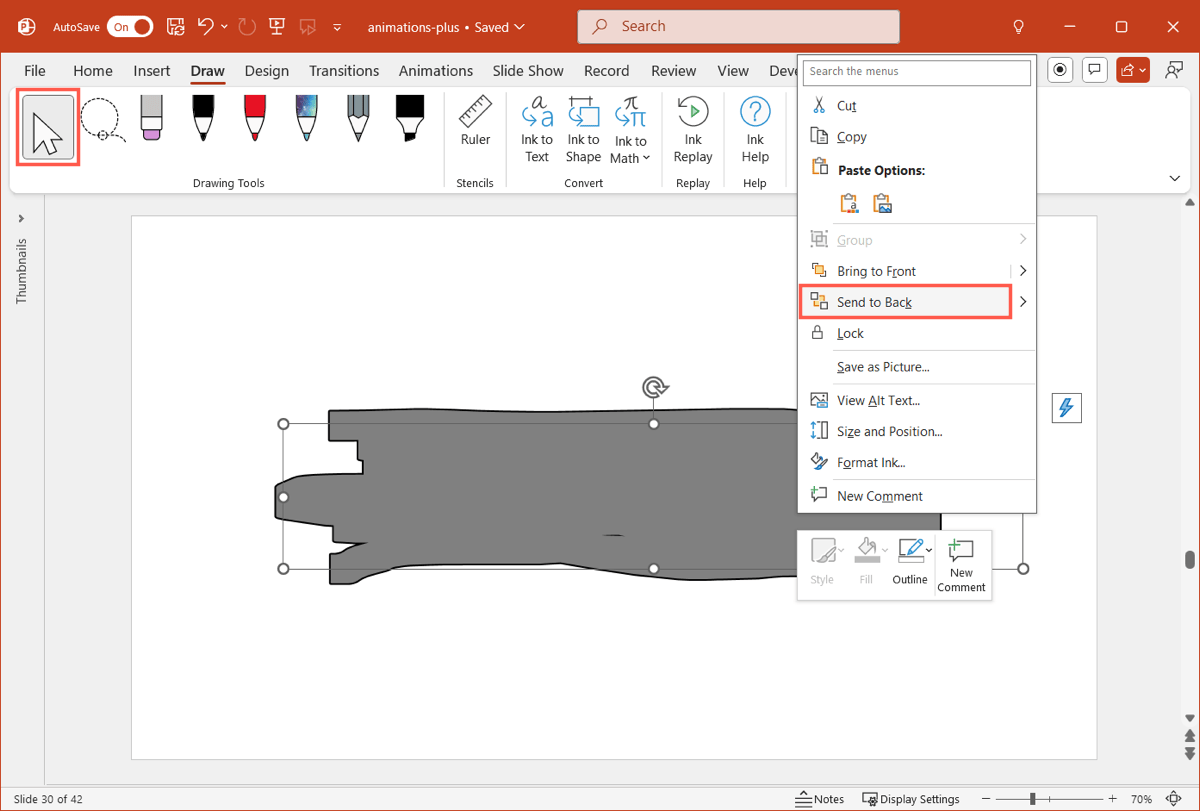
- Select the Cursor tool on the draw tab, right-click the swipe you just drew, and pick Send to Back.
- Keep the swipe selected, go to the Animations tab, and choose Replay for the animation.

- Optionally, you can adjust the Start and Duration for the animation in the Timing section.
You’ll then have the same animation for your text shown above!
Text particles and zoom
Another way to create something unique with your text is using a combination of animations and slide transitions. And, you can set up a simple mixture with just a little time. For example, below you can see the text appear as particles, zoom in, and then zoom out and disappear.

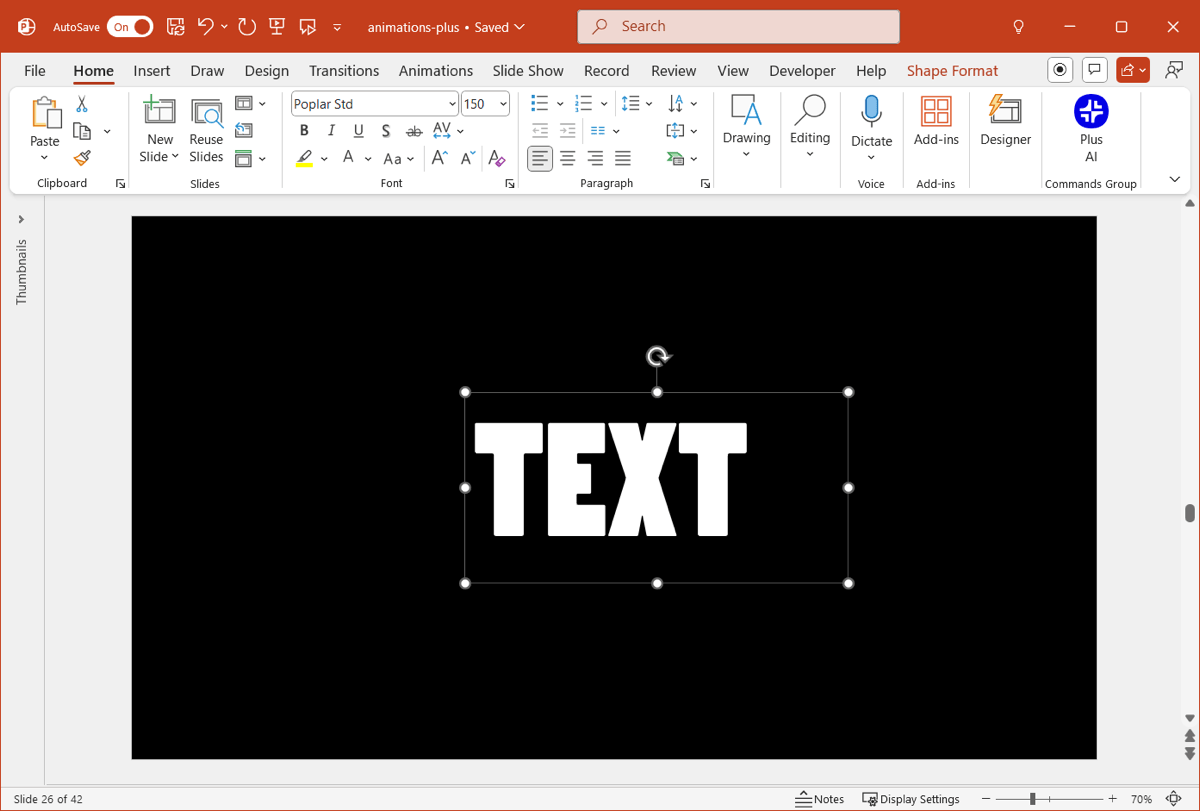
- Add your text to the slide and format the style, size, and color. We’re using white text on a black background which creates a nice contrast.
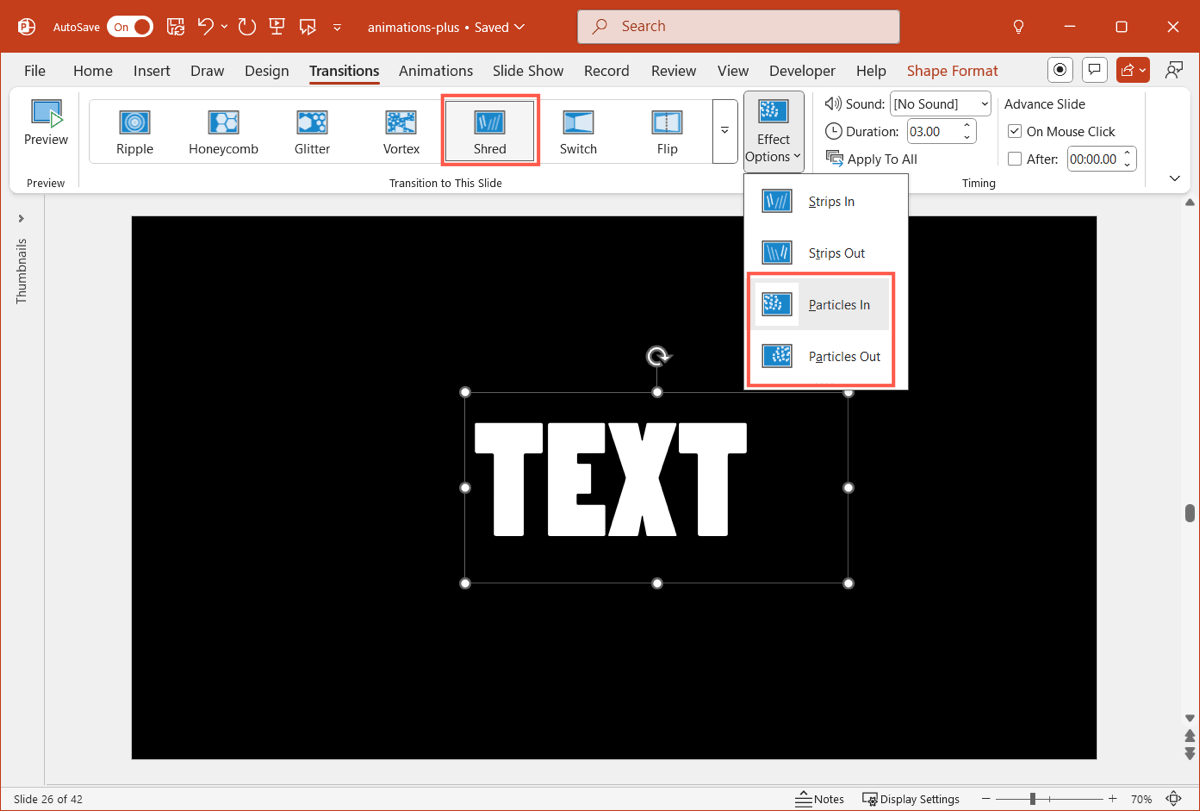
- Go to the Transitions tab and choose Shred in the Exciting section. Open the Effect Options menu and pick Particles in or Particles out per your preference.
If you simply want the particle effect, you can stop here. But to add the animations, continue with these steps:
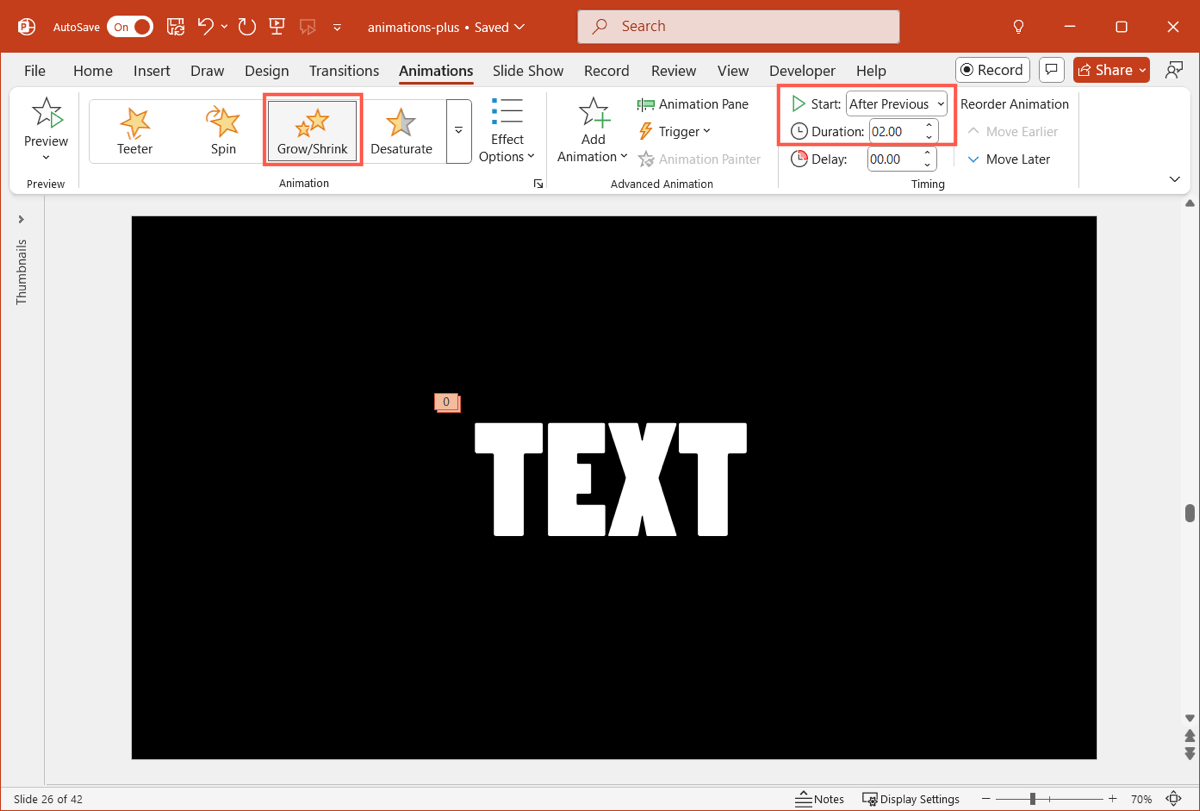
- Select the text box, go to the Animations tab, and pick Grow/Shrink in the Emphasis section. For Start, pick After Previous and optionally adjust the Duration.
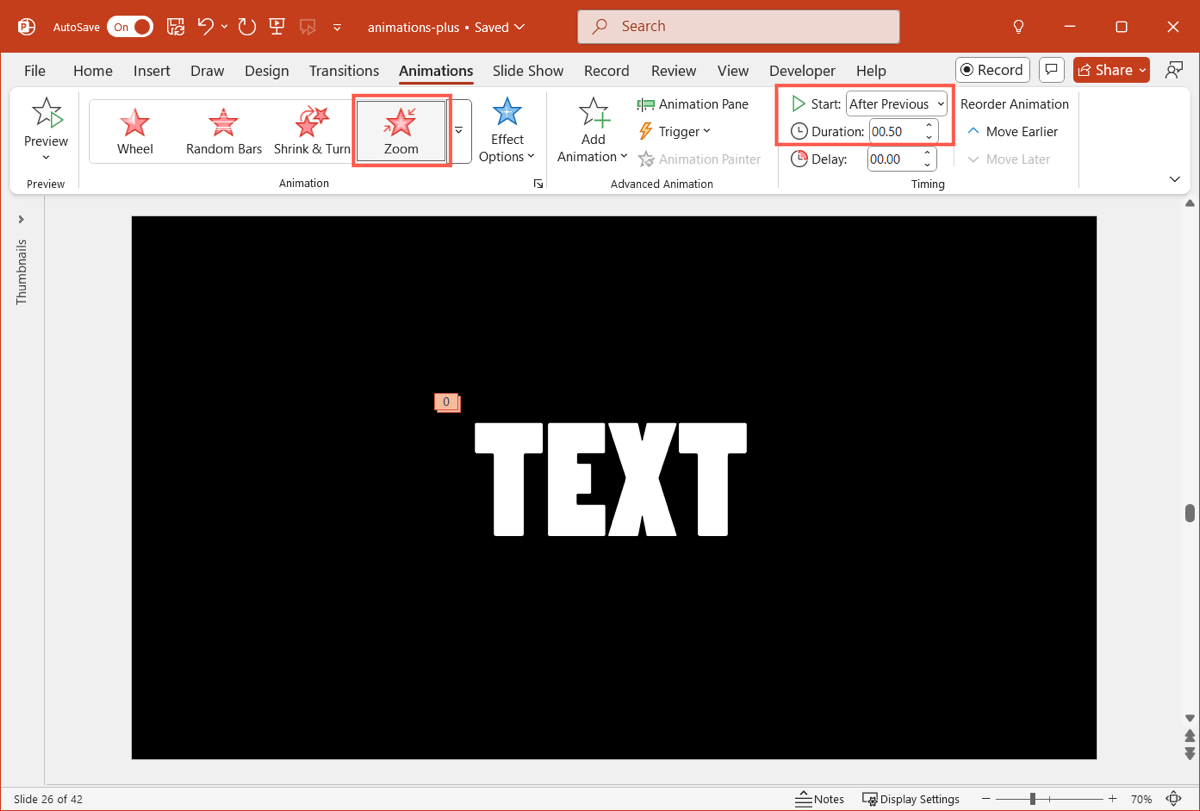
- With the text box still selected, open the Add Animation menu and pick Zoom in the Exit section. For Start, pick After Previous and optionally adjust the Duration.
You should then see the same transition and animations when you view the slides. You can do this by selecting the slide before this slide and going to Slide Show > From Current Slide.
Remember, you can adjust the transition and animation timing as you like.
Photo slide in
By combining images with text, you can set up some interesting effects in PowerPoint. For example, the GIF you see below uses animations to bring in the photo and the corresponding text. While the text part is optional and uses a simple float in and float out animation, creating the photo effect is the key. Here are those steps.

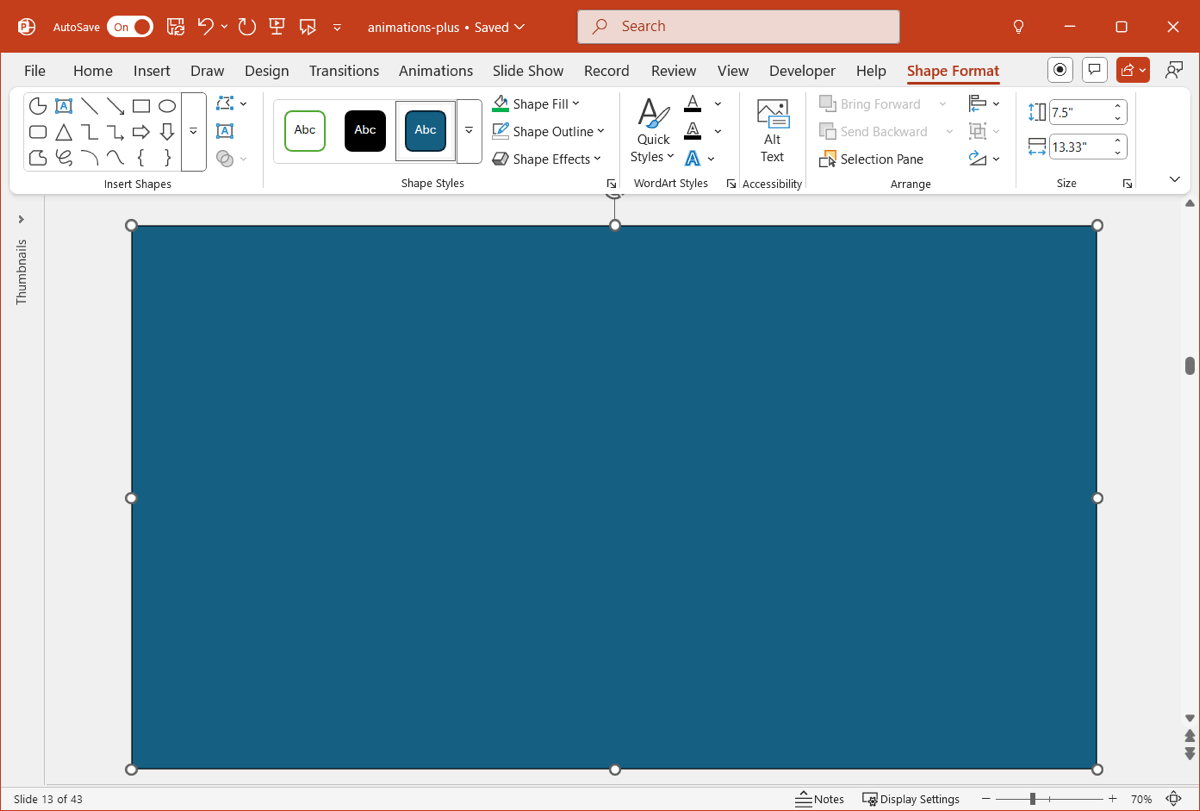
- Add a blank slide, go to the Insert tab, and select Shapes > Rectangle. Drag to cover the entire slide with the rectangle.
- Return to the Shapes menu and select the Rounded Rectangle. You can also pick a different shape if you like. Draw the shape as shown and then copy/paste several more onto the slide.
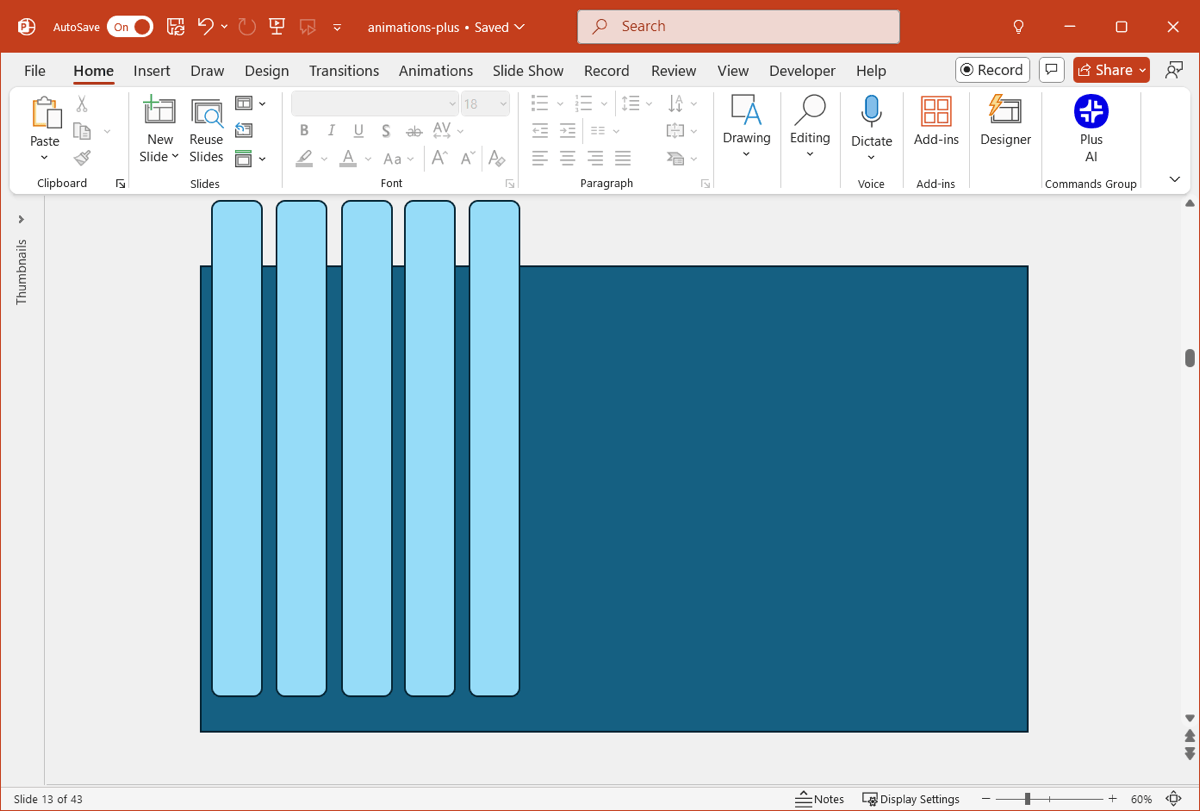
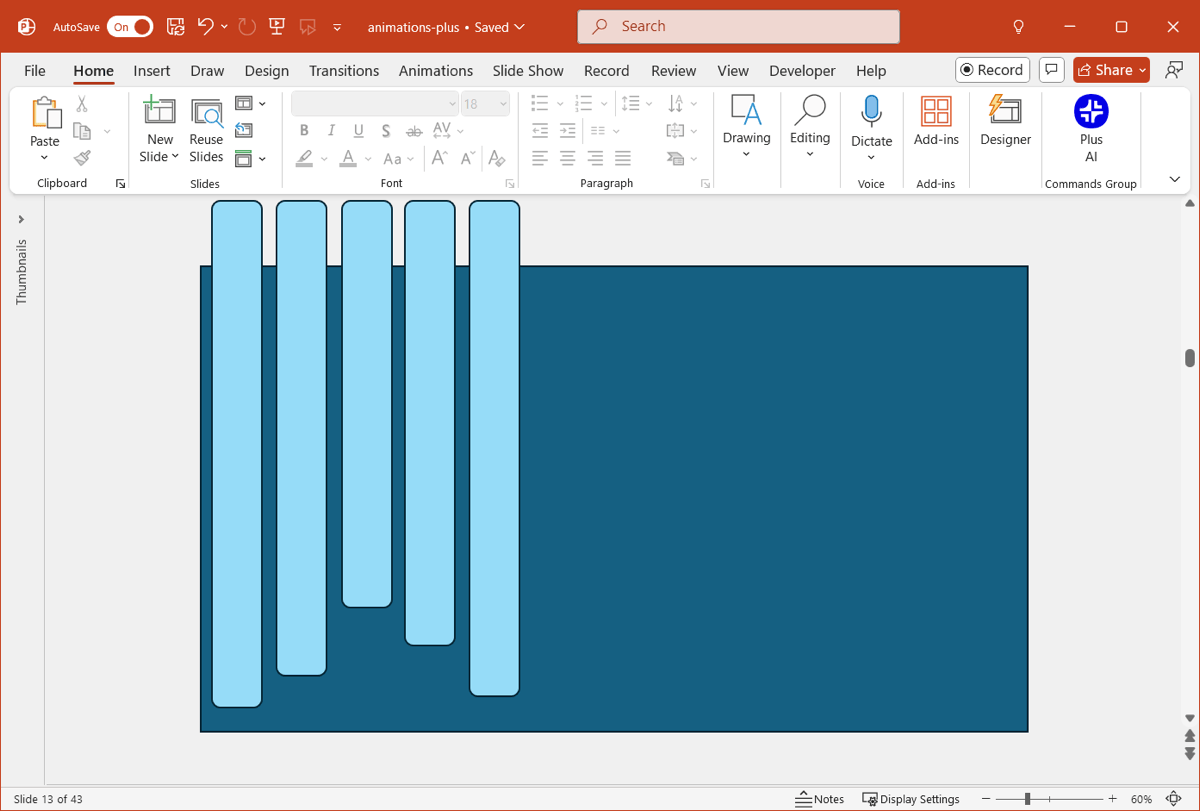
- Line up the shapes on the left side and optionally resize them. You can place the shapes in a variety of lineups like part off the top or bottom or different lengths and widths. Just make sure they’re large enough to capture the portion of the photo you want.
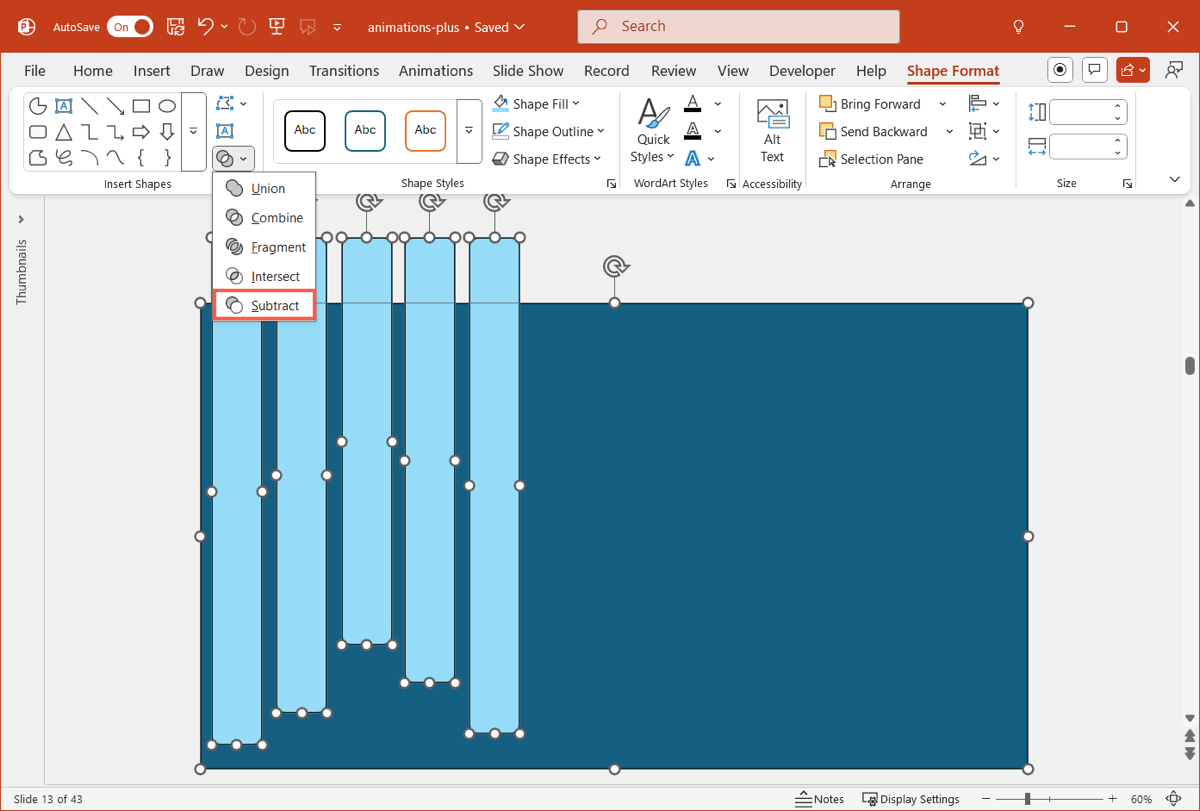
- Select everything on the slide, go to the Shape Format tab, and choose Merge Shapes > Subtract.
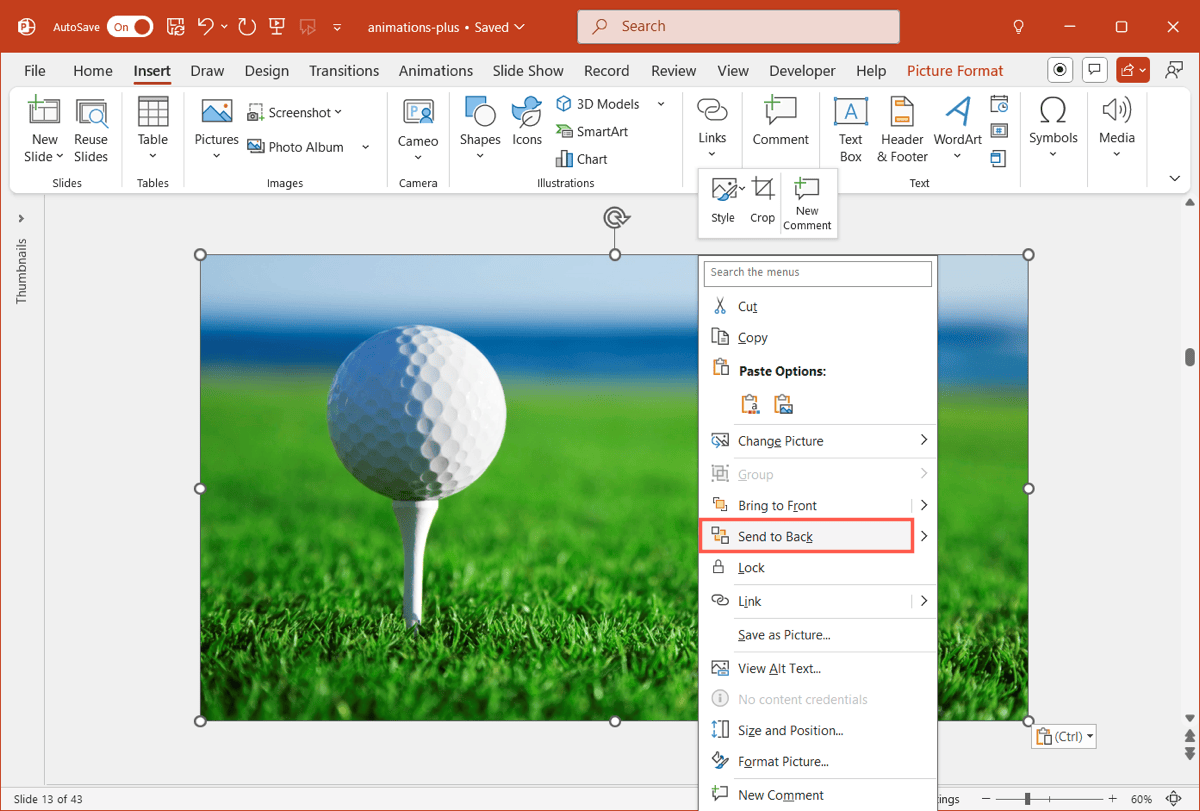
- Add the image by going to Insert > Pictures and choosing the image.
- Right-click the image and pick Send to Back.
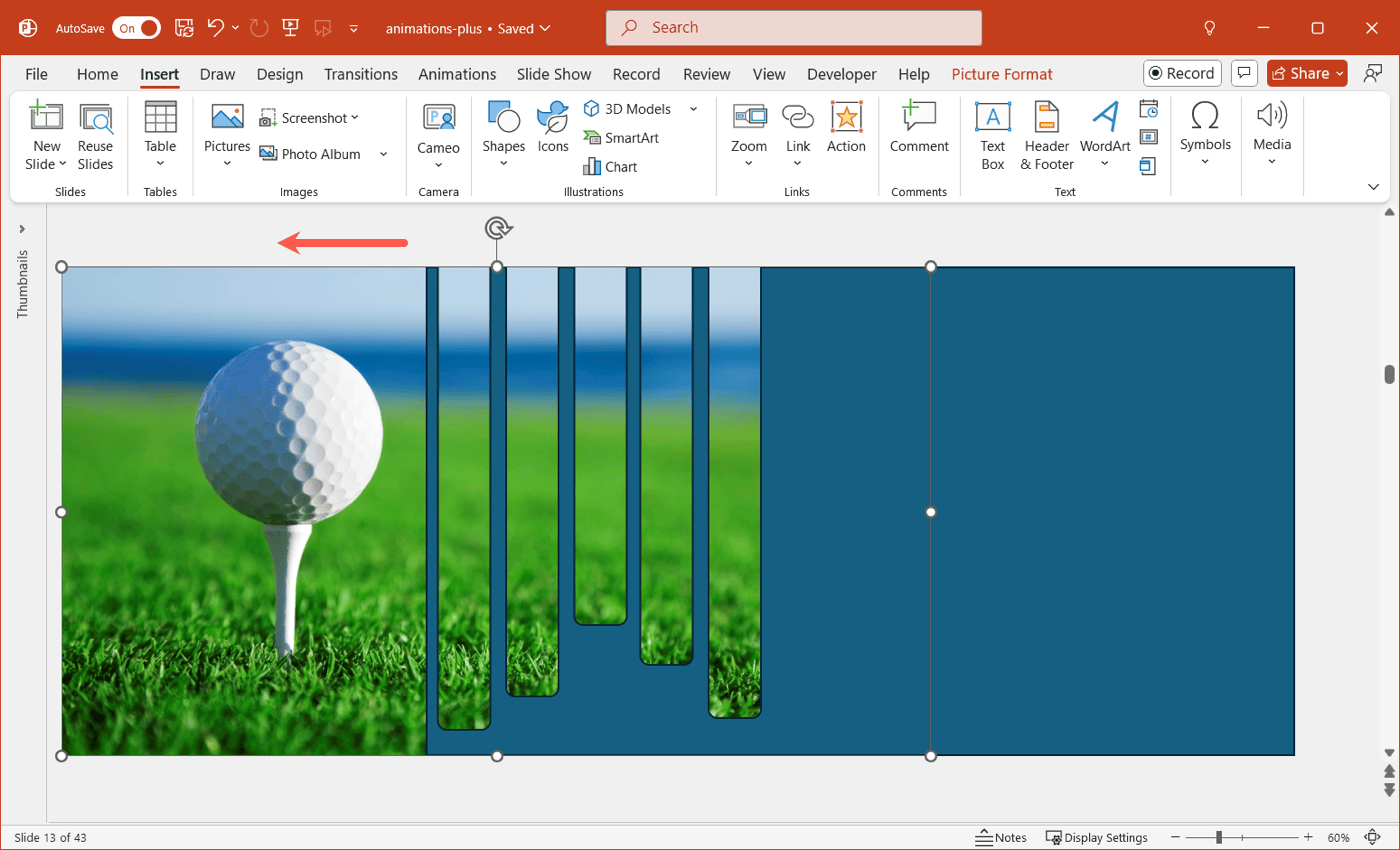
- Drag the image off the left side of the slide while still keeping it lined up.
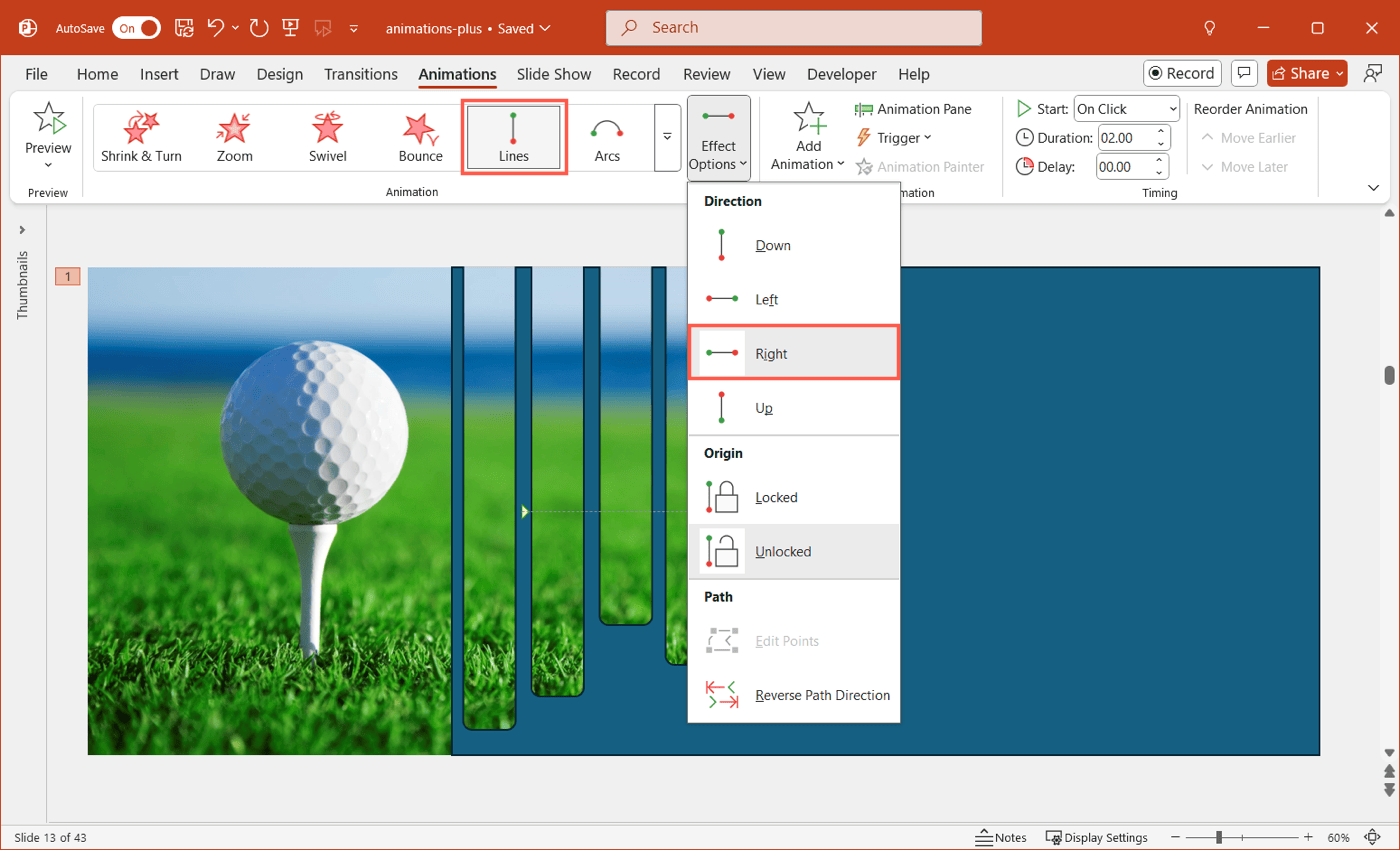
- Select the image, go to the Animations tab, and pick Lines in the Motion Paths section. In the Effect Options menu, select Right.
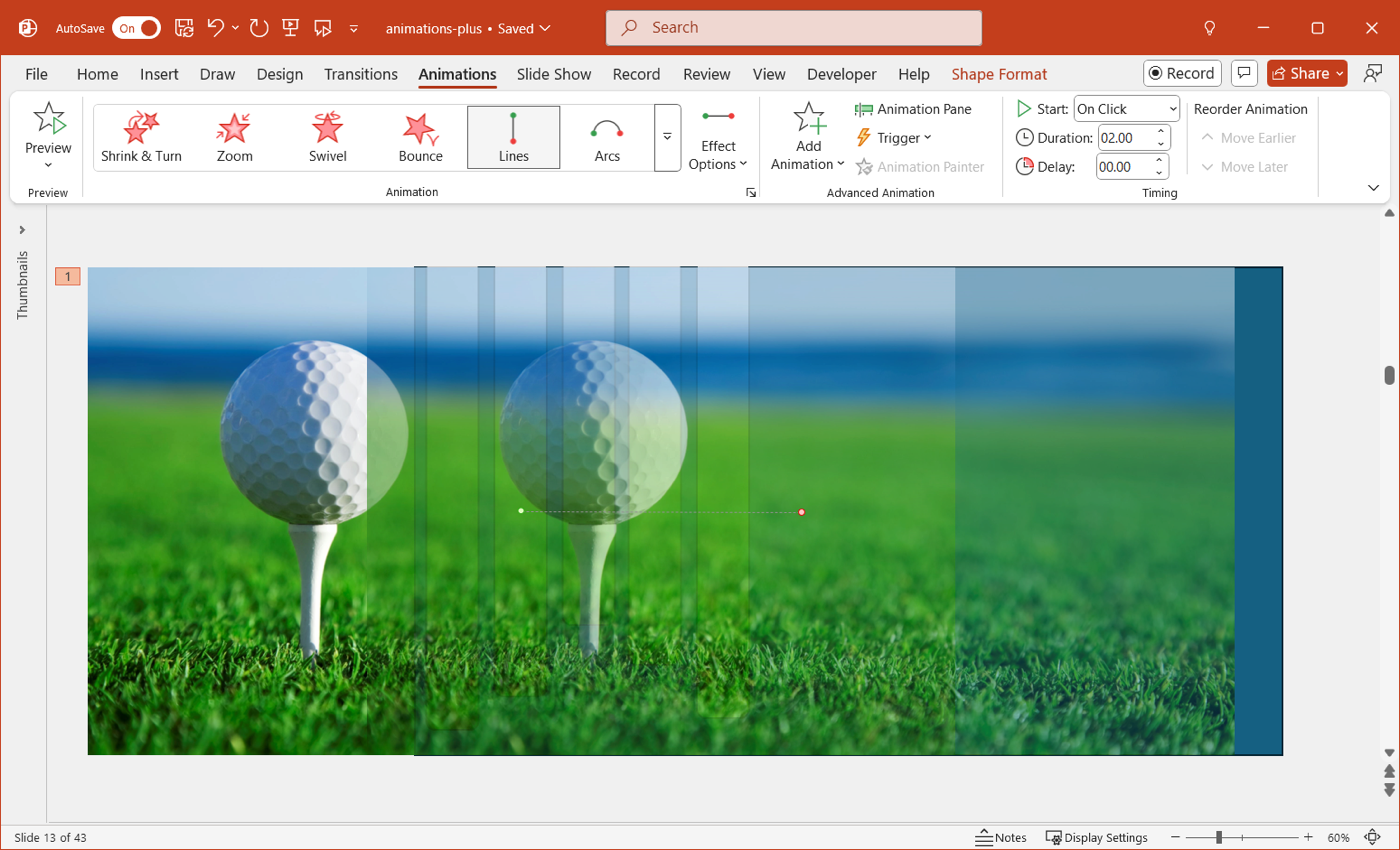
- Click Preview to see how the animation looks. If the image is off from where you want it within the shapes, you can adjust the line’s path.
You can then change the color of the main shape; in our above example, we use black. You can also add and animate your text box using the float in and float out effects to arrive at the same animations you see in our example.
For an attractive and consistent slideshow, you can duplicate the slide and simply swap out the image and text. By doing this, your animations, colors, and overall design copy over to the new slide, making for a super easy process. Just right-click, pick Duplicate Slide, and make your changes.

See also: How to add an image through text in PowerPoint
Picture swap
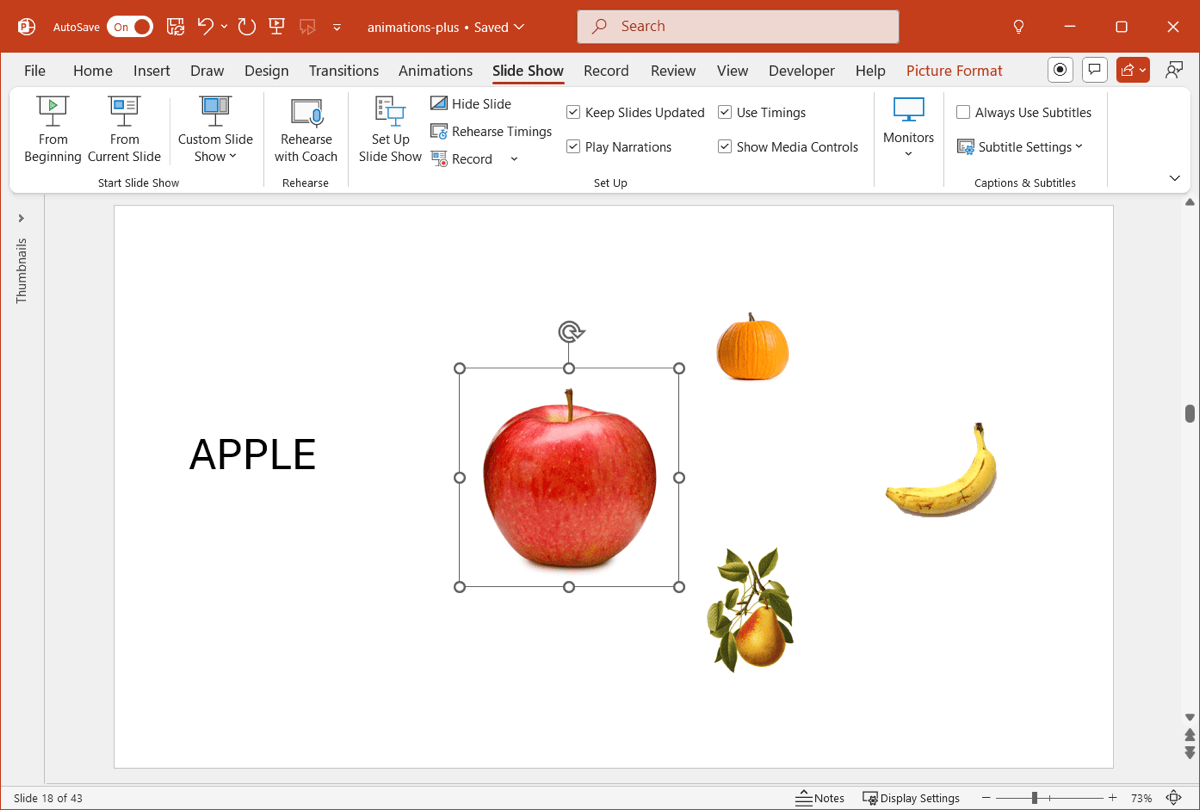
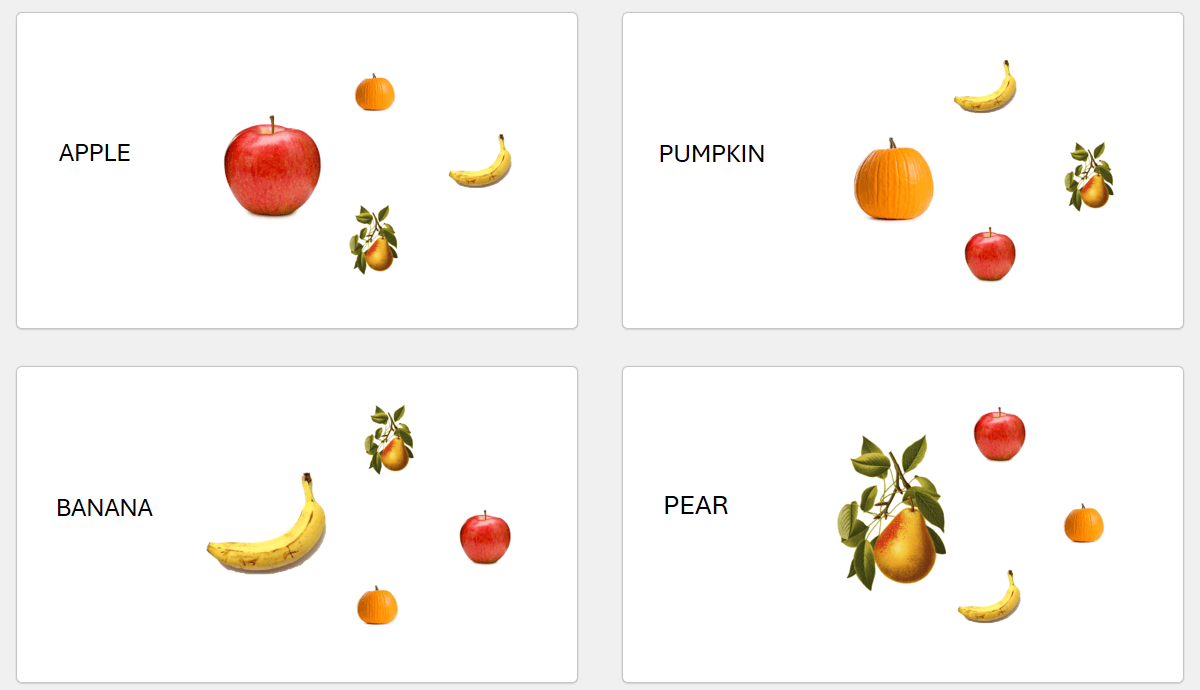
One more cool animation you can create in PowerPoint is using the Morph slide transition. With it, you set up each slide, apply the transition, and watch as PowerPoint morphs them together for a smooth transition. In our example, we’re using stock pictures of fruit, but you can use shapes or illustrations.
- Set up the first slide by adding the images and optionally the text you want to use. Here we have four fruits with the largest (apple) to correspond with the text on the left.
- Right-click the slide and pick Duplicate Slide.
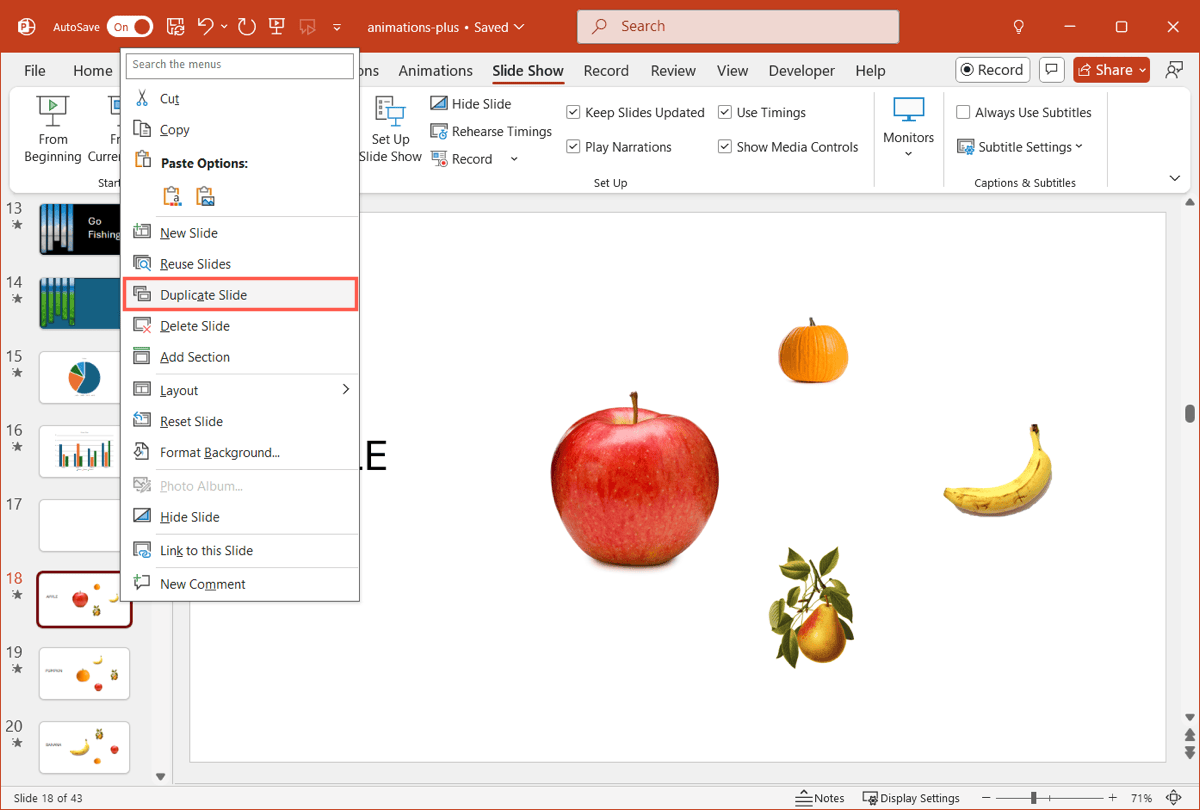
- Make the changes for the second slide. Here, we increase the size of our next main image (pumpkin), reduce the size of the first image (apple), and move the images counterclockwise. We also change the text.
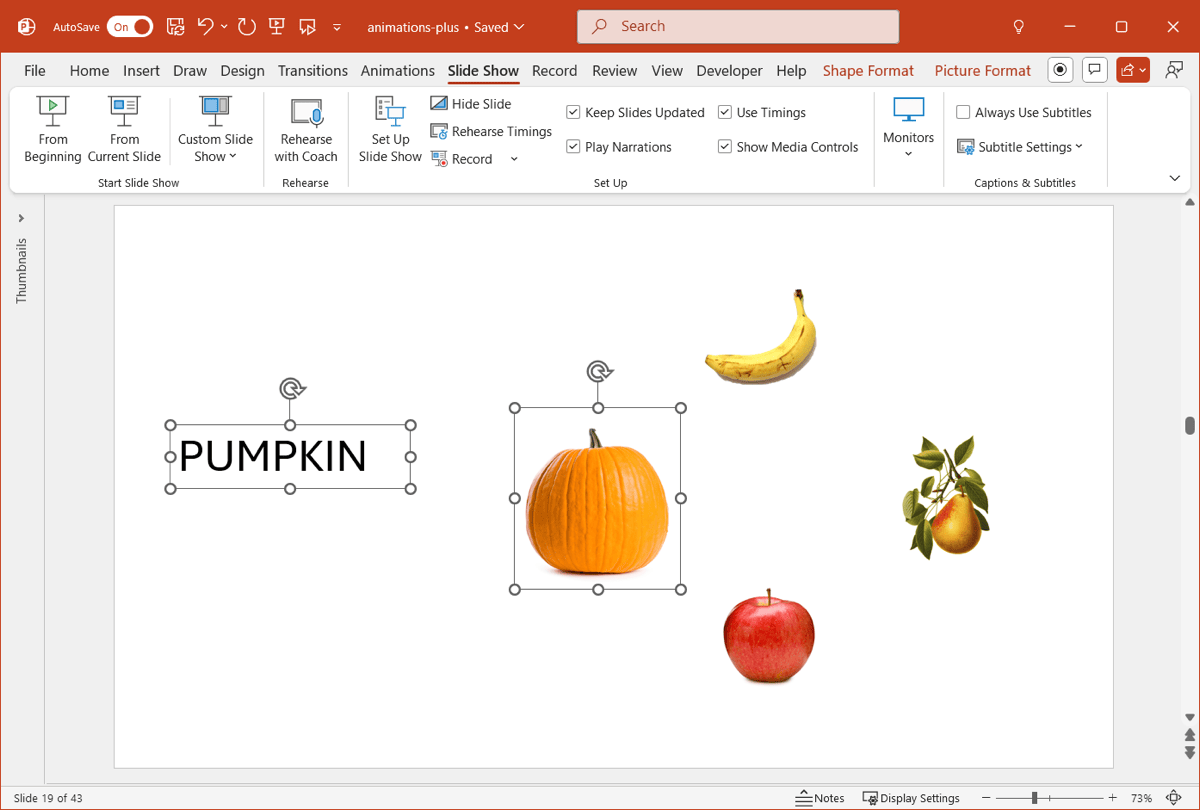
- Continue the same steps for the remaining slides.
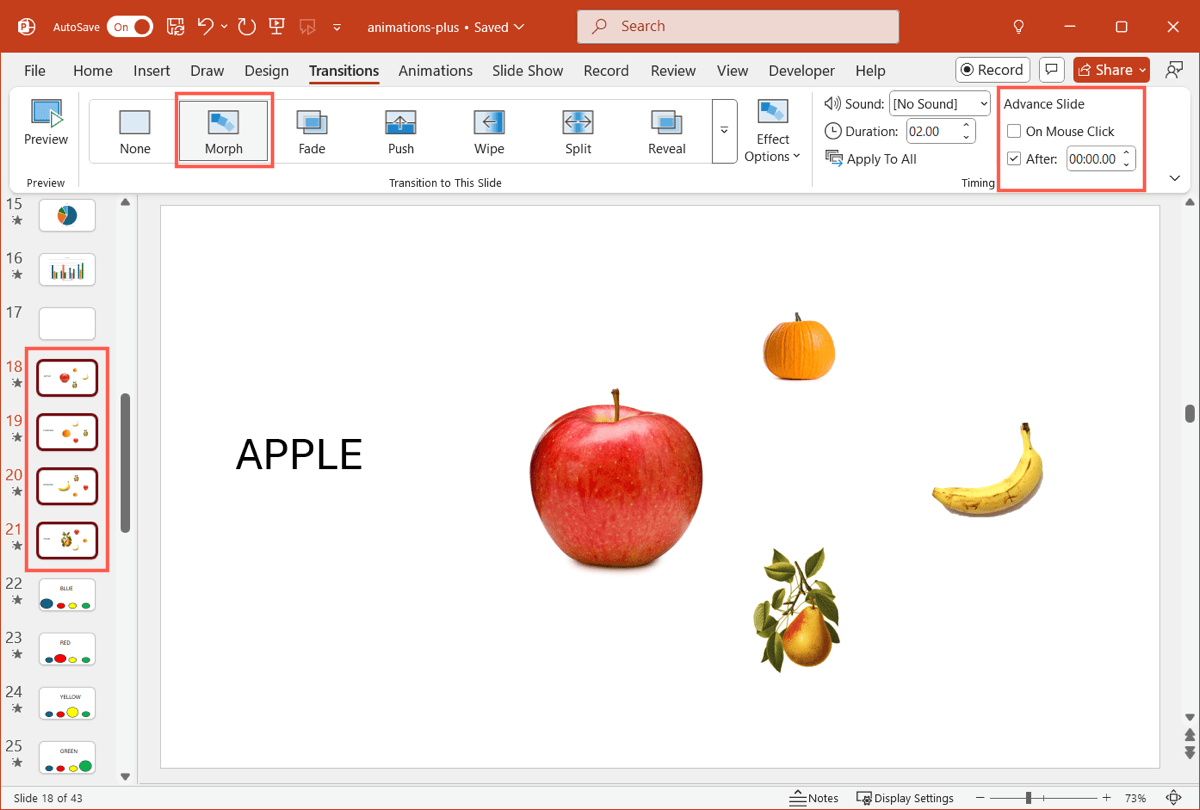
- Select the slides, go to the Transitions tab, and choose Morph. Set the Effect Options to Objects and the Advance Slide to After with optional timing to the right.
Preview the effect by going to Slide Show > From Current Slide.
See also: How to insert a photo inside a shape in PowerPoint
Conclusion
Making a PowerPoint presentation that’s memorable for its visual effects can be challenging. So, hopefully you can use the animations you see here to spark your own creativity!