
Presentations are visual tools for sharing your ideas. Whether a pitch deck, academic slideshow, or training presentation, you can easily make it more attractive with images.
Our guide shows you how to insert a photo inside a shape in PowerPoint for added visual appeal. We’ll also explain how Plus AI can generate images for your slideshow if you can’t find the one you want.
{toc}
Fill a shape with a photo
Maybe you have a shape that you want to fill with a photo in PowerPoint. This is a good alternative to using a color or gradient to fill the shape and you can do it in just a few steps.
- If you haven’t already, add the shape using the Shapes menu on the Insert tab.
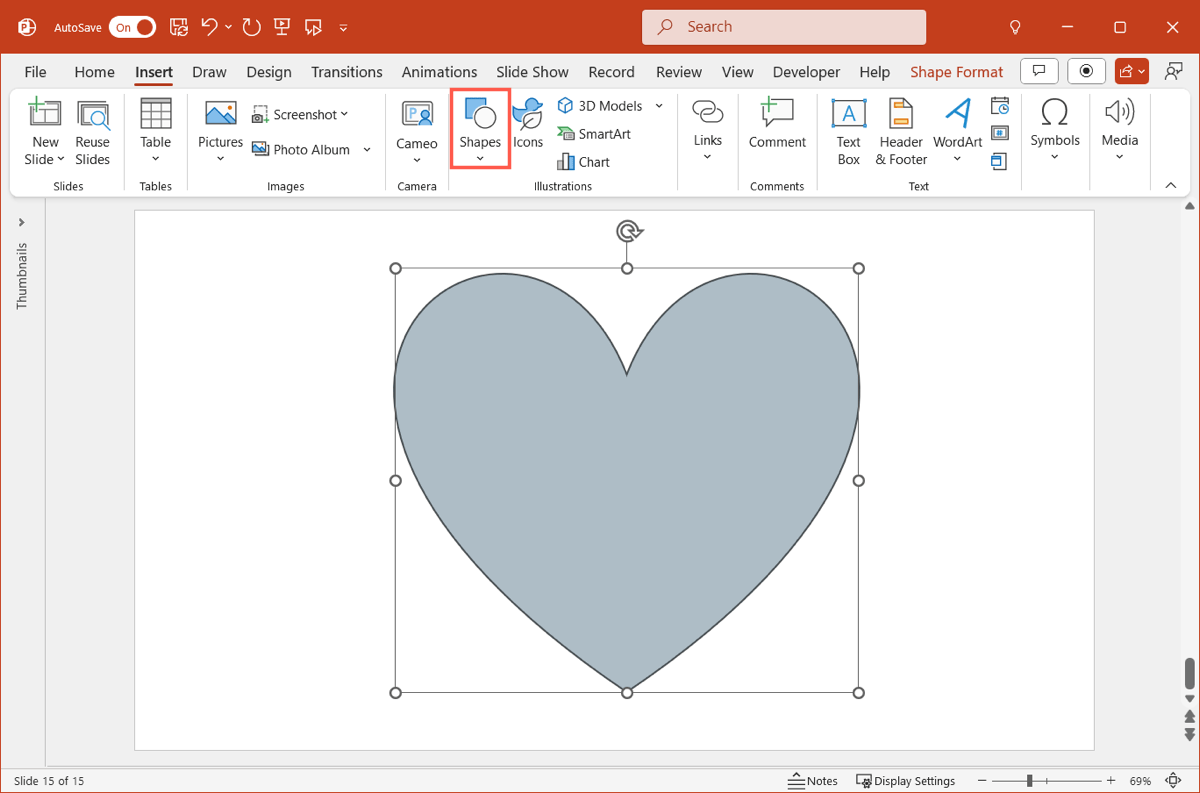
- Select the shape and go to the Shape Format tab.
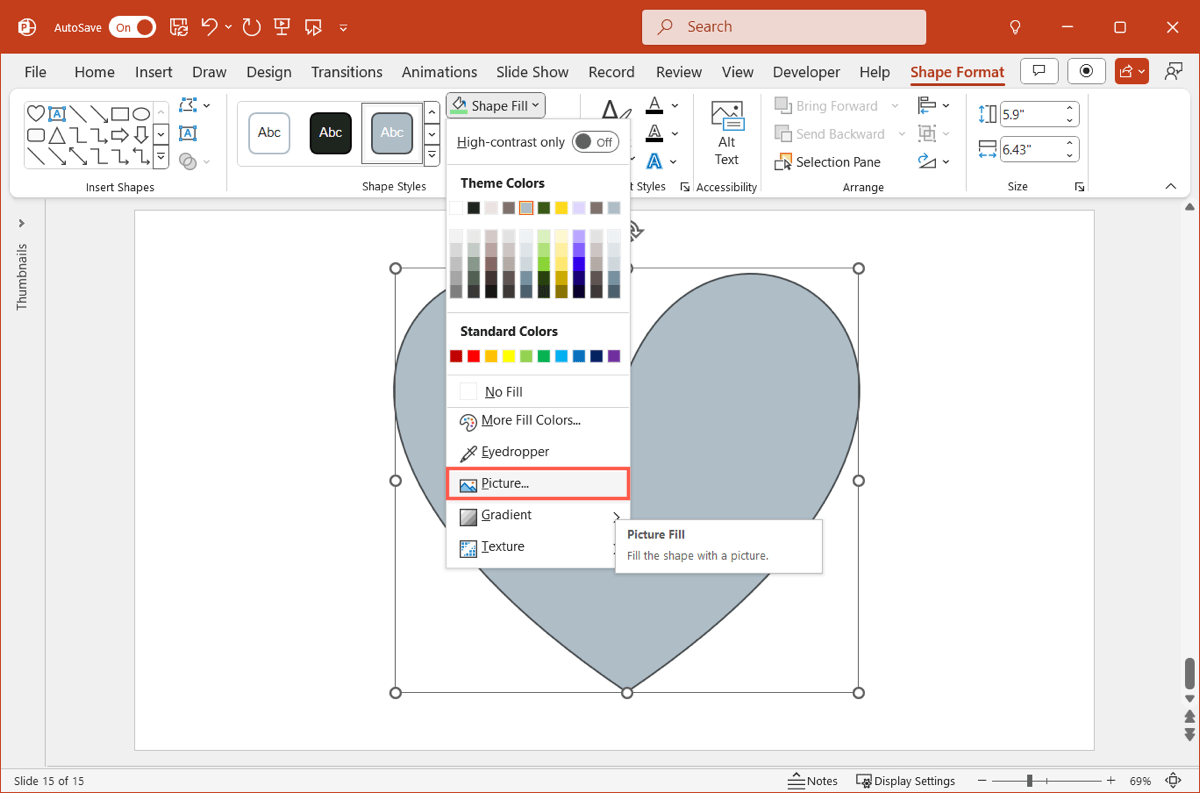
- Open the Shape Fill menu and pick Picture.
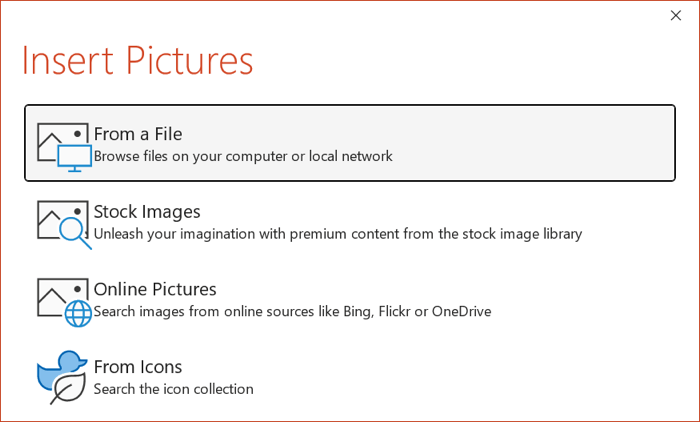
- Choose the photo location, select the picture, and use Insert or Open to add it to the shape.
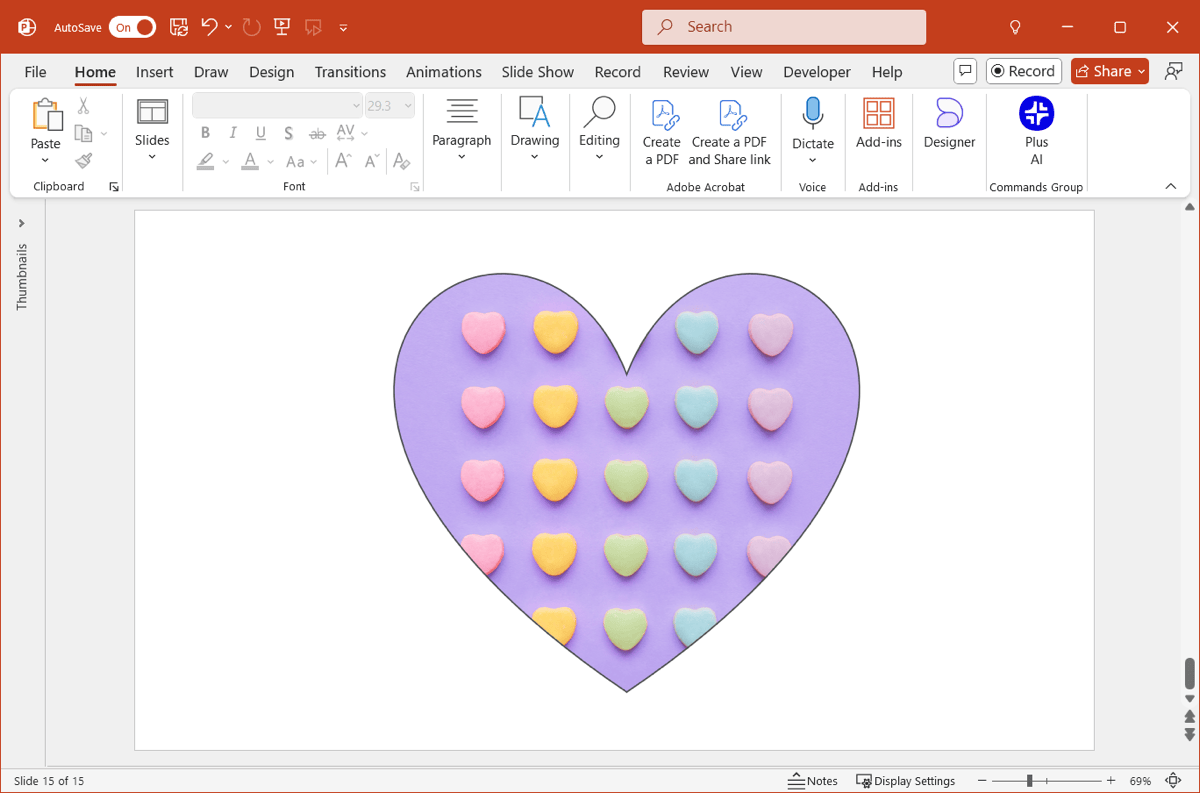
When the image appears inside the shape, you can leave it as-is or use the Fill, Fit, or Edit Points options explained below.
Tip: Learn how to add an image through text in PowerPoint for another unique design element.
Fill an icon with a photo
While different from shapes, icons give you another way to add style to a photo in PowerPoint. This is handy if you can’t find the shape you want, but see an icon instead.
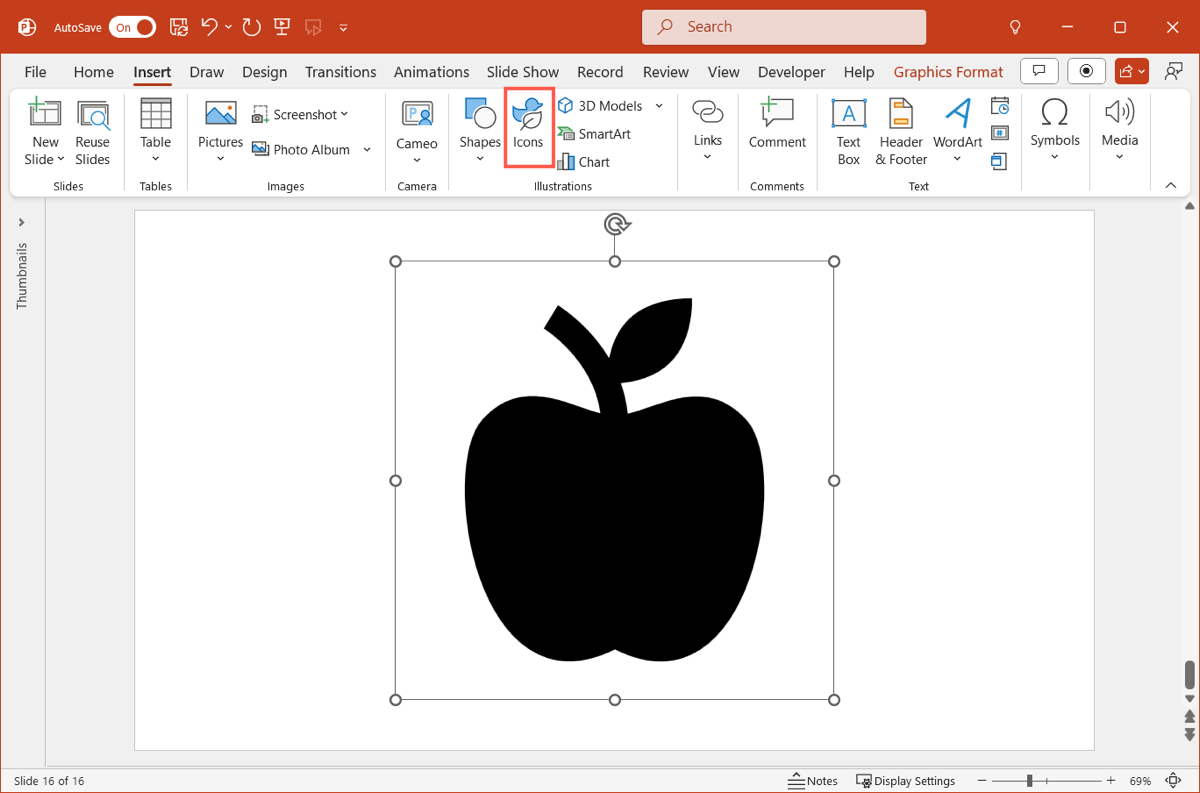
- Go to the Insert tab, select Icons, and choose the one you want to use.
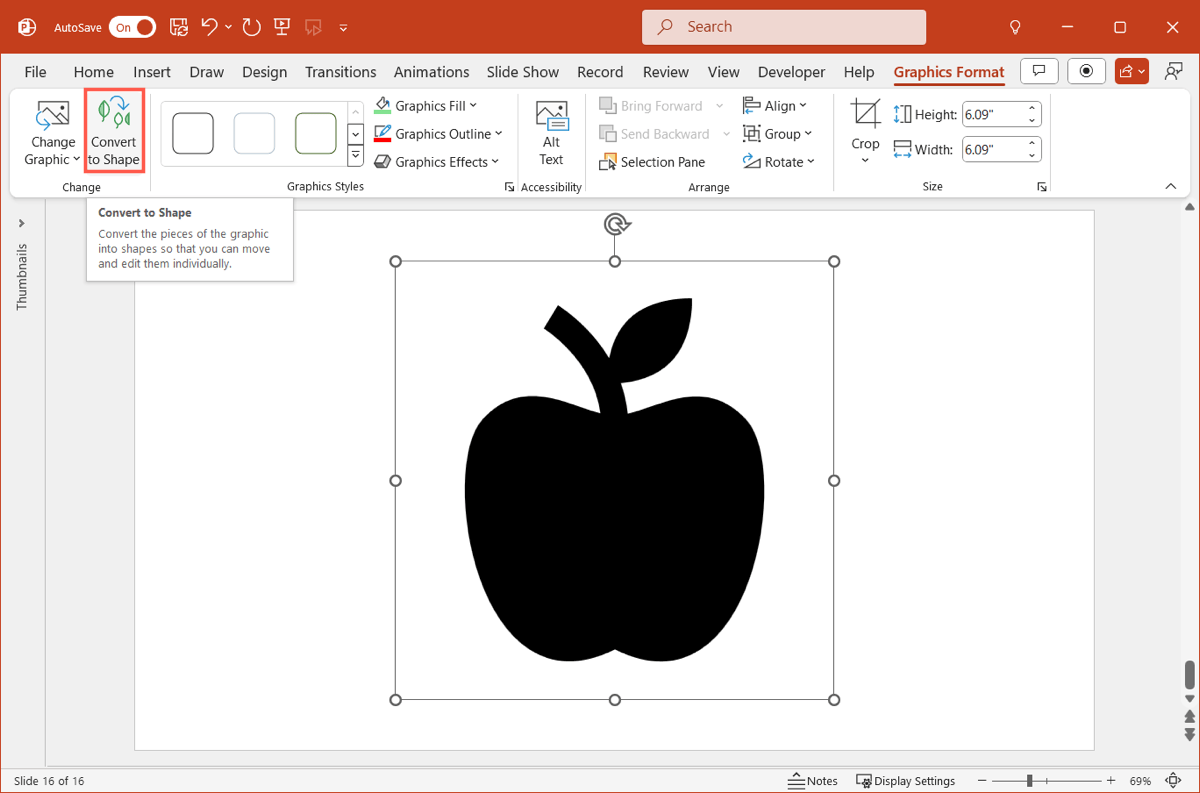
- Select the icon on the slide, go to the Graphics Format tab, and click Convert to Shape.
- Once the icon is converted, follow the steps above to place the picture inside of it.
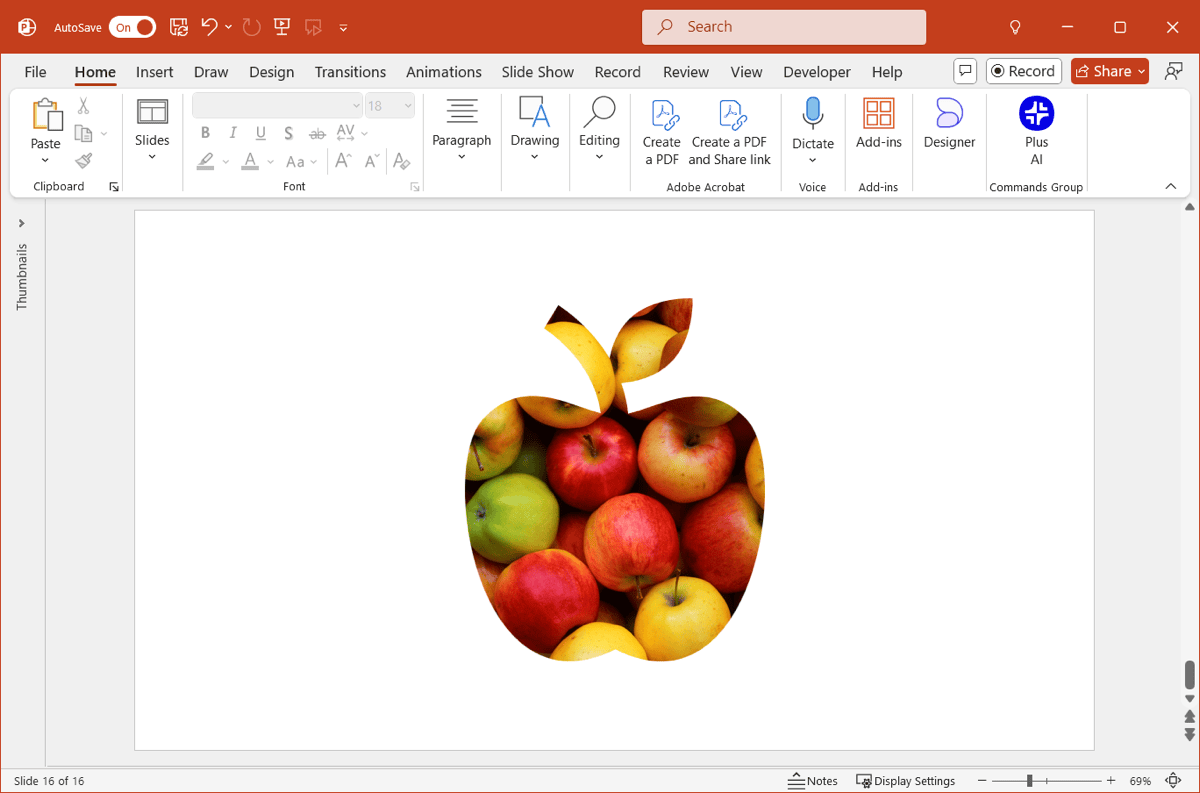
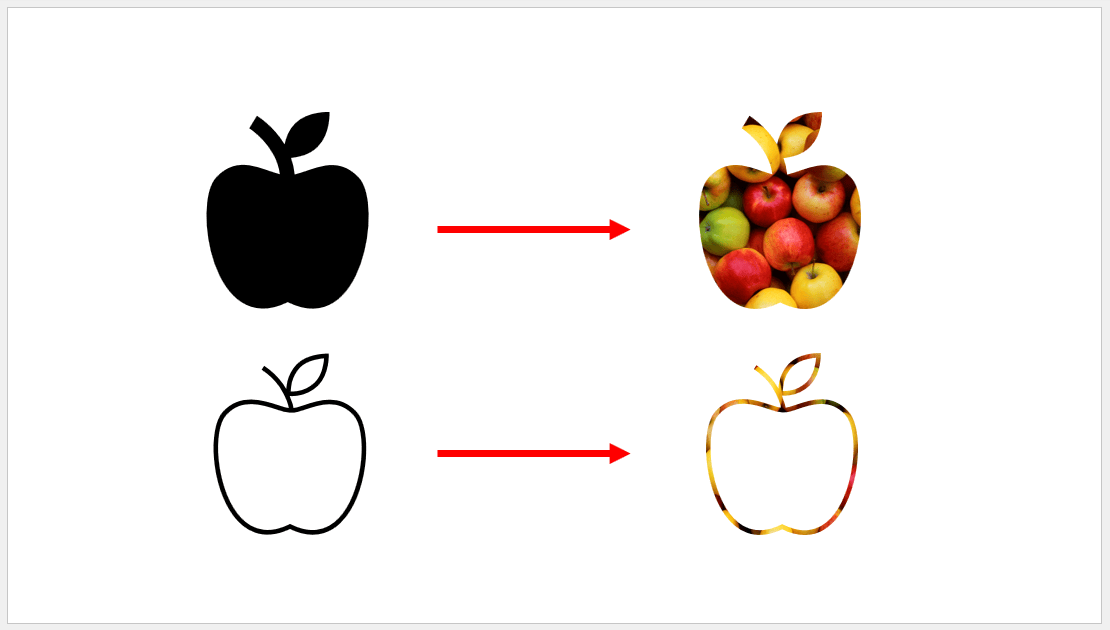
For the best results, try to choose an icon that already has a filler. Otherwise, the photo may only fill the icon’s outline and not the icon itself as you can see below.
Tip: If you need to cite photos in PowerPoint, follow along with our helpful guide.
Crop a photo into a shape
If the main focus is the photo and you want to spruce it up by cropping it into a shape, this is also an easy task, and a terrific way to make the image more distinctive.
- If you haven’t already, add the photo using the Pictures menu on the Insert tab.
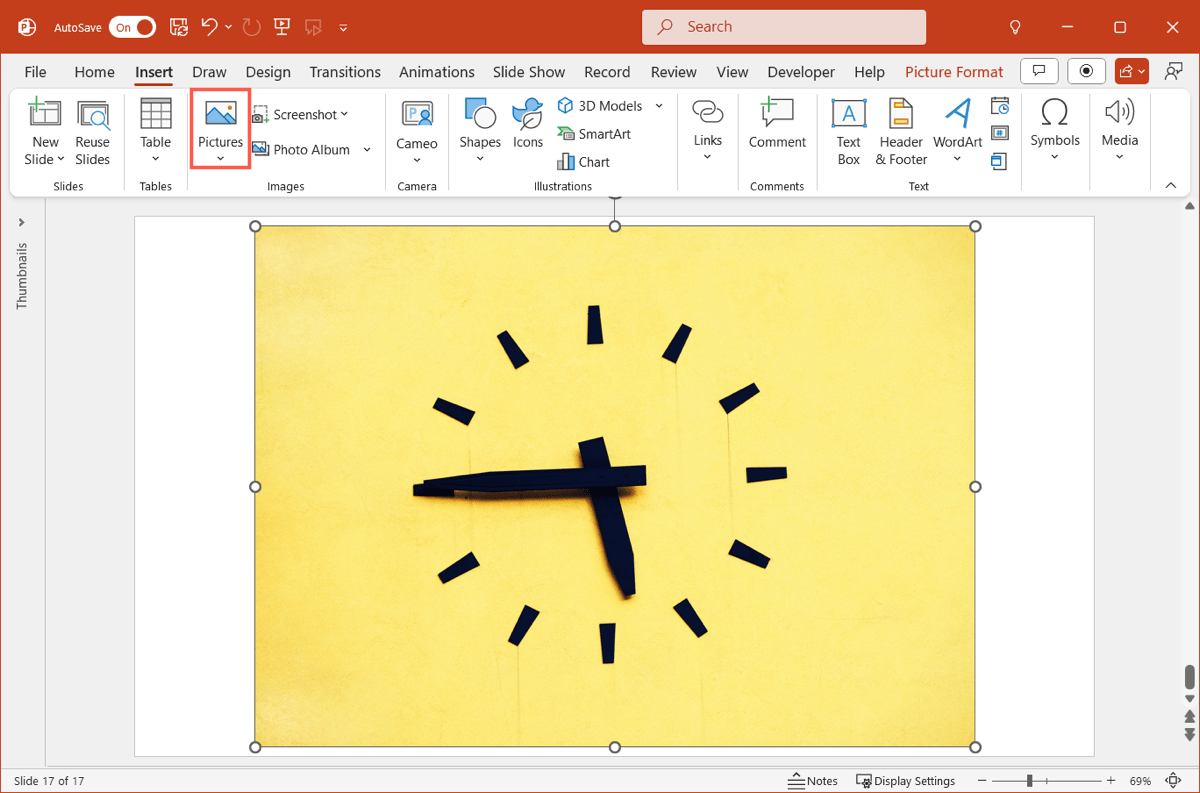
- Select the image and go to the Picture Format tab.
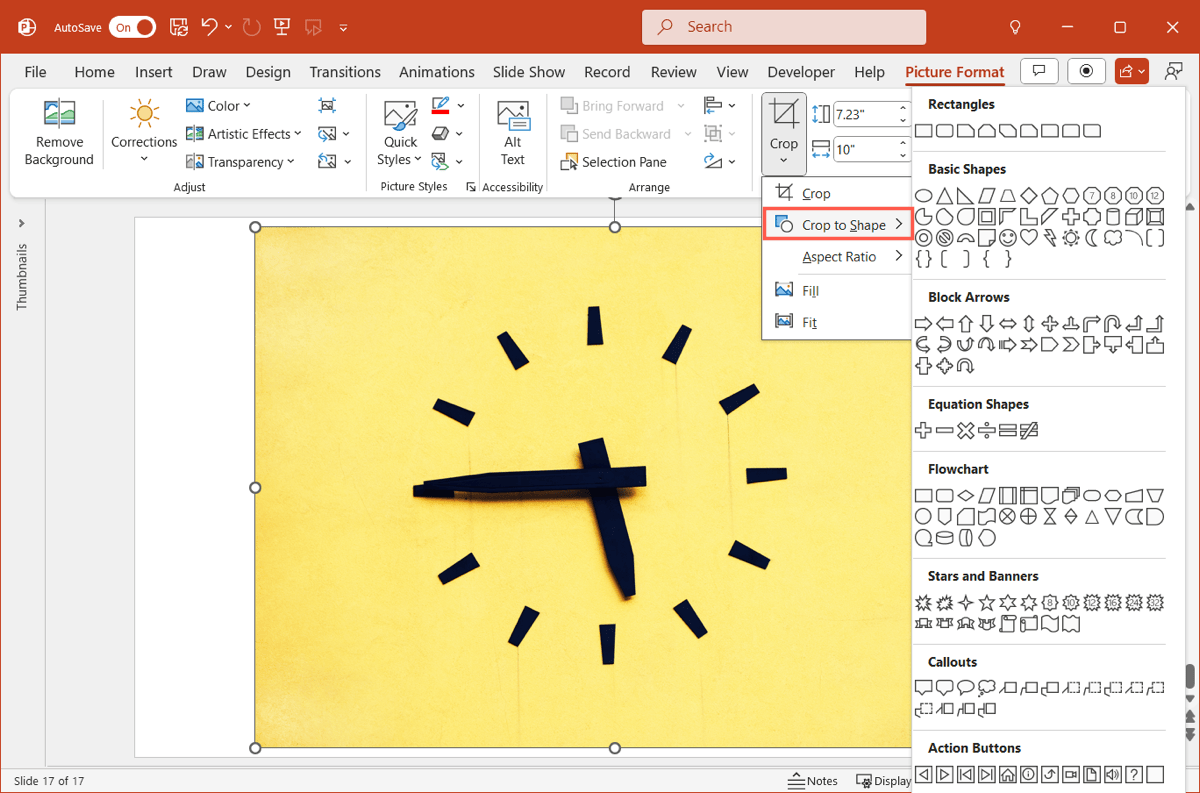
- Open the Crop menu, move to Crop to Shape, and choose the shape you want.
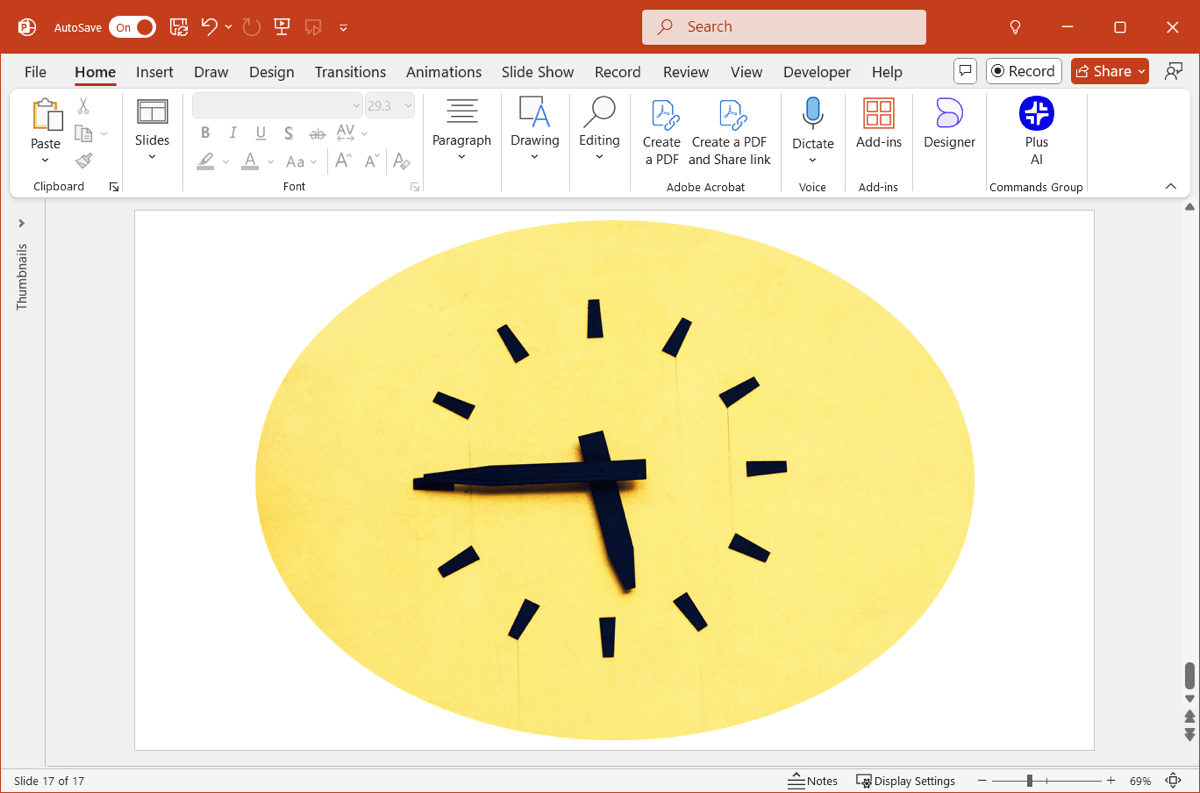
Like the above method, you can leave the photo as it is or use the Fill or Fit options explained next.
Tip: Have several pictures you want to use? Look at how to make a photo collage in PowerPoint.
Fill, fit, or edit the shape points
Once you have your photo in a shape in PowerPoint using the steps above, you can edit it further to adjust the way it displays. This includes filling the shape with the image, fitting the photo to the shape, and changing the shape’s points. Each of these options provide you with additional ways to display the image-filled shape.
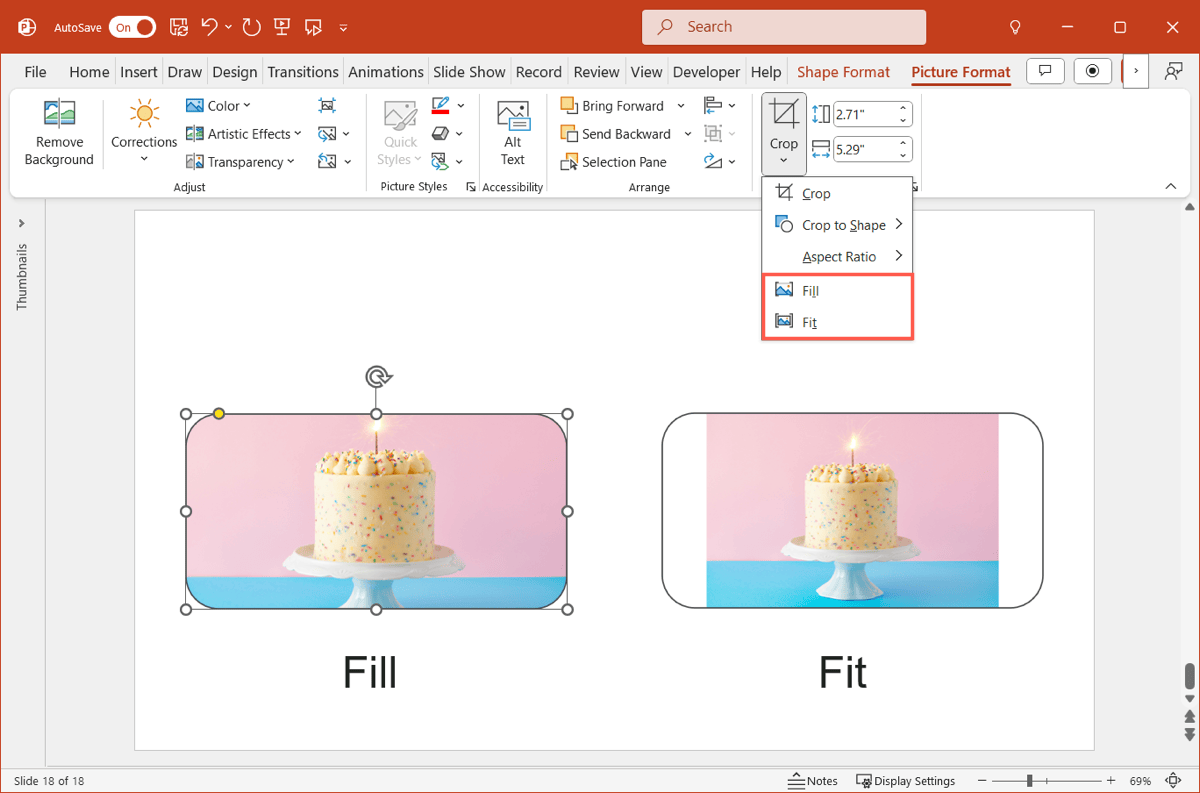
To fill or fit, do the following:
Select the shape, go to the Picture Format tab, and open the Crop menu.
- Choose Fill to fill the shape with the image regardless of the picture’s ratio.
- Choose Fit to fit the image to the shape and retain its ratio.
To edit the points, follow these steps:
- Select the shape and go to the Shape Format tab.
- Open the Edit Shape menu and pick Edit Points.
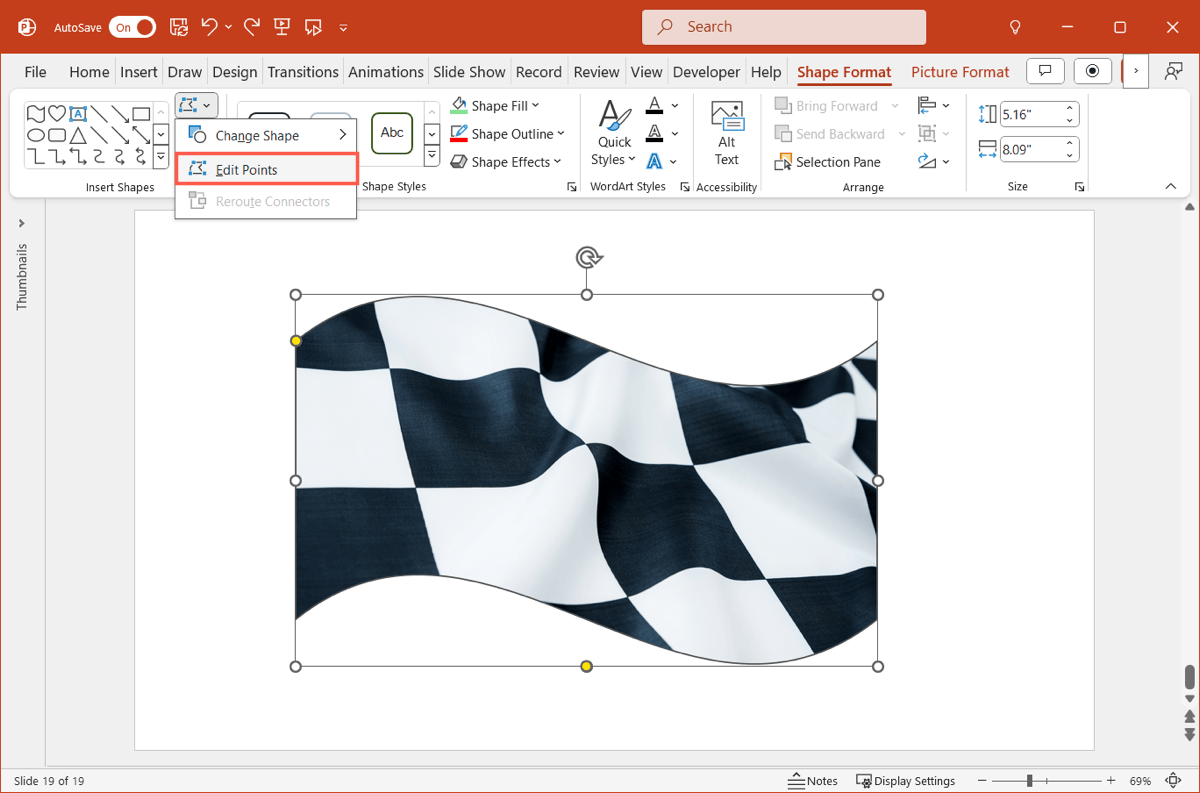
- Drag one of the black square points to the position you want and continue with the other points as you like.
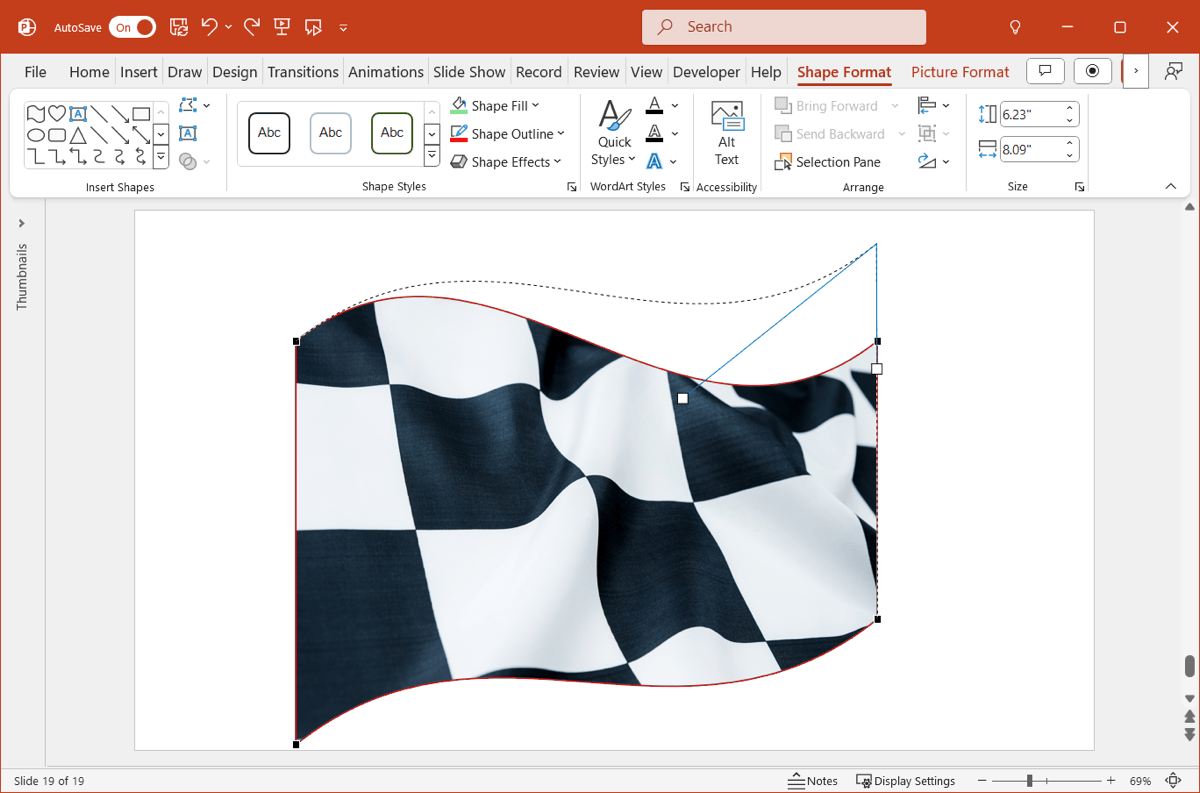
Click away from the shape to exit the Edit Points mode when you finish.
Generate images with Plus AI
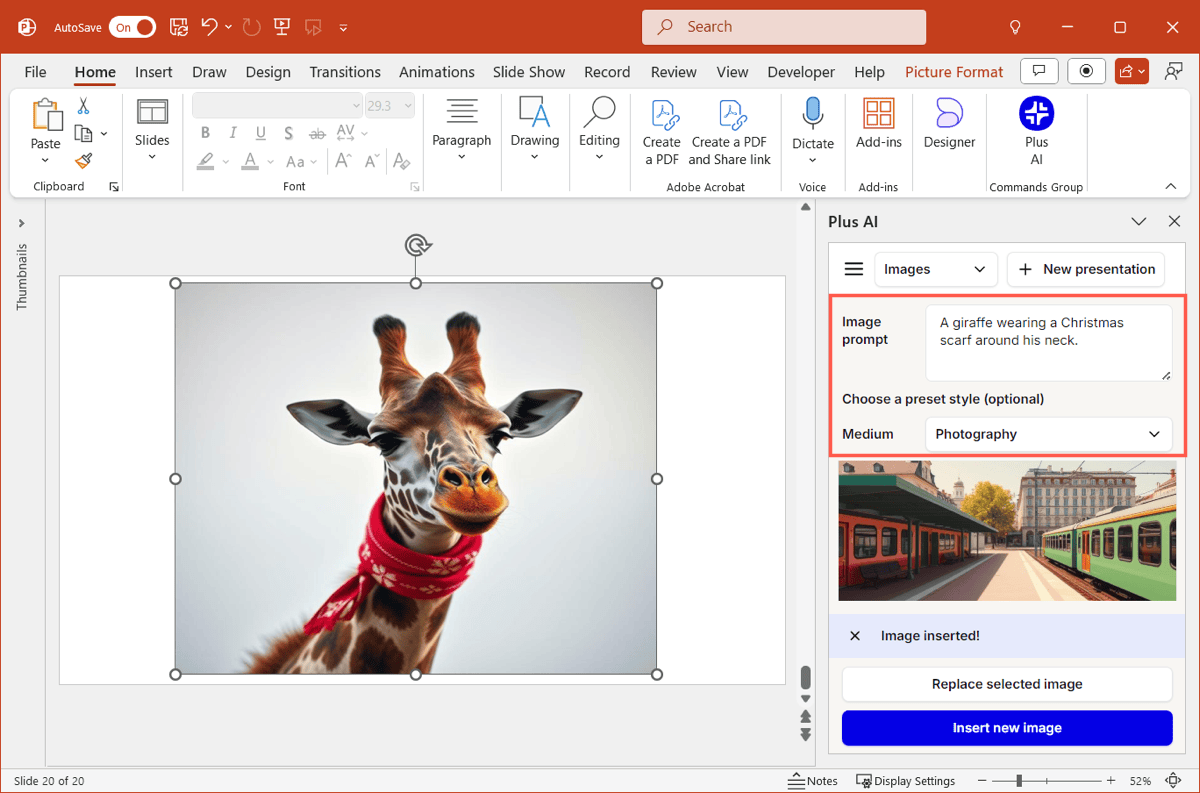
Having trouble locating the type of photo you need? Want a picture that’s a little out of the ordinary? Using Plus AI for PowerPoint, you can take advantage of the built-in AI image generator.
Simply enter a description, choose an illustration or photograph, and you’ll receive your image in a snap!
You can then follow the instructions earlier to place that image in a shape or add even more photos and illustrations to your presentation.
Visit the Plus AI website for further details on the image generator, other features, example presentations, and to start your free trial!
Conclusion
By putting a photo in a shape in PowerPoint, you can create a unique look for your slide element with little effort. And if you don’t have or can’t find the picture you need, check out Plus AI’s image generator.
FAQs
How do you put a picture in a frame in PowerPoint?
You can choose from several frame styles for a picture in PowerPoint. Select the image, go to the Picture Format tab, and pick an option in the Picture Styles drop-down box.
How to insert an image into a table in PowerPoint?
While you can’t drag an image into a table cell, you can add it with the table’s properties in PowerPoint. Select the cell where you want the picture, go to the Table Design tab, open the Shading menu, and pick Picture. Then, choose and insert the image.
How do I layer images in PowerPoint?
To layer images in PowerPoint, select the first picture and go to the Picture Format tab. Use the Bring Forward or Send Backward menu to place the photo behind or on top of the other images. Follow the same process to layer the remaining photos.


.png)