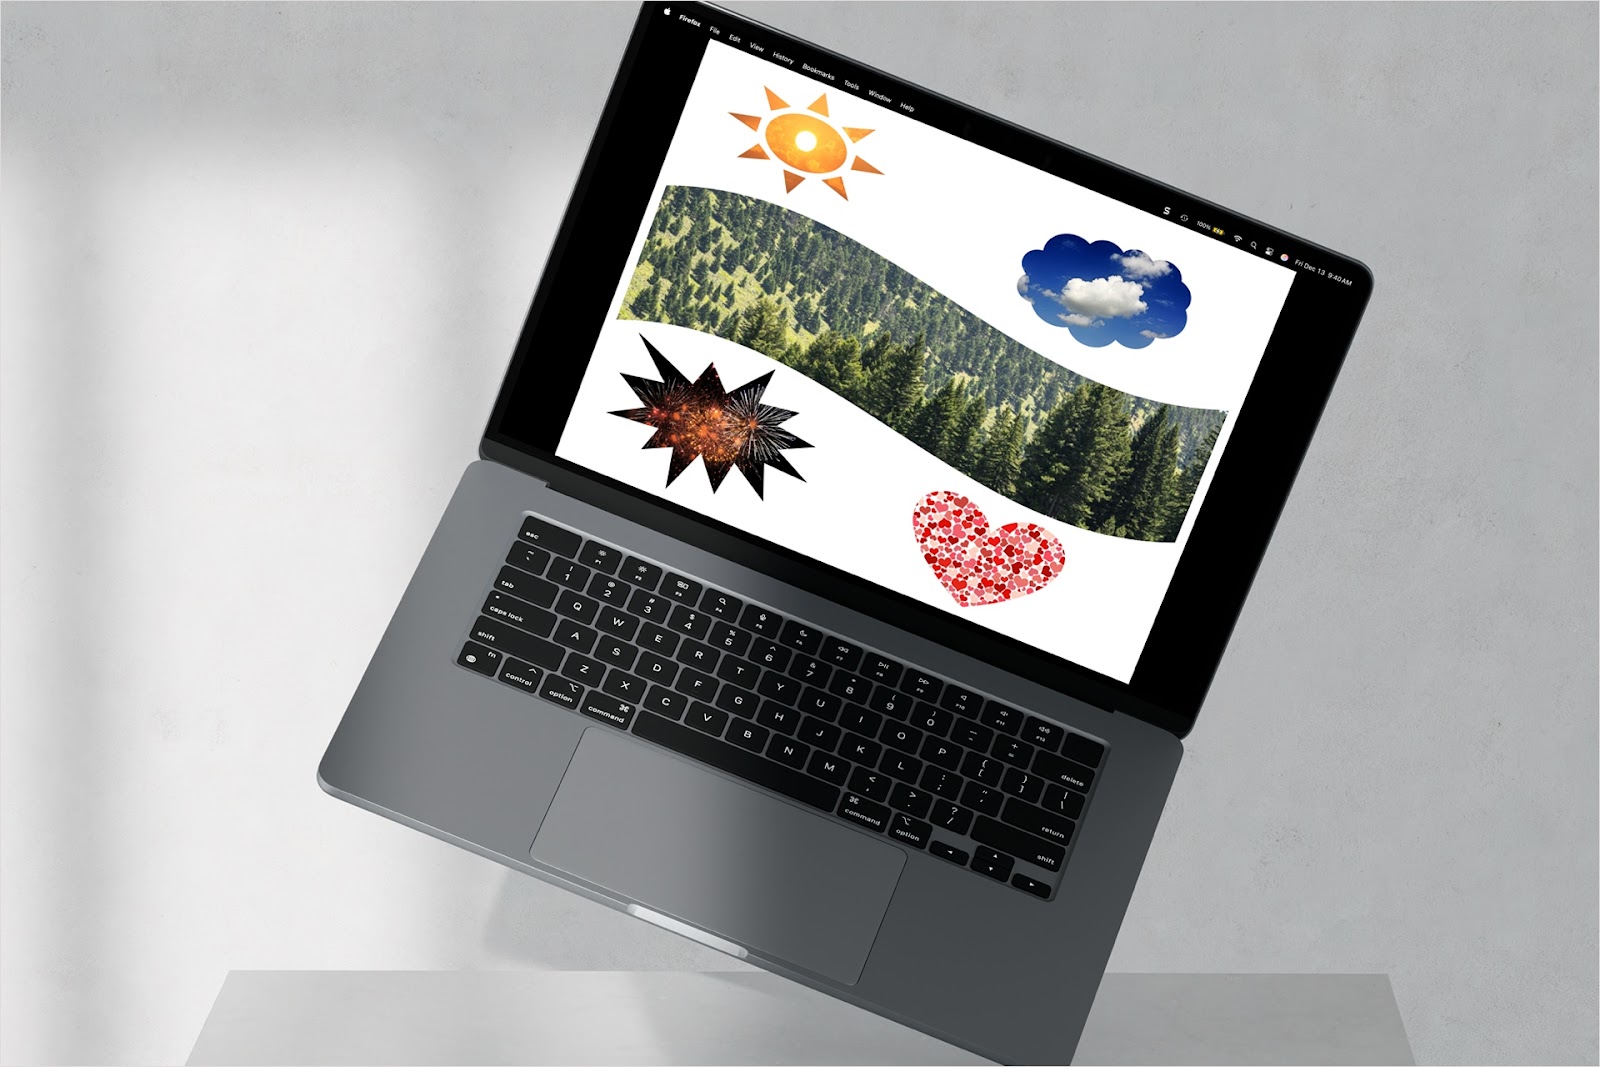
Do you want to get a little creative with the pictures you add to your slideshows? You can put an image in a shape in Google Slides to give it some pizzazz or a more professional appearance.
Using any of the shapes available in Slides, you can apply a simple mask and transform the picture into a shaped image in just a few steps. Alternatively, you can add the shape and image separately. Here’s how to do both.
{toc}
Crop an image to a shape in Google Slides
If you want to convert your picture to a shape, you can use the Mask feature in Google Slides. This is the simplest way to put an image in a shape and you can choose from a variety of options from rectangles and circles to callouts and arrows.
- Select the slide and add the image to it by opening Insert > Image in the menu or clicking Insert image in the toolbar. Then, choose the location, pick the image, and click Insert.
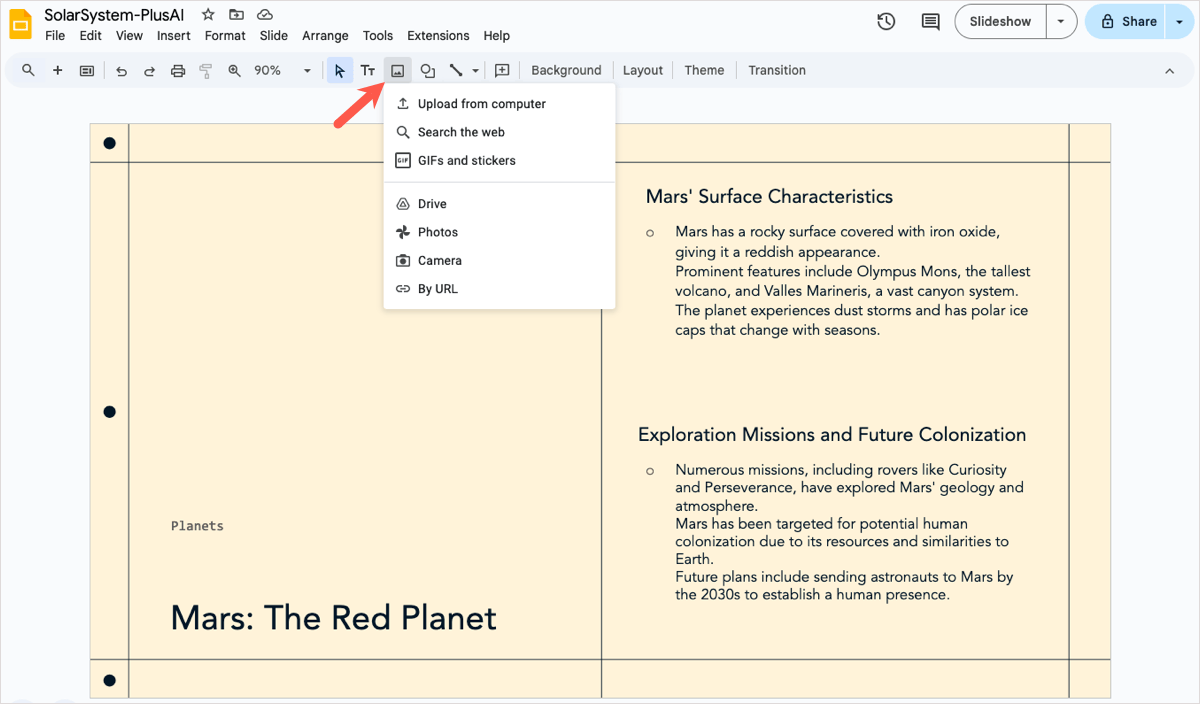
- Once you have the picture on the slide, select it and open the Mask image drop-down menu (arrow next to the Crop button) in the toolbar.
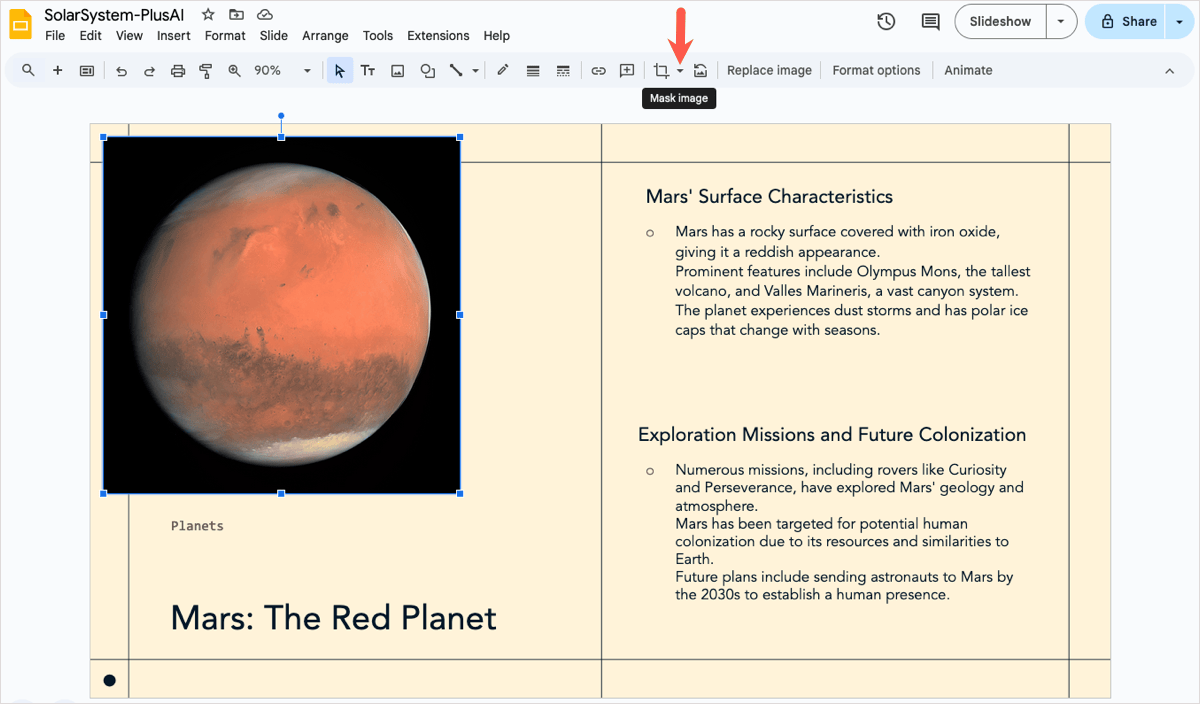
- Pick the shape you want to use in the pop-out menu.
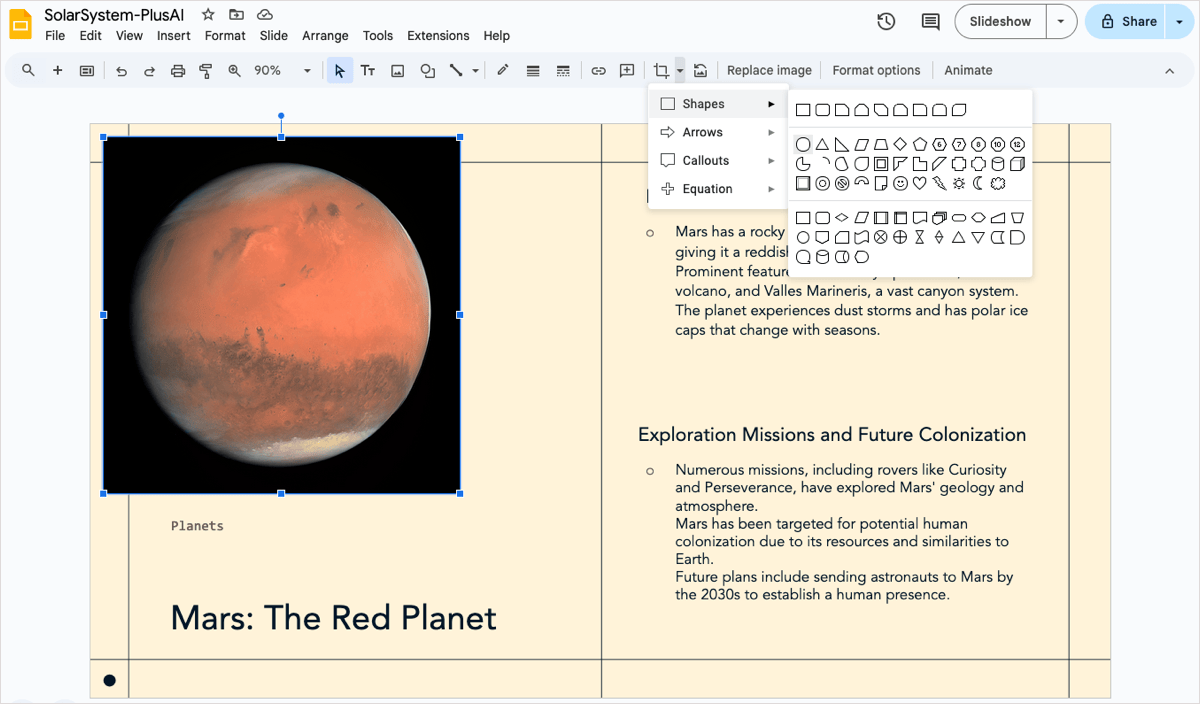
You’ll then see your image cropped to fit the shape.
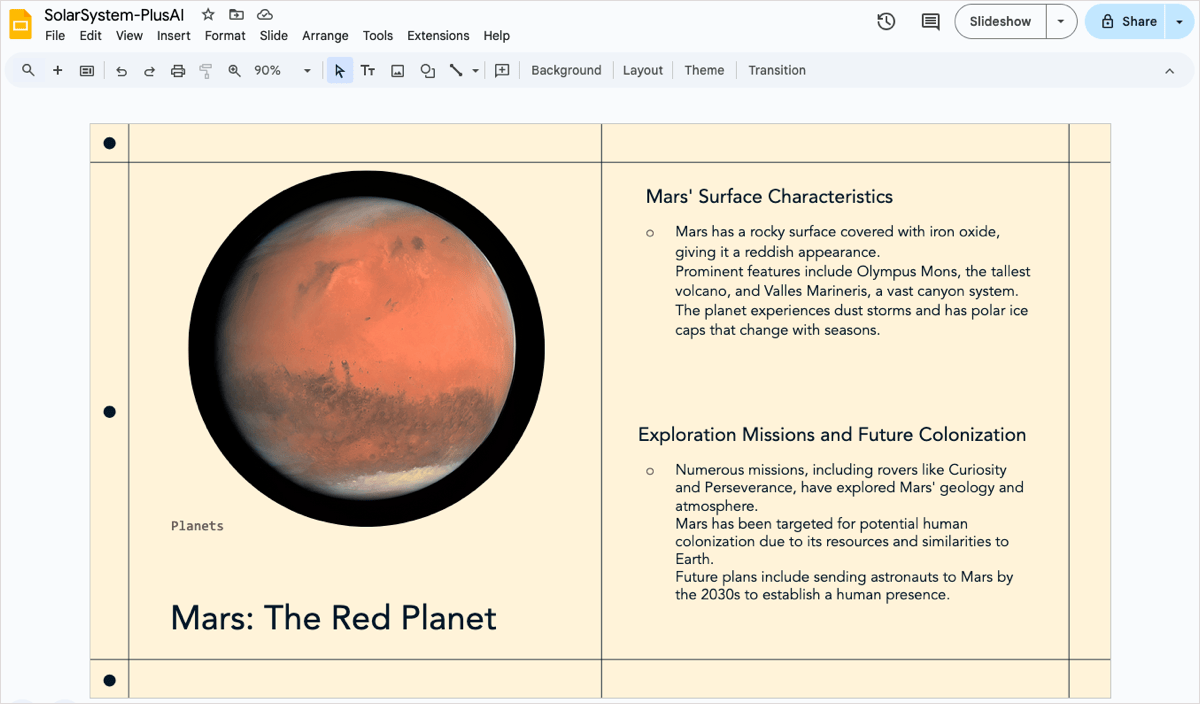
You can then apply additional formatting, resize or move the image, or add an animation to it just as you normally would.
Tip: Look at how to bring an image forward in Google Slides to place it on top of other slide elements.
Move an image onto a shape in Google Slides
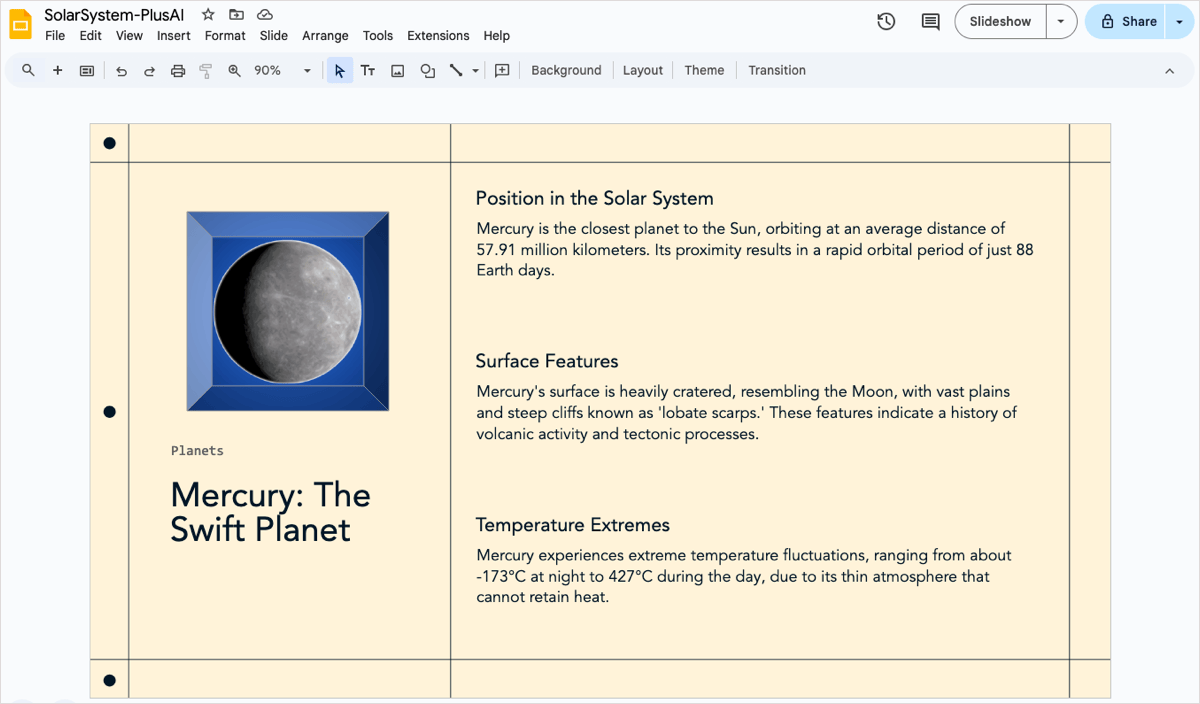
This next method makes sense if you want to see the image and the shape in Google Slides. For example, maybe you want to create a frame for your picture that’s a specific shape with a color or gradient.
- Select the slide and add the shape to it by opening Insert > Shape in the menu or clicking Shape in the toolbar.
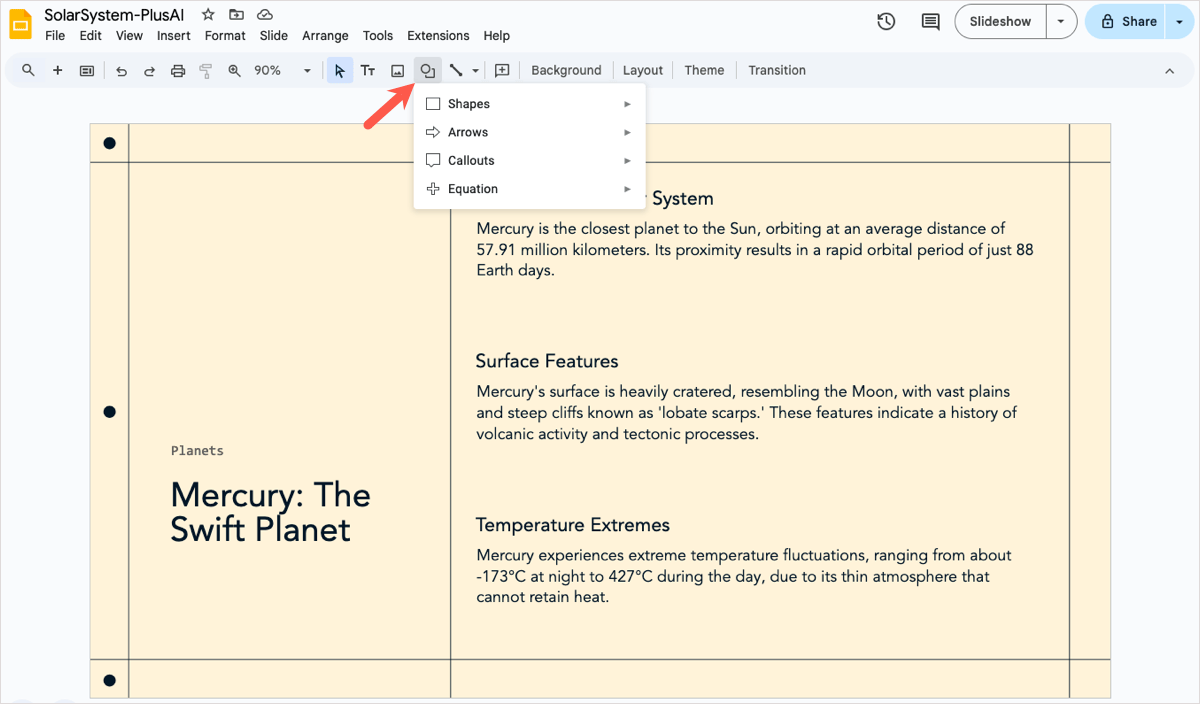
- Draw the shape in the size you want, but keep in mind that you can resize it later if needed.
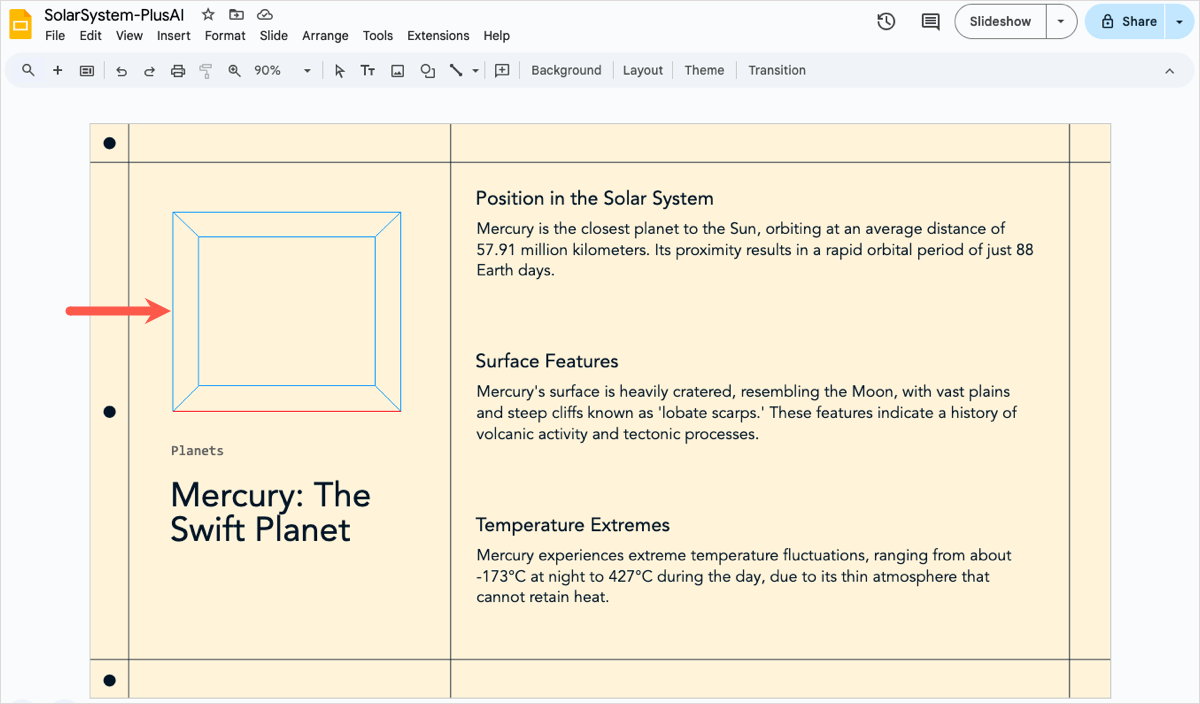
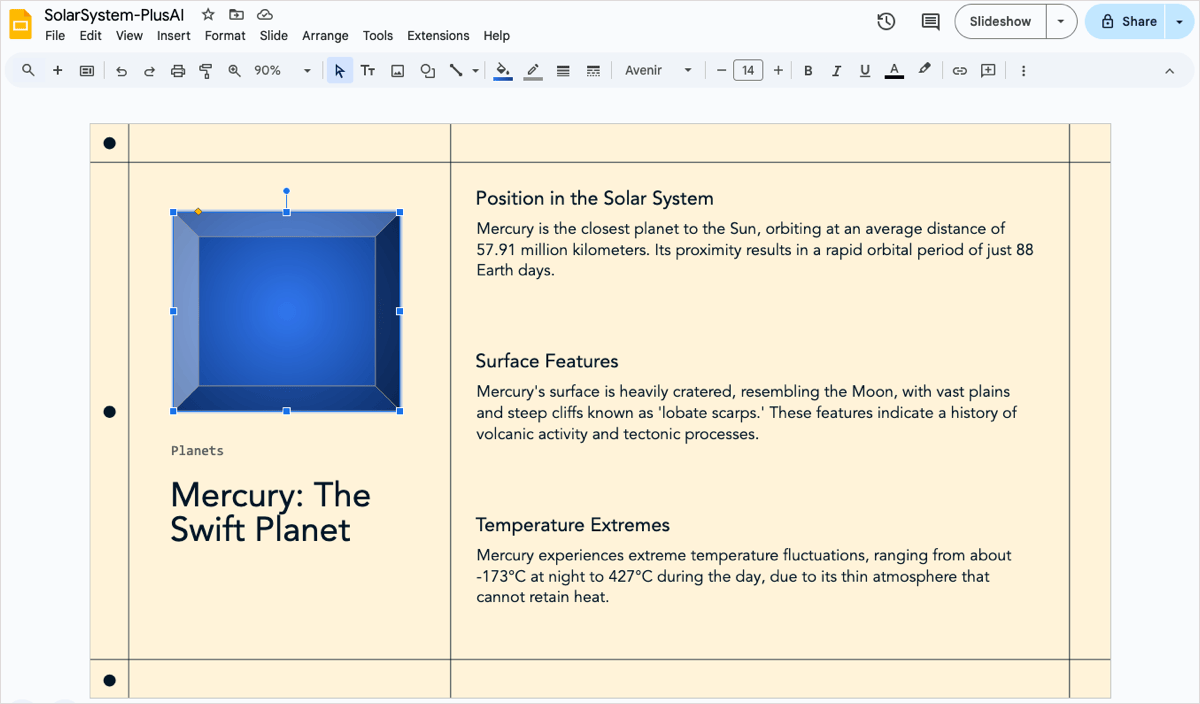
- Use the format options in the toolbar to add a fill color or border. Additionally, you can select the shape and click Format options in the toolbar to open the sidebar and add a shadow or reflection.
- Add the image to the slide by opening Insert > Image in the menu or clicking Insert image in the toolbar.
- Drag the image to place it over the shape and drag a corner or edge to resize the picture as needed.
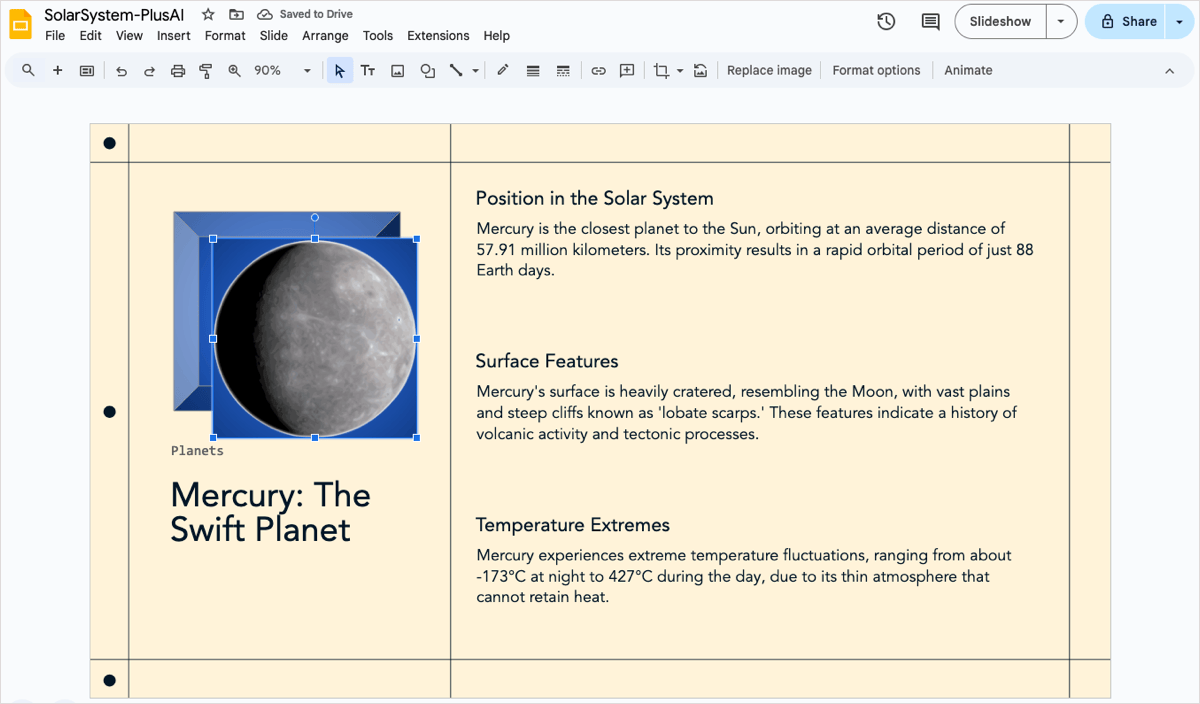
Note that while you can group some objects on Google Slides so that you can move or resize them together, this isn’t currently possible with an image and shape. You must format and move these objects individually.
Tip: Learn how to lock a shape in place in Google Slides to more easily move other objects.
Create attractive slideshows with Plus AI
Plus AI is an add-on available for Google Slides and Docs that helps you create entire slideshows with attractive templates and custom branding.
You can choose from a nice collection of templates for any type of presentation. If you want to customize the appearance with your brand colors and logo, you can check out the affordable subscriptions. This then lets you create a consistent look and feel across all future presentations.
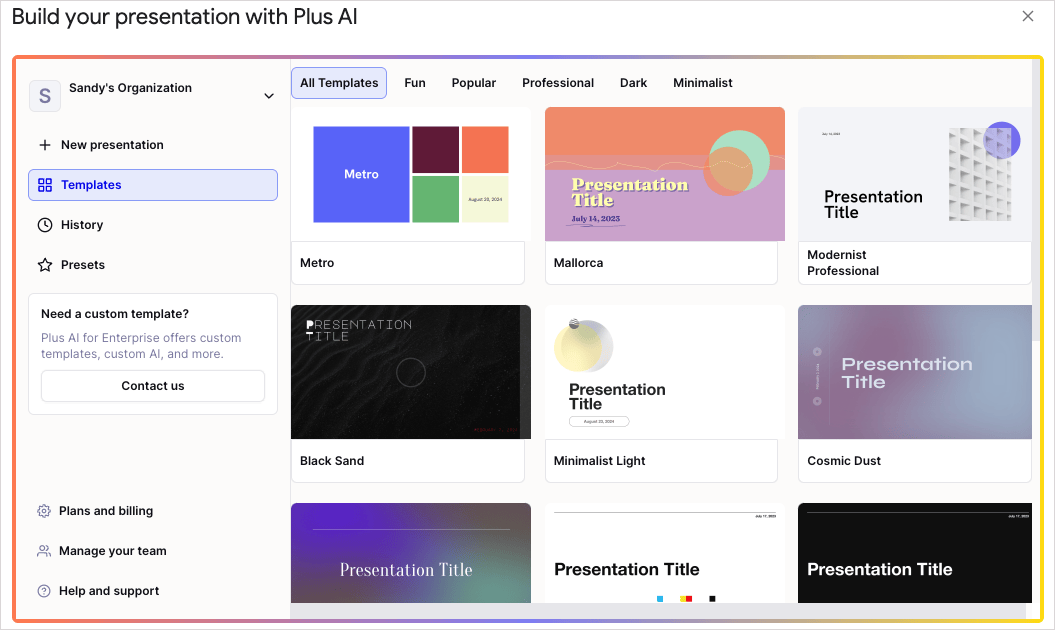
Visit the Plus website for complete details and to start your free trial today!
Conclusion
Formatting images on your slides can add immensely to the overall appearance of your Google Slides presentation. Rather than applying a plain border, consider placing your image in a shape for a unique and memorable look.
And remember that Plus AI can help you create stellar slideshows from start to finish!
FAQs
How to crop an image on Google Slides?
Select the image and click the Crop button in the toolbar. Drag a corner or edge to crop the portion of the image you want to keep, and press Enter or Return to apply the crop.
Where is shape fill on Google Slides?
Select the shape and you’ll see the Fill color button in the toolbar. You can then choose a color, gradient, or apply a custom shade.
Can you draw on Google Slides?
Yes, open Insert > Line in the menu and choose Scribble. You can then use your mouse or trackpad to create a freeform drawing in Google Slides.
