
Resources
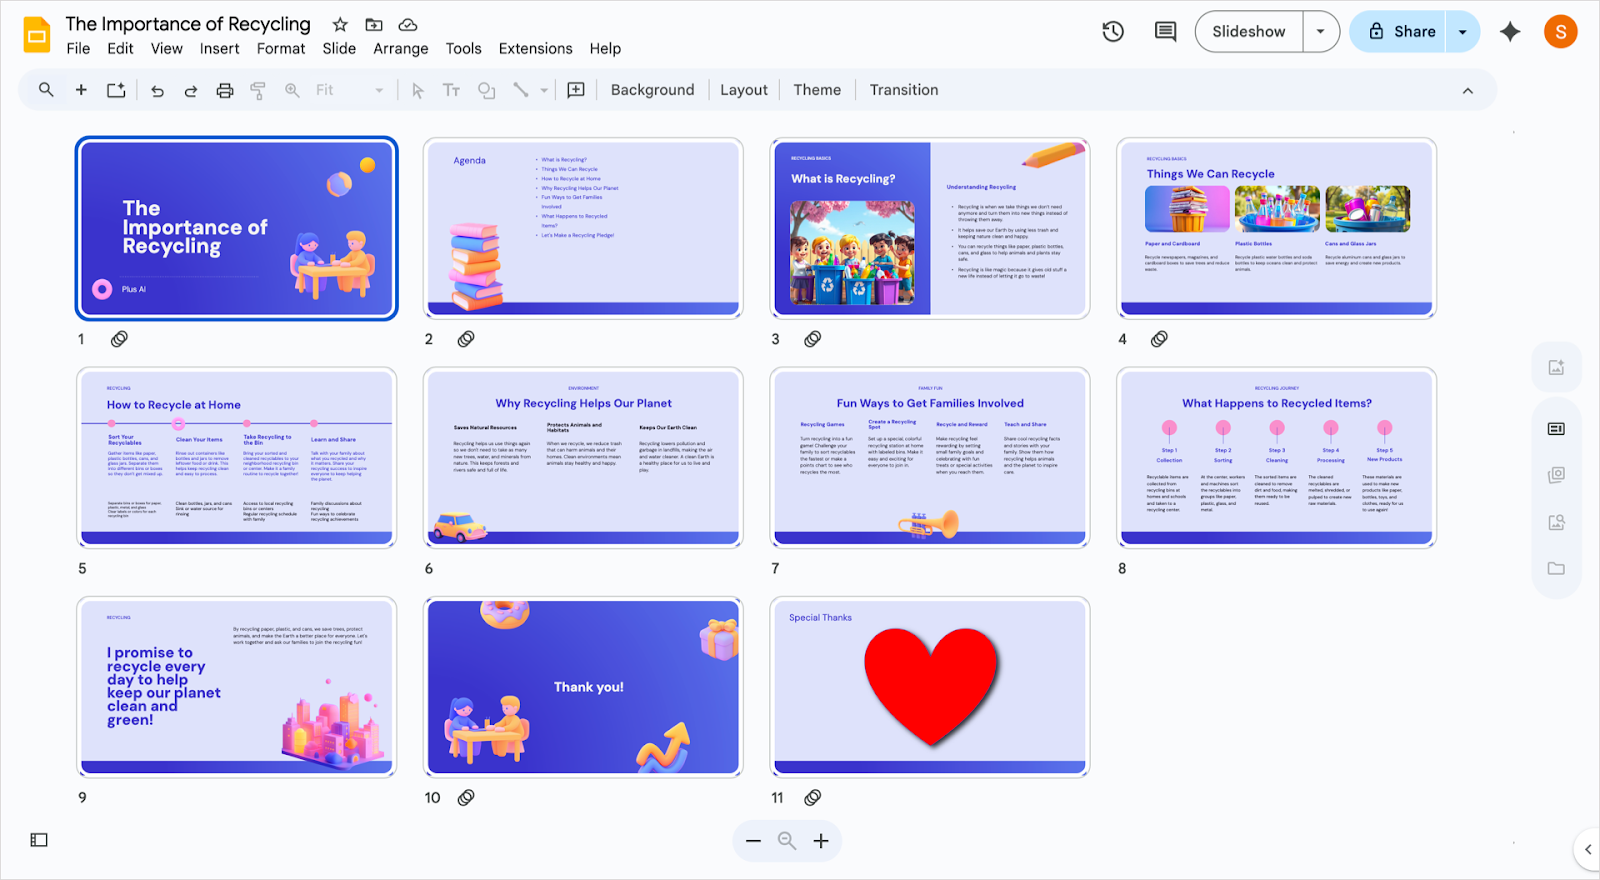
How to organize slides in Google Slides
Learn how to organize slides in Google Slides for the most effective presentation flow.
There’s more to building a successful presentation than the text and visuals. You must organize your slides to create a sensible and effective flow. Sometimes, this means adding, moving, or deleting slides.
We’ll show you how to perform the actions you need to organize slides in Google Slides.
How to select multiple slides
There are plenty of situations where you may want to select more than one slide at a time. You might want to move a group of slides, delete them, apply a new layout, or change the background.
In either Filmstrip or Grid view, do one of the following:
- To select multiple adjacent slides, choose the first slide, hold Shift, and pick the last slide.
- To select multiple non-adjacent slides, choose the first slide, hold Ctrl or Command, and pick each additional slide.
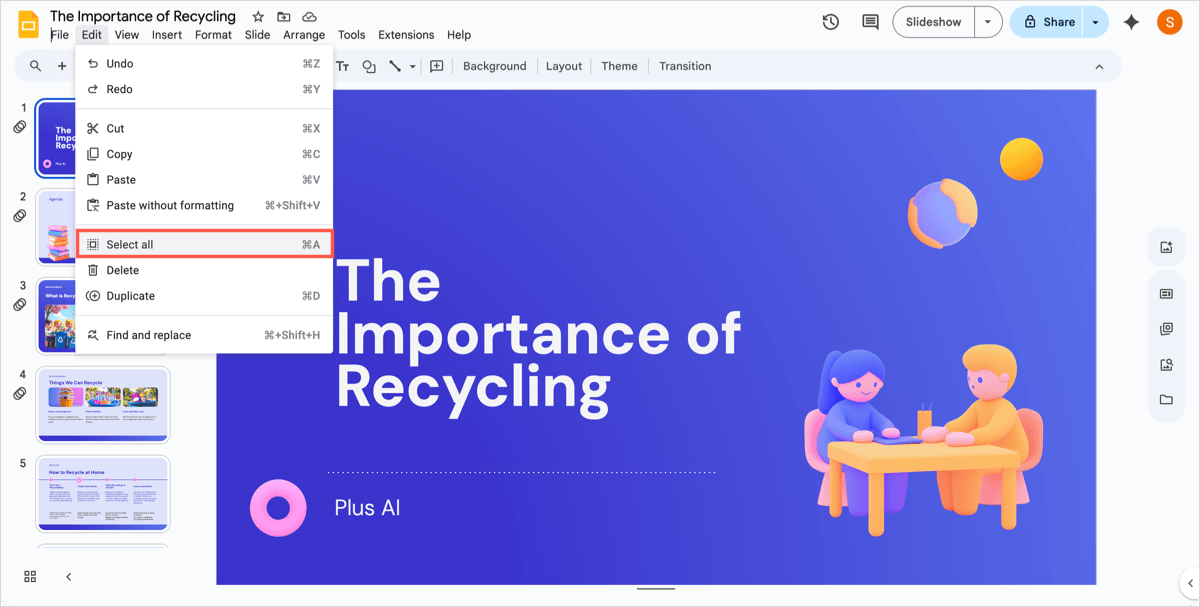
- To select all slides, choose Edit > Select all or use the keyboard shortcut Ctrl + A on Windows or Command + A on Mac.
How to add slides
Adding slides to your presentation is something you’ll do all the time, and you have various ways to do so in Google Slides.
While you can change the layout after you insert a slide, you can easily add one and apply the same layout as another. To do this, pick the slide using the layout you want and do one of the following:
- Select Insert > New slide.
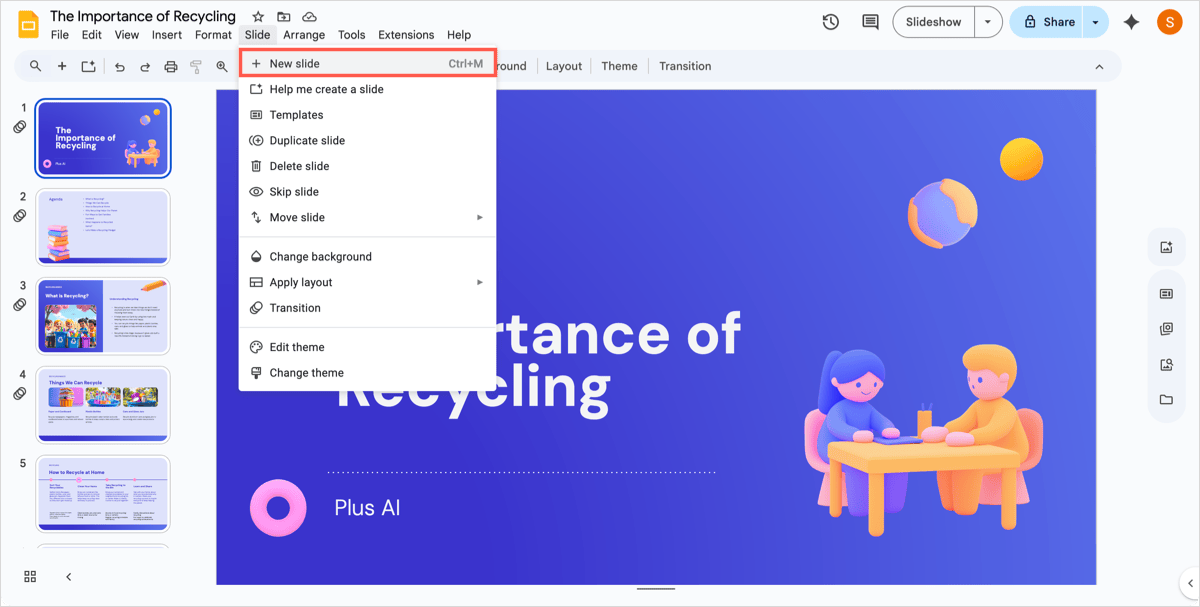
- Select Slide > New slide.
- Right-click and select New slide.
- Use Ctrl + M on Windows or Control + M on Mac.
The new slide will appear directly after the slide you selected initially. You can then move it to a different spot if you like using the How to move or rearrange slides section below.
Tip: You can also insert slides quickly using Plus AI! Simply enter a prompt to describe the slide content and then choose the layout from a variety of options.
How to copy or duplicate slides
Maybe you want to copy a slide and make small changes to it but keep both in the presentation. You can easily copy or duplicate a slide in Google Slides.
Copy a slide
If you have a lengthy presentation and want the additional slide in a specific spot, you can use the Copy feature.
Choose the slide you want to copy and do one of the following:
- Select Edit > Copy.
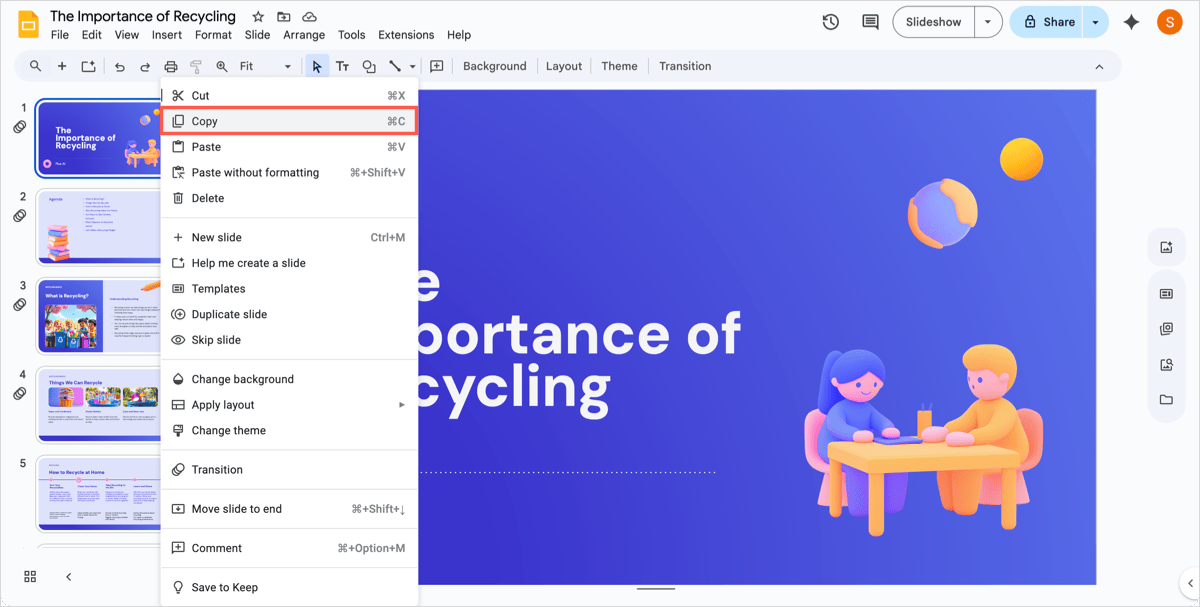
- Right-click and select Copy.
- Use Ctrl + C on Windows or Command + C on Mac.
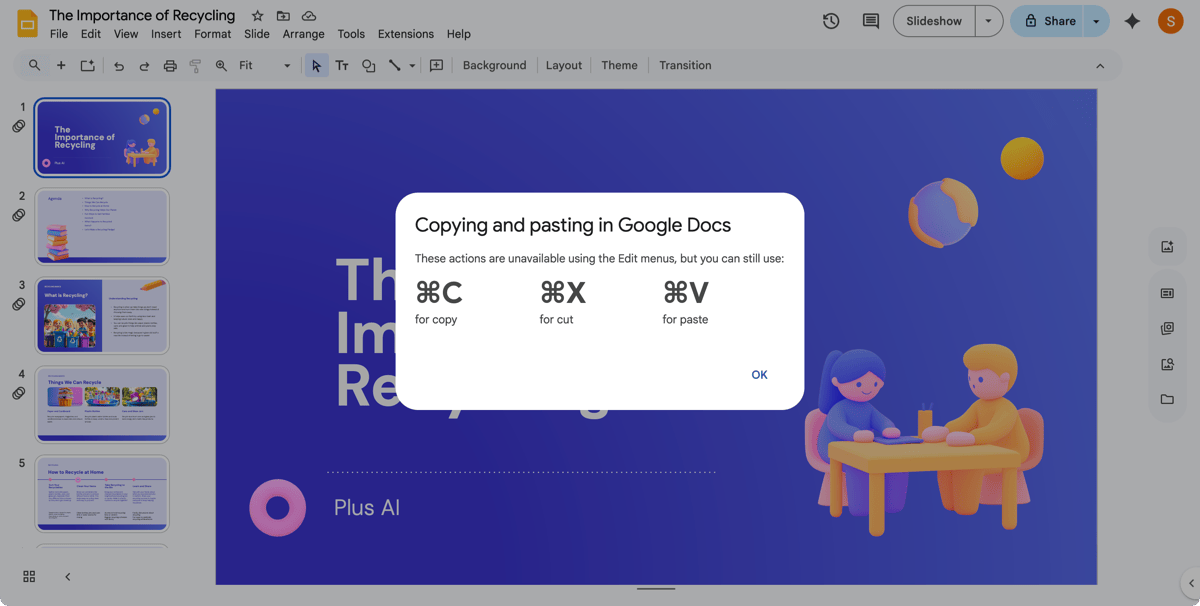
The above actions place the copied slide on your clipboard for you to paste where you like. Although you’ll see the Paste option in the Edit and right-click menus, you’ll still need to use a keyboard shortcut to perform the action.
Use Ctrl + V on Windows or Command + V on Mac to paste the slide.
Duplicate a slide
If you want to place the copied slide directly after the original, you can use the Duplicate feature.
- Select Edit > Duplicate.
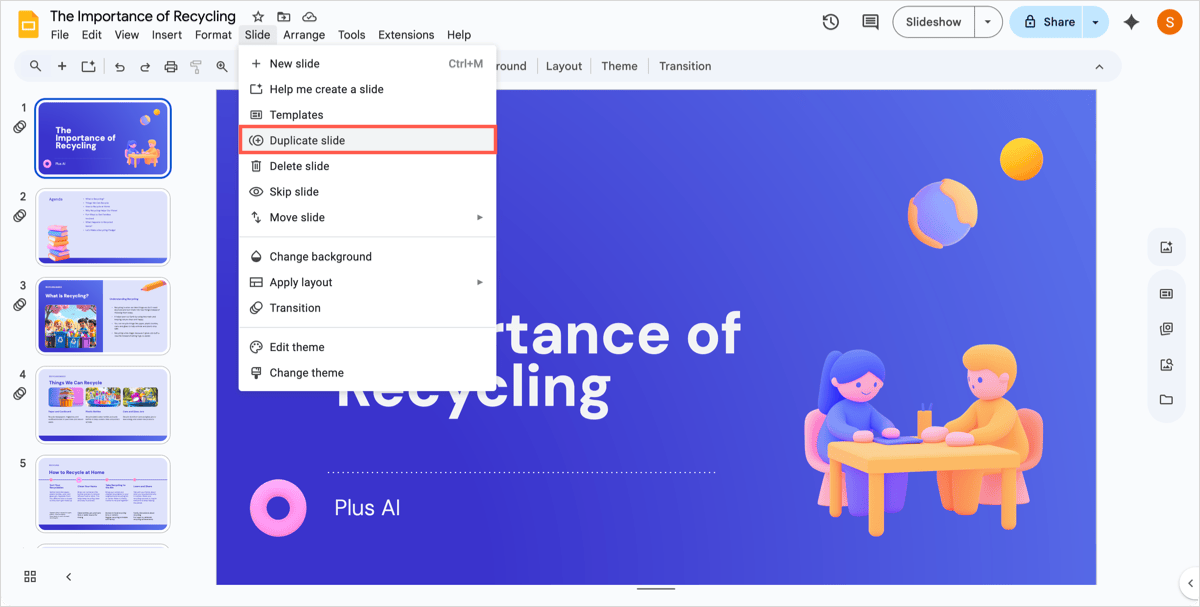
- Select Slide > Duplicate slide.
- Right-click and select Duplicate slide.
You’ll then see an exact copy of the slide appear right after the one you copied.
How to move or rearrange slides
As you create your presentation, you may decide that certain slides would work better in a different spot. You can move and rearrange your slides in any order you like.
Choose one or more slides and do one of the following:
- Use Filmstrip or Grid view to drag the slide(s) to the new location.
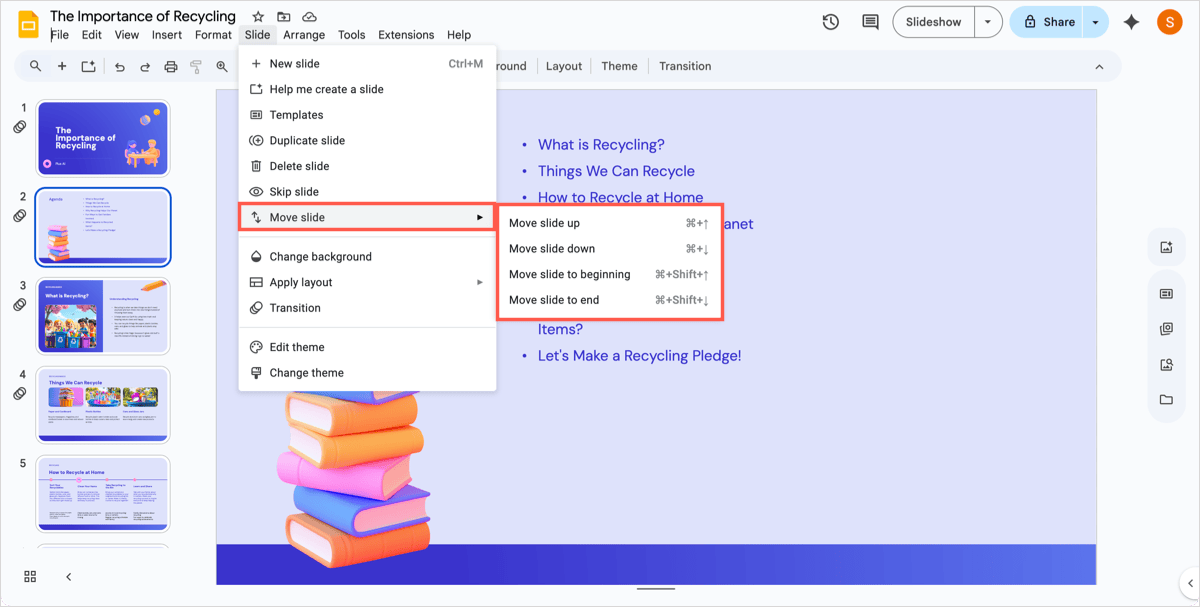
- Select Slide > Move slide and pick an option to move the slide up or down or to the beginning or end.
- Right-click and select Move slide to beginning or Move slide to end.
Tip: Learn how to create sections in Google Slides for easily organizing and rearranging slides.
How to hide and unhide slides
You may have particular slides that you only want to show to a specific audience. You don’t have to create a separate presentation. Instead, simply hide those slides for one presentation and then unhide them for the specific audience.
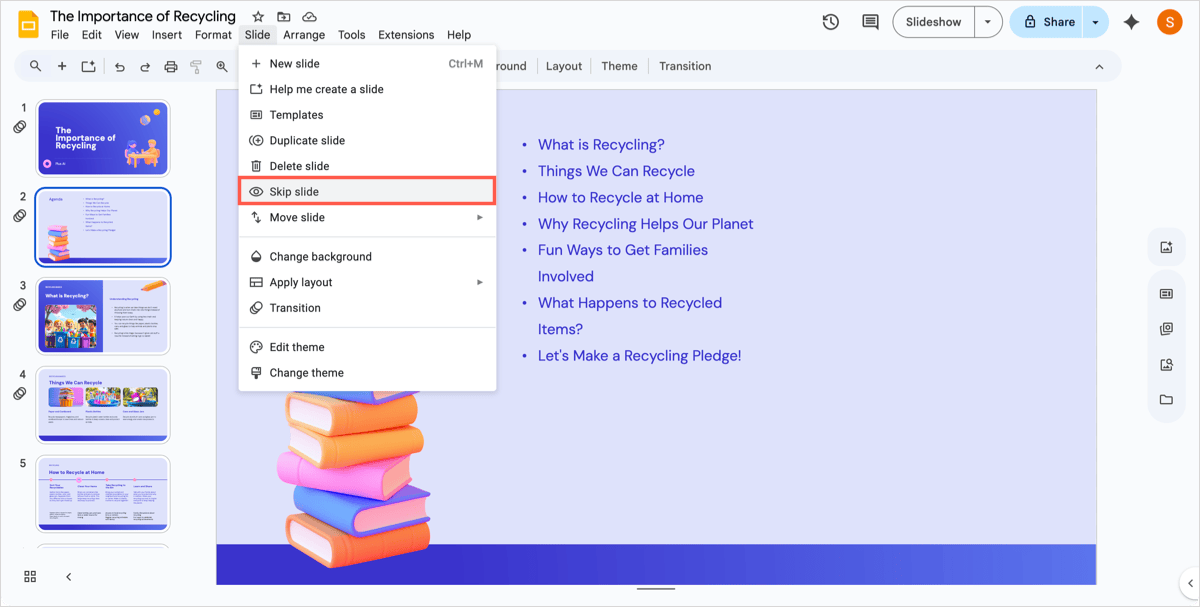
Choose one or more slides you want to hide and either select Slide > Skip slide or right-click and pick Skip slide.
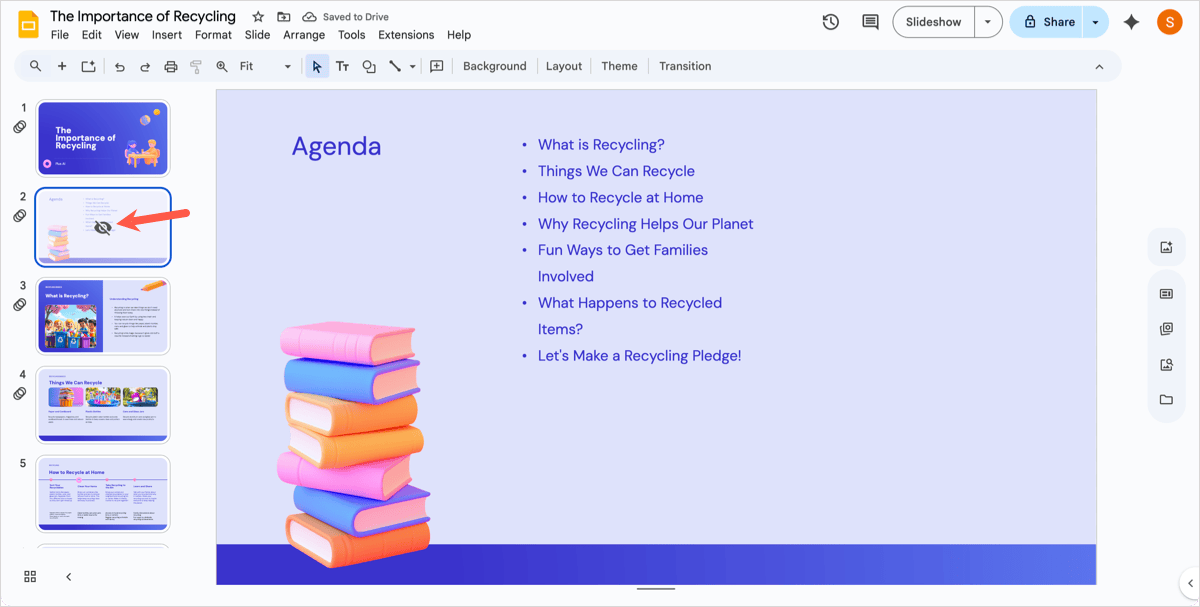
You’ll then see the hidden icon on the slide which appears as an eye with a line through it.
To show one or more hidden slides, select Slide > Unskip slide or right-click and pick Unskip slide, and you’ll see the hidden icon removed.
How to delete slides
If after you create a slide, you decide you don’t need it, you can simply remove it from the presentation. Just keep in mind that you won’t be asked to confirm when you delete a slide in Google Slides.
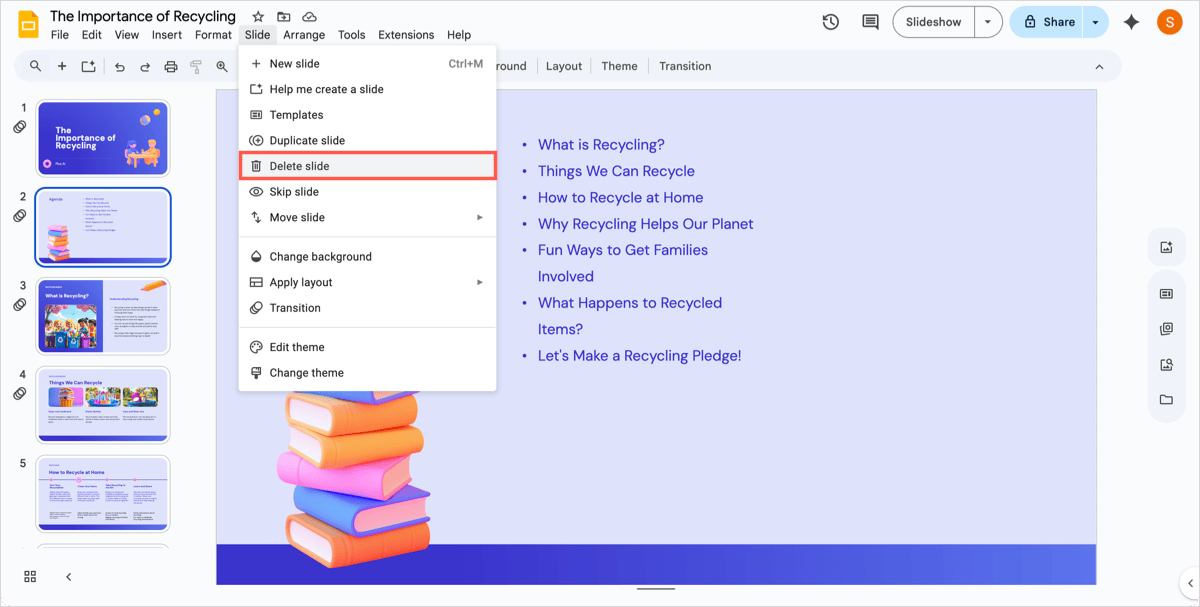
Choose one or more slides and do one of the following:
- Select Edit > Delete.
- Select Slide > Delete slide.
- Right-click and select Delete.
- Use your Delete key.
Edit slides with ease using Plus AI
Earlier, we mentioned that you can quickly add new slides with Plus AI for Google Slides. But you can do even more to enhance your slides with Plus.
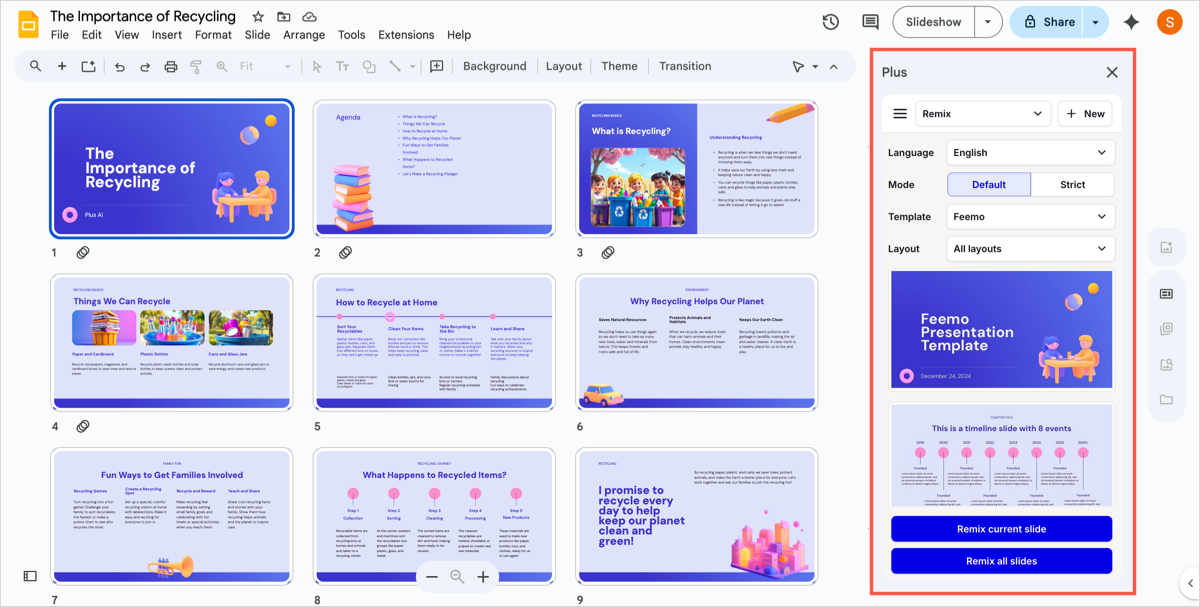
You can remix a slide layout to choose one that better fits your content. This feature lets you pick an attractive template along with the layout if you like. And, you can remix the current slide’s layout or all layouts in the presentation.
You can also rewrite content on your slides using Plus AI. Just enter a description of the edit and rewrite text you select, an entire slide, or all slides. Additionally, you can choose from preset options to make the content more educational, geared toward sales, or with more detail.
Plus AI gives you robust tools for editing your presentation but can also build a whole slideshow for you! Check out examples, features, and more on the Plus AI website.
Conclusion
When you need to organize slides in Google Slides, the application makes various tasks pretty simple. Just remember that Plus AI can help you not only organize your presentation but make edits and even create it from scratch.
FAQs
How to modify the layout of Google Slides?
To apply a different layout to a Google Slide, start by either right-clicking the slide or opening the Slide menu. Move to Apply layout and choose the layout you want from the pop-out menu.
How do I edit the master layout in Google Slides?
To make changes to the master layout, select Slide > Edit theme. You can then choose a particular layout on the left or pick the slide at the top to adjust all layouts like changing the background. Your edits apply immediately, so when you finish, simply click the X on the top right and you’ll return to your previous slideshow view.
How to make your Google Slides look better?
A few things you can do to improve the appearance of your Google Slides include choosing the right slide layout, keeping your formats consistent, and picking appropriate font styles. For more, check out our article on making Google Slides that look good.