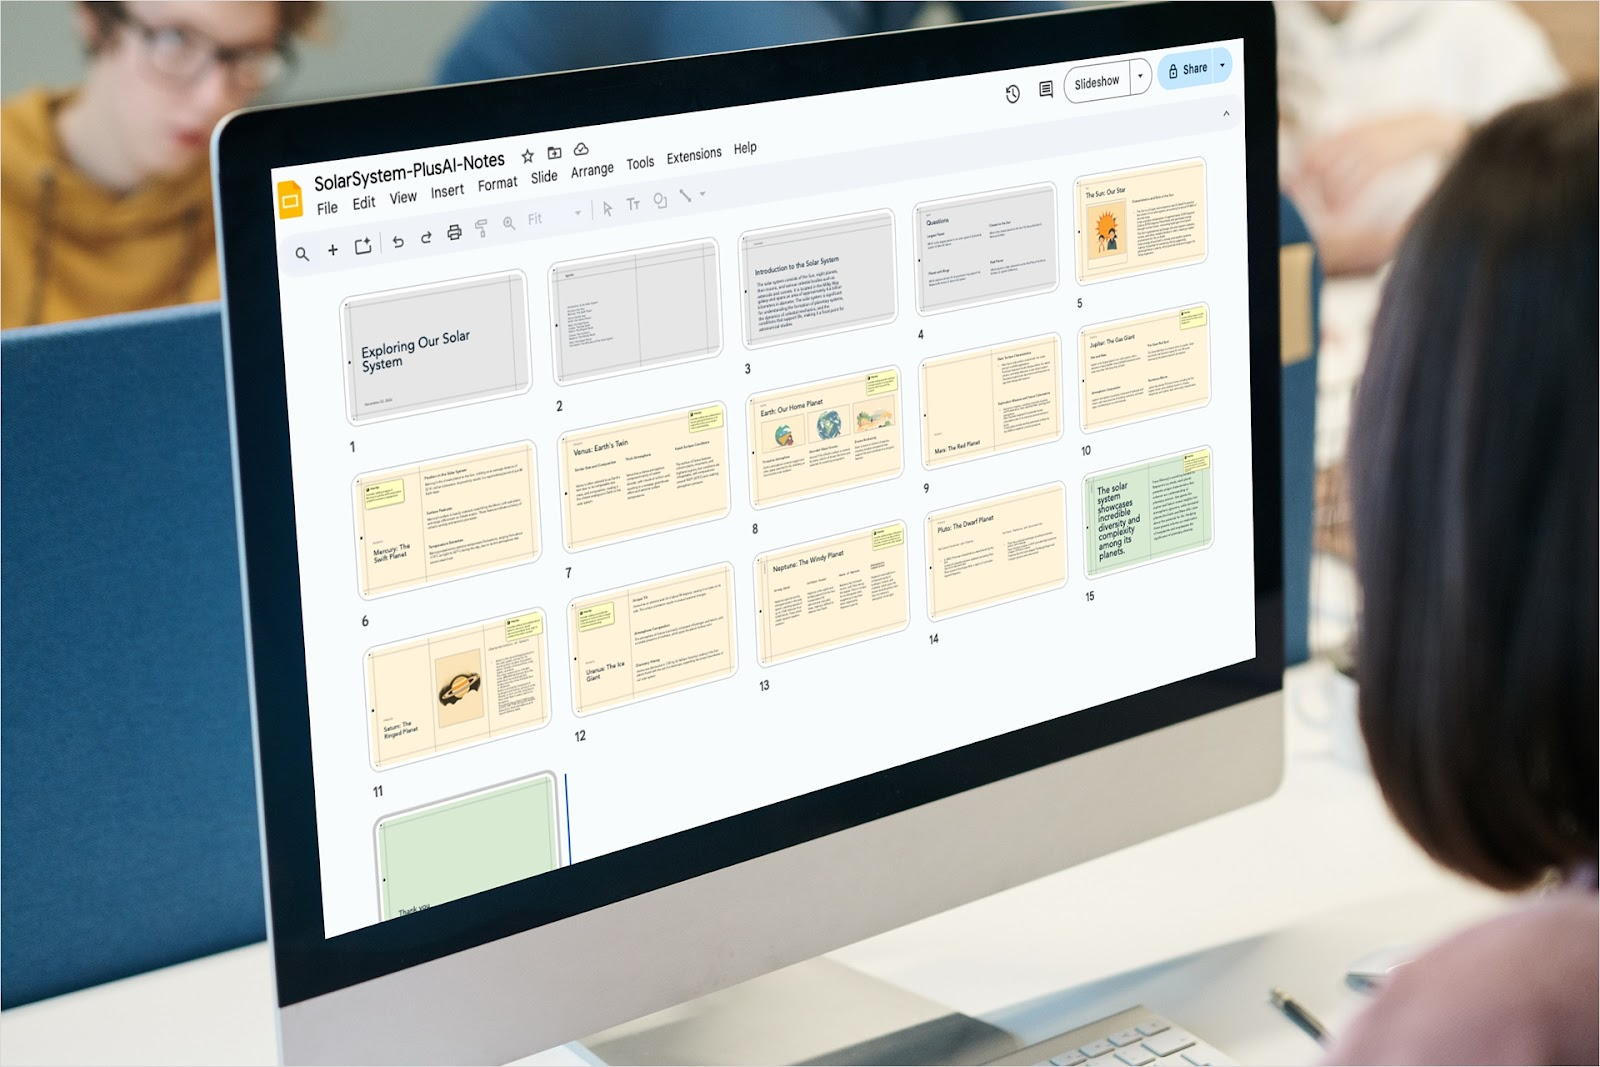
How to create sections in Google Slides
By using sections in your presentation, you can more easily organize slides as well as rearrange them. You can also locate a particular slide faster and even assign sections to your collaborators.
Unfortunately, Google Slides doesn’t offer an official Section feature like Microsoft PowerPoint does. But with one or more workarounds, you can mimic sections in your Slides presentation.
{toc}
Add section divider slides
Section divider slides are super helpful for letting your audience know you’re moving onto a different portion of the presentation. And of course, they can help you as the presenter stay on track as well.
These slides can contain something as simple as the name of the next section with or without a subtitle. But you can also include images or other visuals to introduce the upcoming portion.
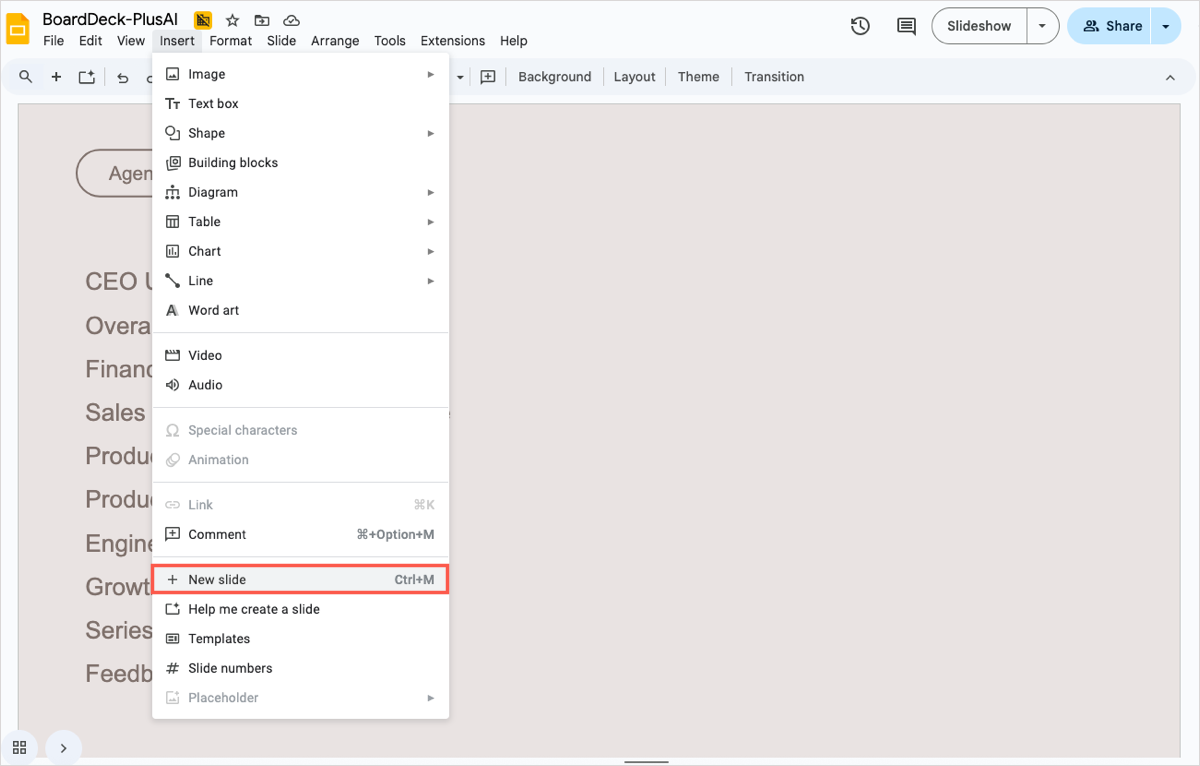
- To insert a slide for a section divider, do one of the following:
- Go to Insert > New slide.
- Go to Slide > New slide.
- Right-click the last slide in the previous section and pick New slide.
- Open the Slide menu, move to Apply layout, and choose either the Section header or Section title and description layout.
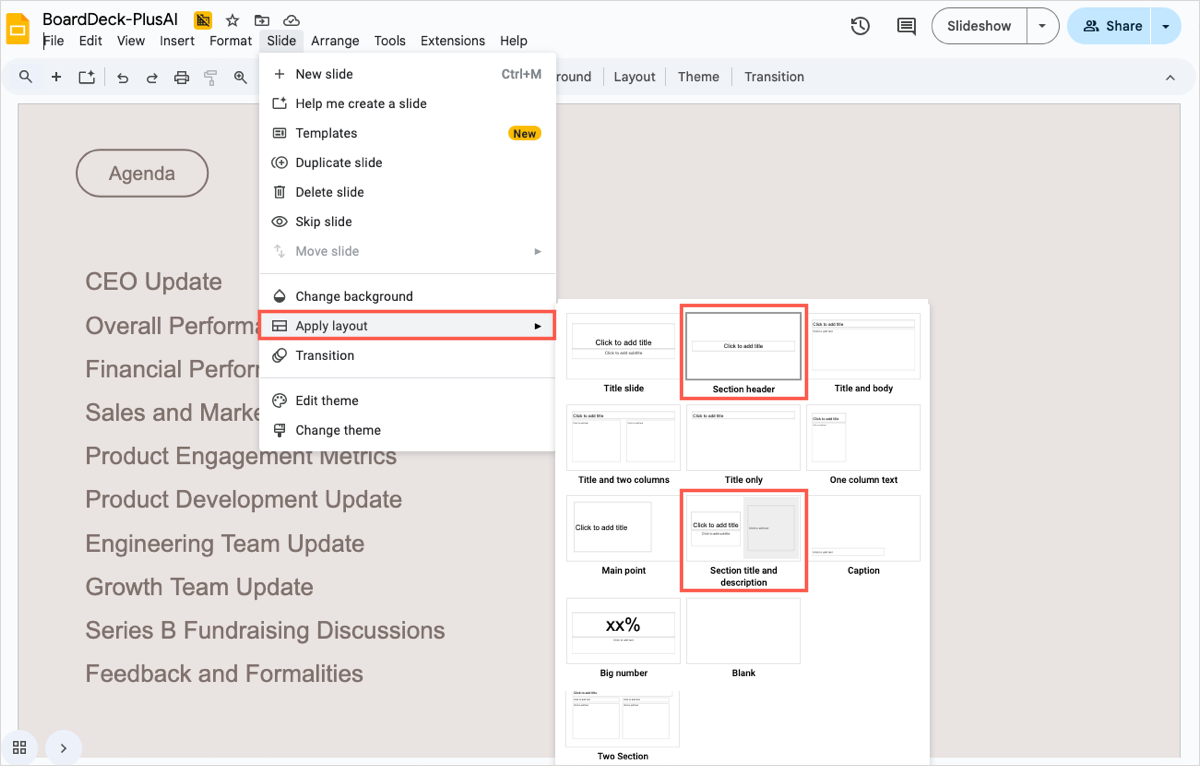
- Click inside a text box to enter the header, title, and/or description.
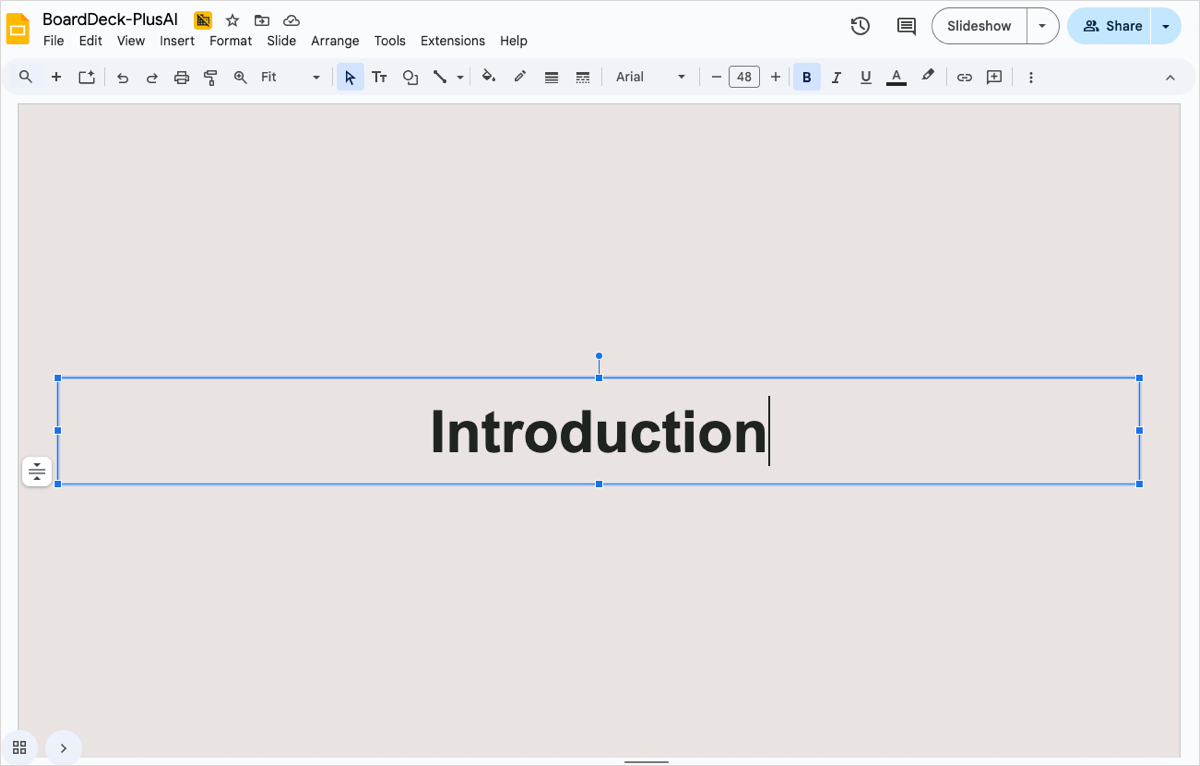
You can then apply any additional formatting or slide elements as you like.
Use prefixes with section names
To go along with the above way to create sections or instead of it, you can label and number your slides to indicate sections.
As an example, you can label the first section with the number 1 and its name with all slides in that section as 1.1, 1.2, 1.3, and so on. Then, the second section is number 2 with its name the slides labeled 2.1, 2.2, 2.3, and so on.
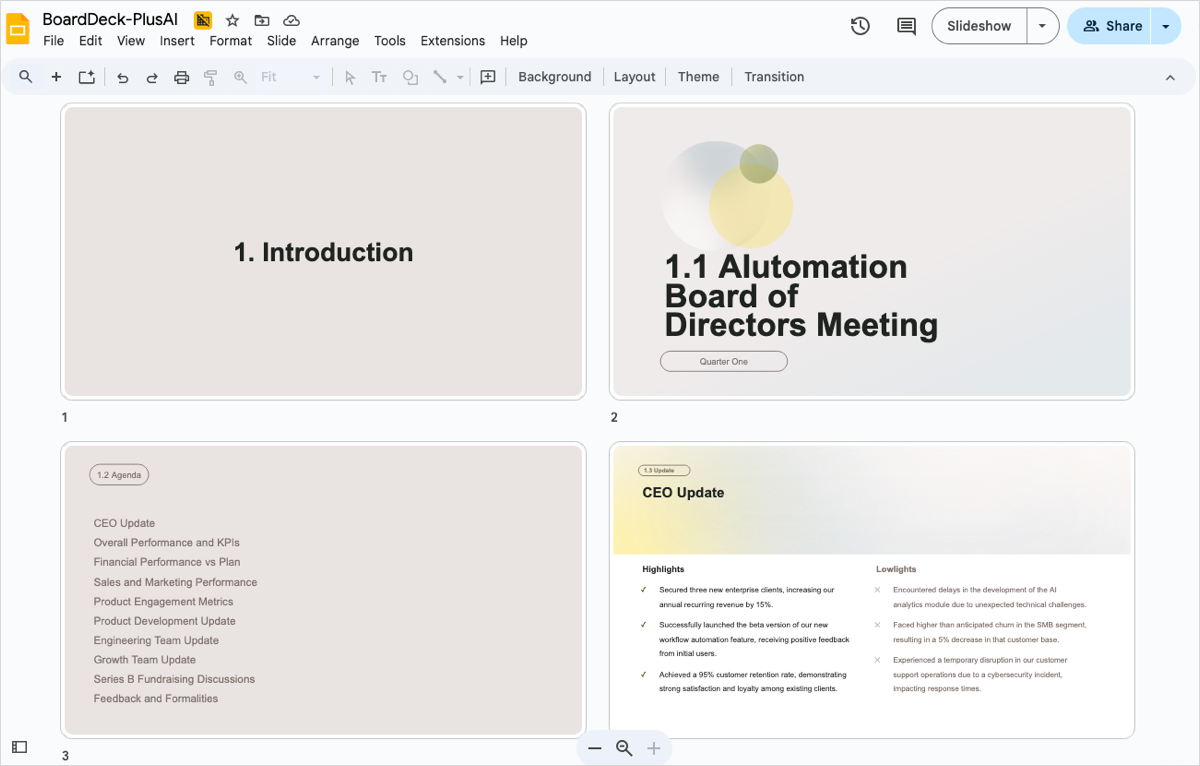
This allows both you and your audience to see which section is being presented at the time. It can also be useful if you save and/or print the presentation.
Apply color-coding
Another way to designate sections in your Google Slides presentation is using colors. You can do something basic like changing the background colors of the slides or you can go a bit further and adjust the color scheme of the slide elements.
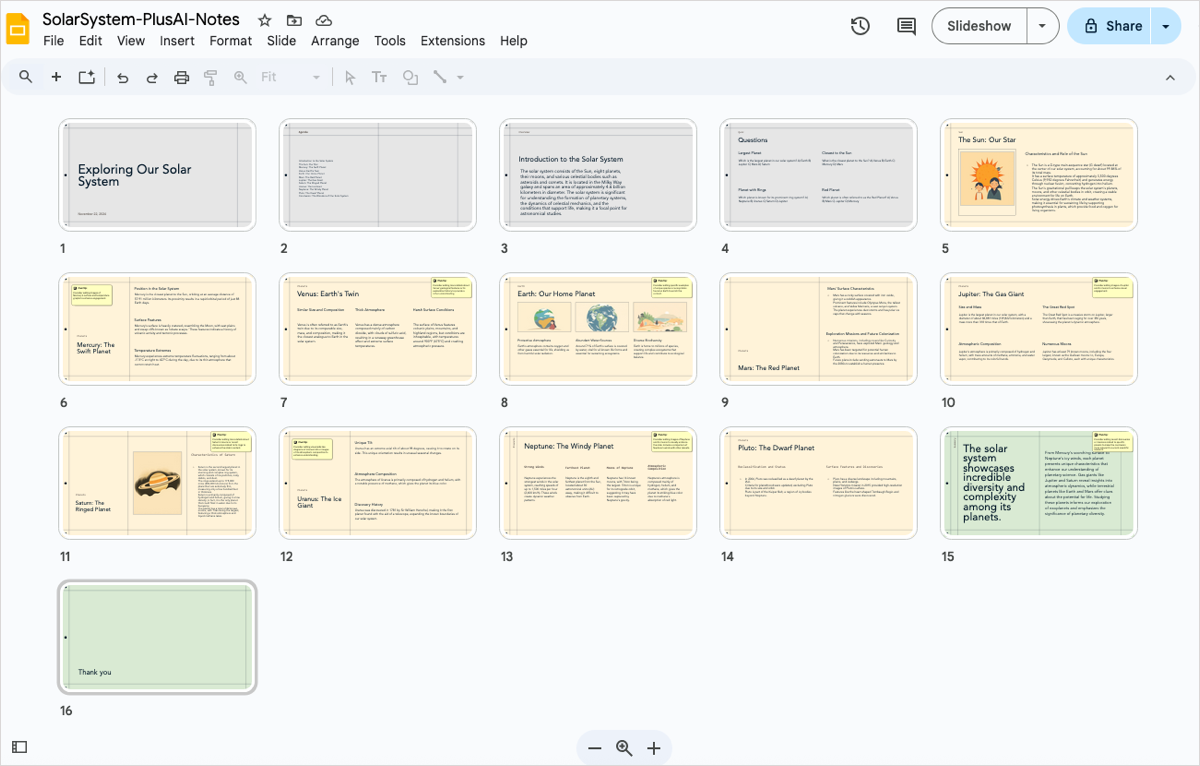
As an example, you can see in the image below we have three sections indicated by subtle background colors.
- To do this with your slides, select a slide to get started.
- Choose Background in the toolbar.
- Use the Color drop-down box to pick a color.
- Click Done when you finish.
- Follow the same steps for the other slides in the section.
When you move onto the next section, use the same steps but pick a different background color.
Create a linked table of contents with Plus AI
When using sections in your presentation, you can optionally create a table of contents that links to each section. This allows you to view the sections and jump to a particular one easily. If you like, you can also add a link on each slide that returns you to the table of contents slide.
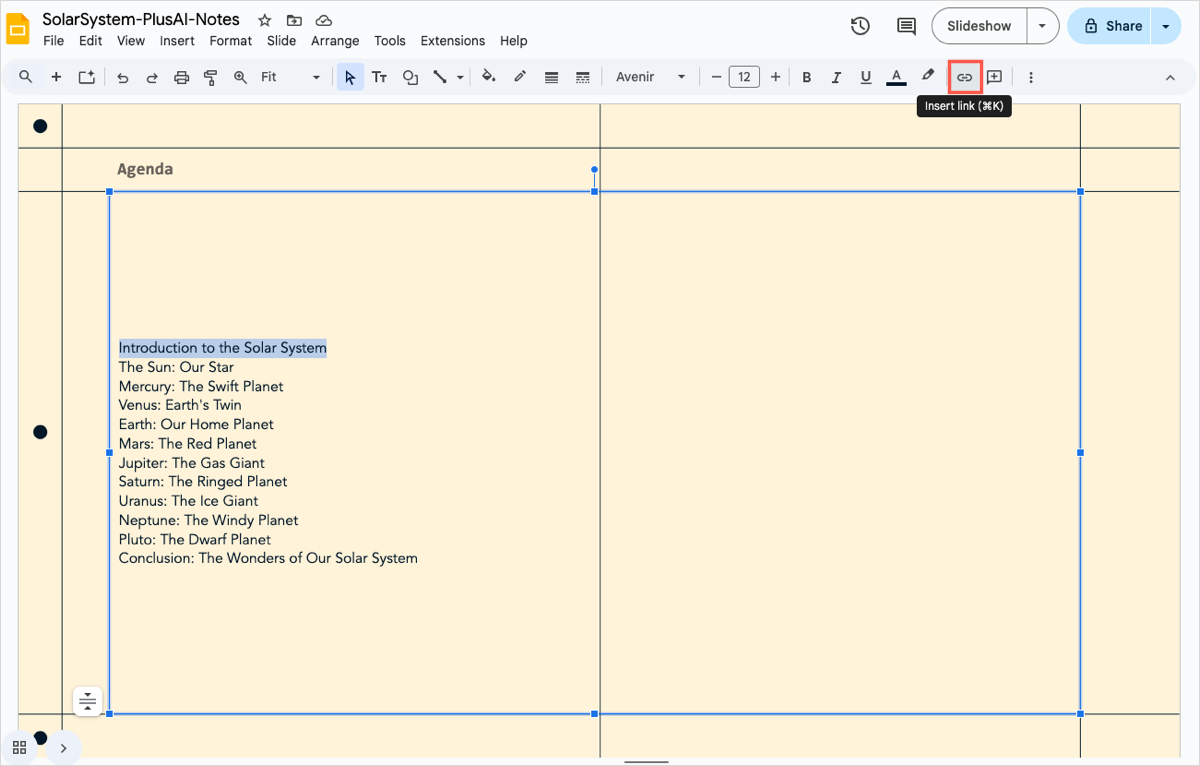
One of the simplest ways to create a linked table of contents is with Plus AI. Whenever you build a slideshow with Plus, you receive an Agenda slide which lists each slide title in the presentation. You can then just add links directly to the slides.
- Go to the Agenda slide and select the text for the first slide.
- Click the Insert link button in the toolbar or choose Insert > Link in the menu.
- In the pop-up box, pick Slides in this presentation.
- Select the appropriate slide and you’ll see your text linked.
- Follow the same steps for the remaining titles on the Agenda slide.
When you present your slideshow, just click a slide title to visit that slide.
Remember that you can build entire slideshows or edit existing presentations with Plus AI. And you can take advantage of advanced features like the AI image generator and custom icons.
Visit the Plus AI website for a list of features, example presentations, and to start your free trial.
Conclusion
Sections give you an efficient way to organize your slideshow, rearrange slides, locate slides, and even assign sections to collaborators. Until Google adds the Section feature to Slides, these workarounds should have you covered.
FAQs
How do you divide a Google Slide into four parts?
You can divide a Google Slide by inserting a table. Go to Insert > Table and choose the 2 x 2 option. You can then resize the table to cover the entire slide and remove the table border if you like.
Why can’t I group Google Slides?
You can group elements like images and shapes but not videos, text boxes, or tables. You can also only group items on the same slide. Check out our article on grouping things in Google Slides for complete details.
Can I make columns in Google Slides?
Yes, you can make columns in Google Slides using a few different methods. You can use a presentation maker like Plus AI, copy from an existing layout, create a table, or use a pre-made template. See how to add columns in Google Slides for steps and details for each method.
