
Resources
How to master Google Slides transitions and animations
Learn how to use transitions and animations in Google Slides.
Visual effects like slide transitions and animations can greatly improve a static presentation if used wisely. You can use a fade or flip effect to transition from one slide to the next or have an image fly in from the top and back out the bottom of a slide.
While Google Slides may not have the number of transitions and animations that PowerPoint offers, nor the robust capabilities of them, you can still use these effects to enhance your slideshow.
To help you make the most of these visuals, we’ll explain how to set up transitions and animations in Google Slides along with some tips for working with them.
Transitions versus animations in Google Slides
While you may notice some people use the words Transition and Animation interchangeably, there is a difference between the two when it comes to presentations.
A transition is a visual effect you see when advancing from one slide to the next. Here’s an example of the Gallery transition in Google Slides.
An animation is a motion effect you see for individual slide elements. Here’s an example of the Zoom In animation for a text box in Google Slides.

You can use one, the other, or both in your Google Slides presentations. The key is to not overdo it. Use these types of effects to add to the slideshow, not detract from it.
If you’re new to working with these visuals, we’ll walk you through several ways to use them in your slideshow.
How to set up transitions in Google Slides
You can currently choose from seven different slide transitions in Google Slides. So, you can pick from a subtle effect or one with a little pizzazz as you advance between your slides.
- Select the slide that you want to transition to; for example, if you want to transition from Slide 1 to Slide 2, you’d select Slide 2.
- Either click Transition in the toolbar or Slide > Transition in the menu.
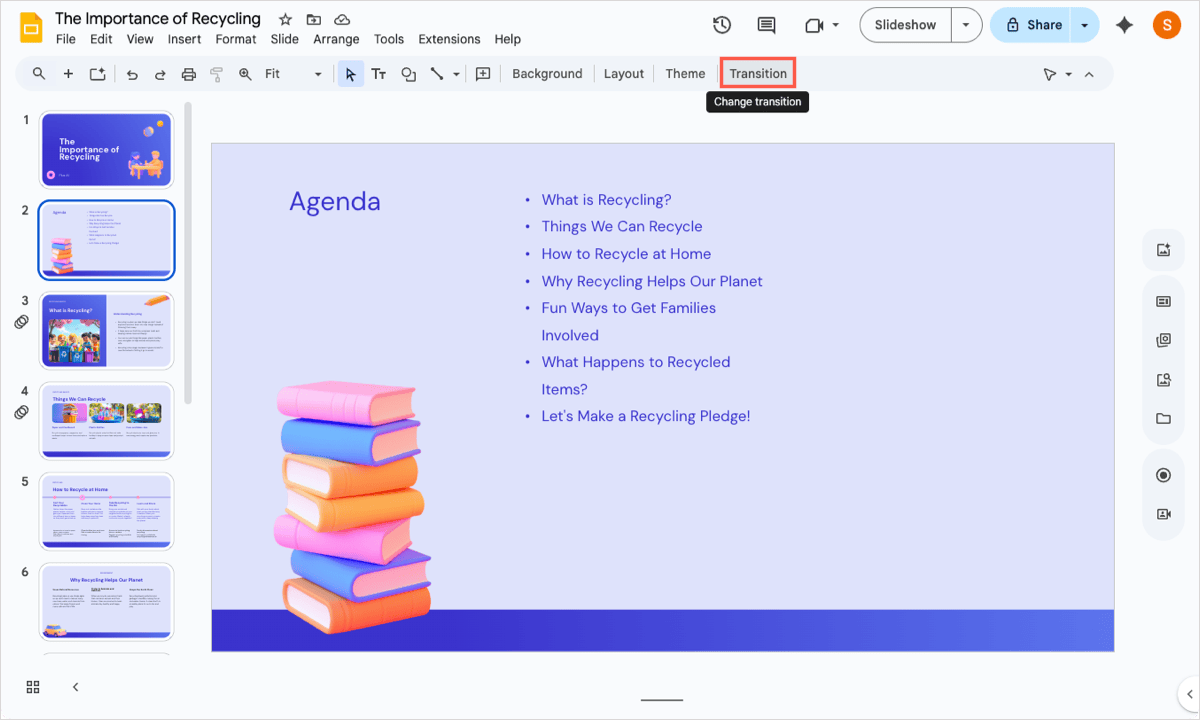
- When the Motion sidebar appears, the Slide Transition section should expand automatically.
- Choose the transition effect in the None drop-down list.
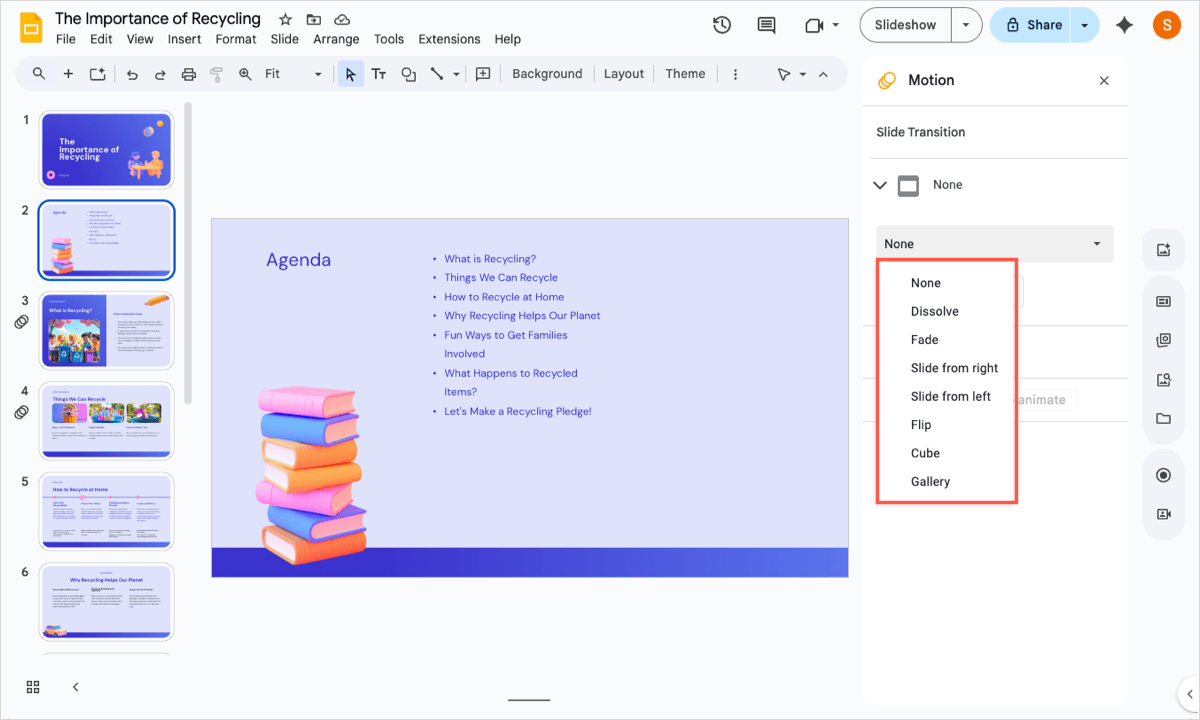
- Optionally, adjust the speed of the effect using the slider.
- To preview the transition, press Play.
You can also do the following:
- To add the same transition to all slides in the presentation, use the Apply to all slides button.
- To remove a transition later, follow Steps 1 and 2 above and then choose None in the drop-down list.
Tip: Do you also use PowerPoint? Look at these PowerPoint slide transitions with examples.
Setting up animations in Google Slides
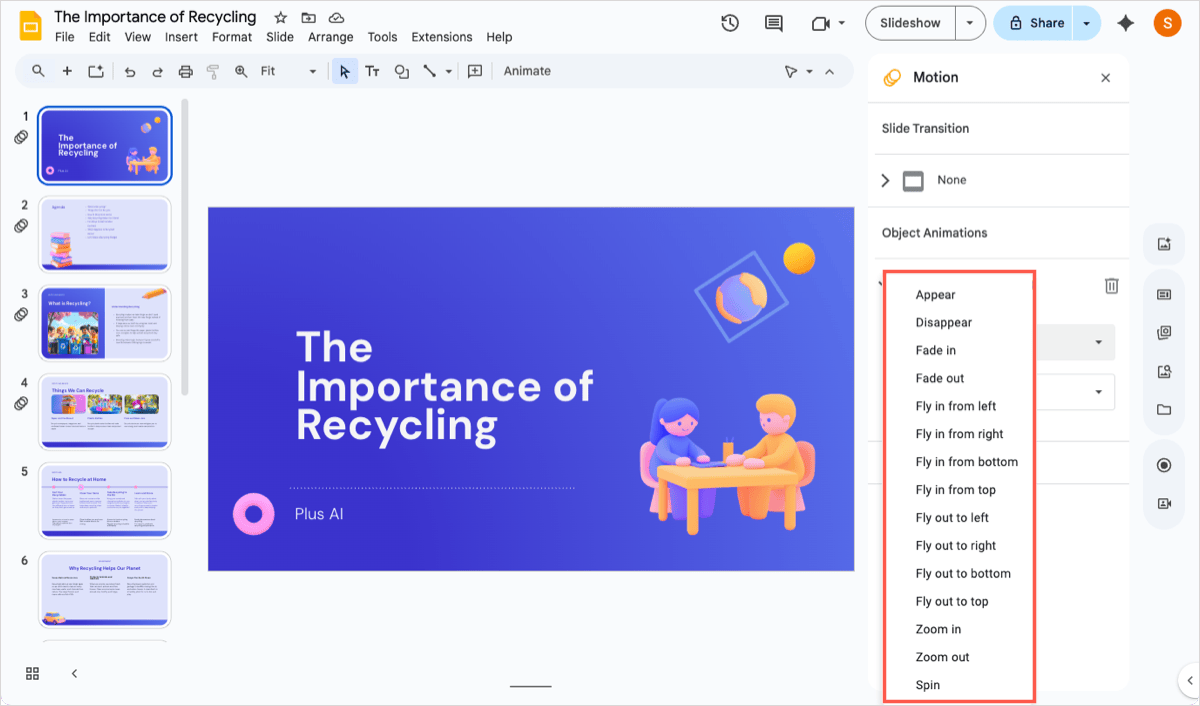
Google Slides offers about 15 animations to spruce up your presentation. You can do things like make a photo of an airplane fly, a star shape zoom in, or text appear one line at a time.
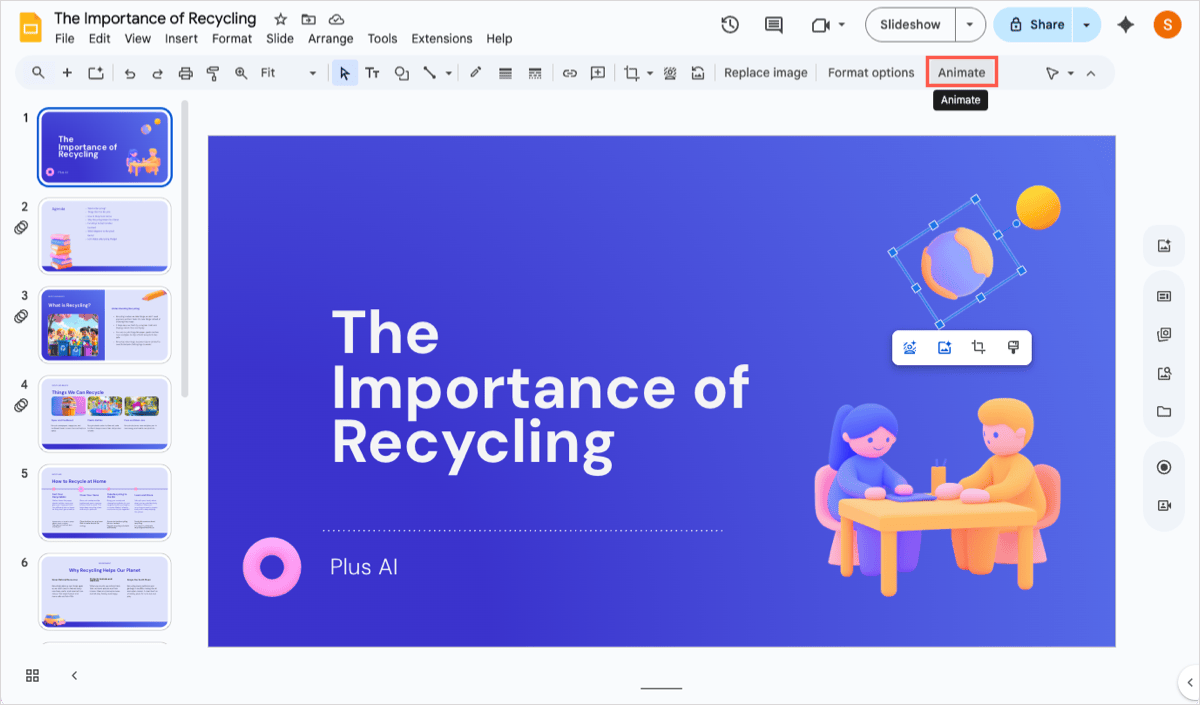
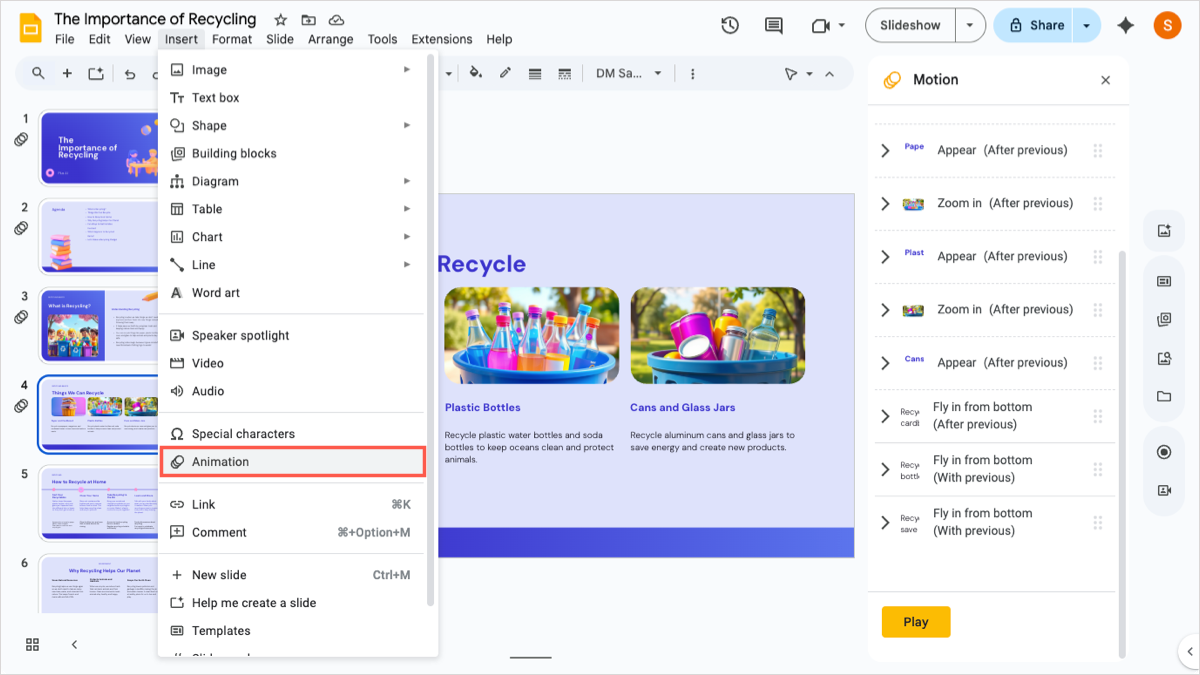
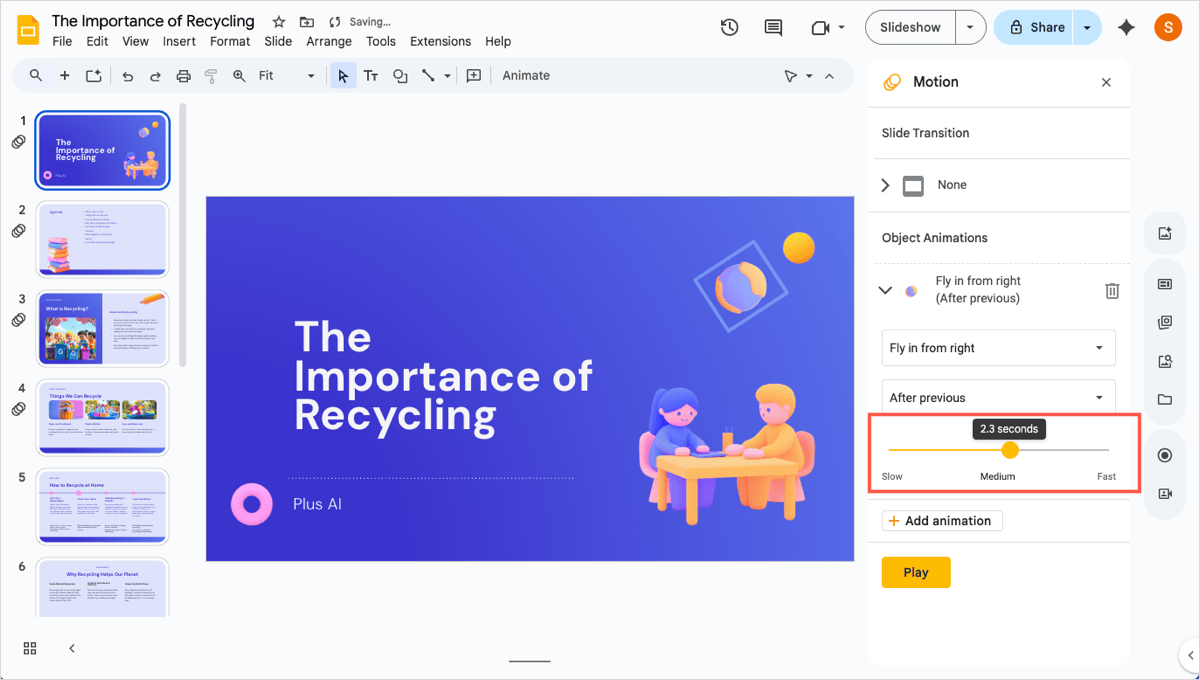
- Select a slide element. This can be a text box, image, shape, or other object.
- Either click Animate in the toolbar or Insert > Animation in the menu.
- When the Motion sidebar appears, the Object Animations section should expand automatically.
- You’ll notice the default animation is Appear, but you can pick a different one using that drop-down box.
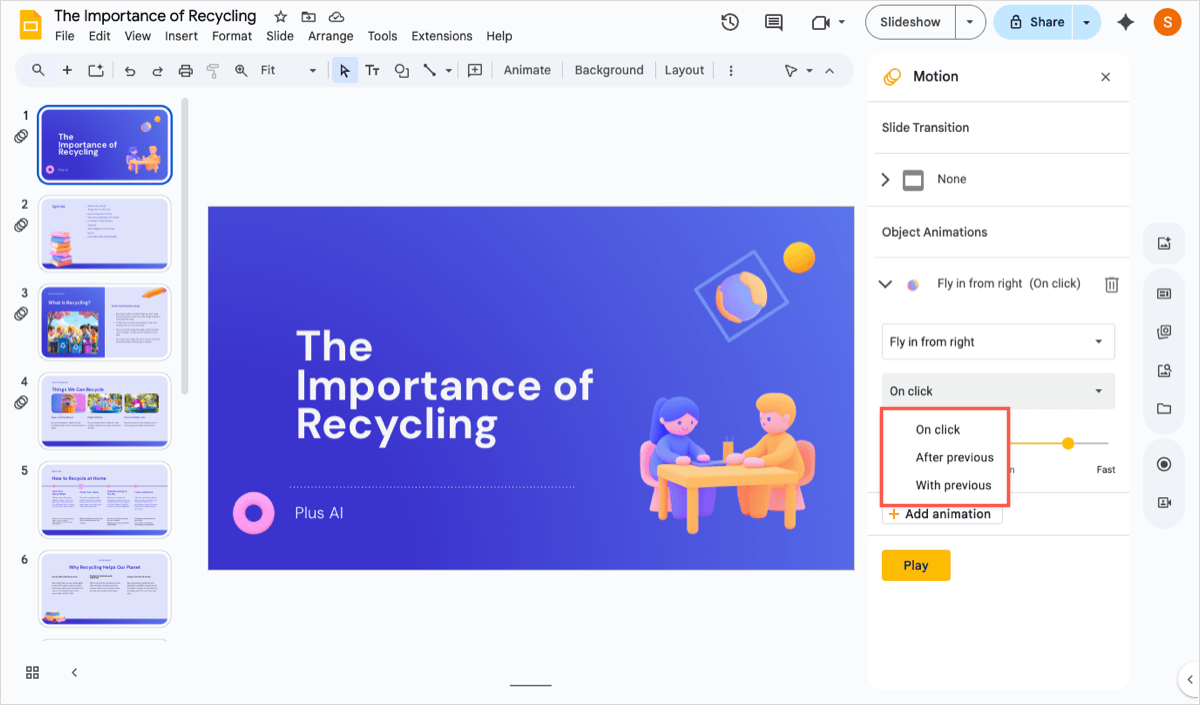
- Choose how to trigger the animation in the next drop-down box.
- On Click: Triggered by clicking the slide.
- After Previous: Triggered when the previous animation ends.
- With Previous: Triggered at the same time as the previous animation.
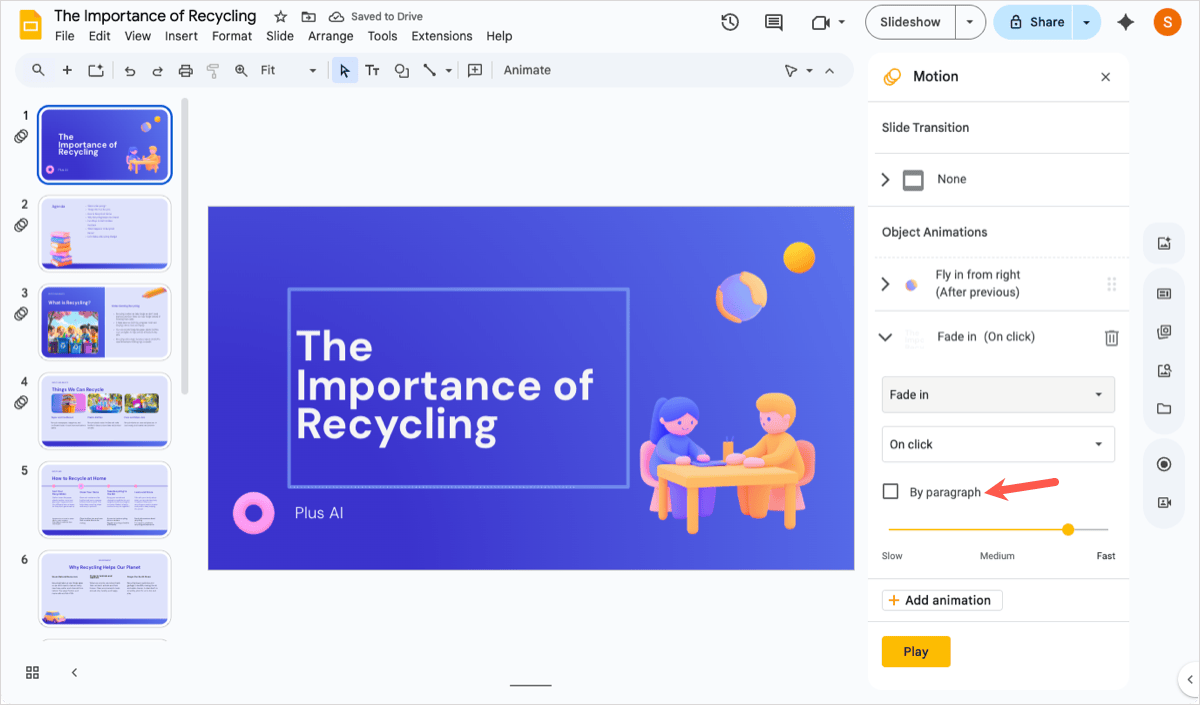
- With some animations, you can select the speed using the slider. If you’re animating a text box, you’ll also notice a By paragraph checkbox to animate paragraphs or list items one at a time.
- To preview the animation, press Play.
You can also do the following:
- To apply another animation to the same slide element, keep that element selected and click Add animation.
- To apply an animation to a different slide element, select the other element and click Add animation.
- To remove an animation, expand it in the sidebar and click the Delete button (trash can).
- To rearrange the order of the animations, select and then drag the animation up or down in the sidebar. You can reorder animations for the same slide element or all animations on the slide. Just remember to adjust the triggers as needed.
Tip: Learn how to use animations in PowerPoint as another option.
Google Slides animation ideas
Maybe you’re ready to add some animations to your slideshow but aren’t sure what would work best. Here are some sample animations using images, text, and shapes for inspiration.
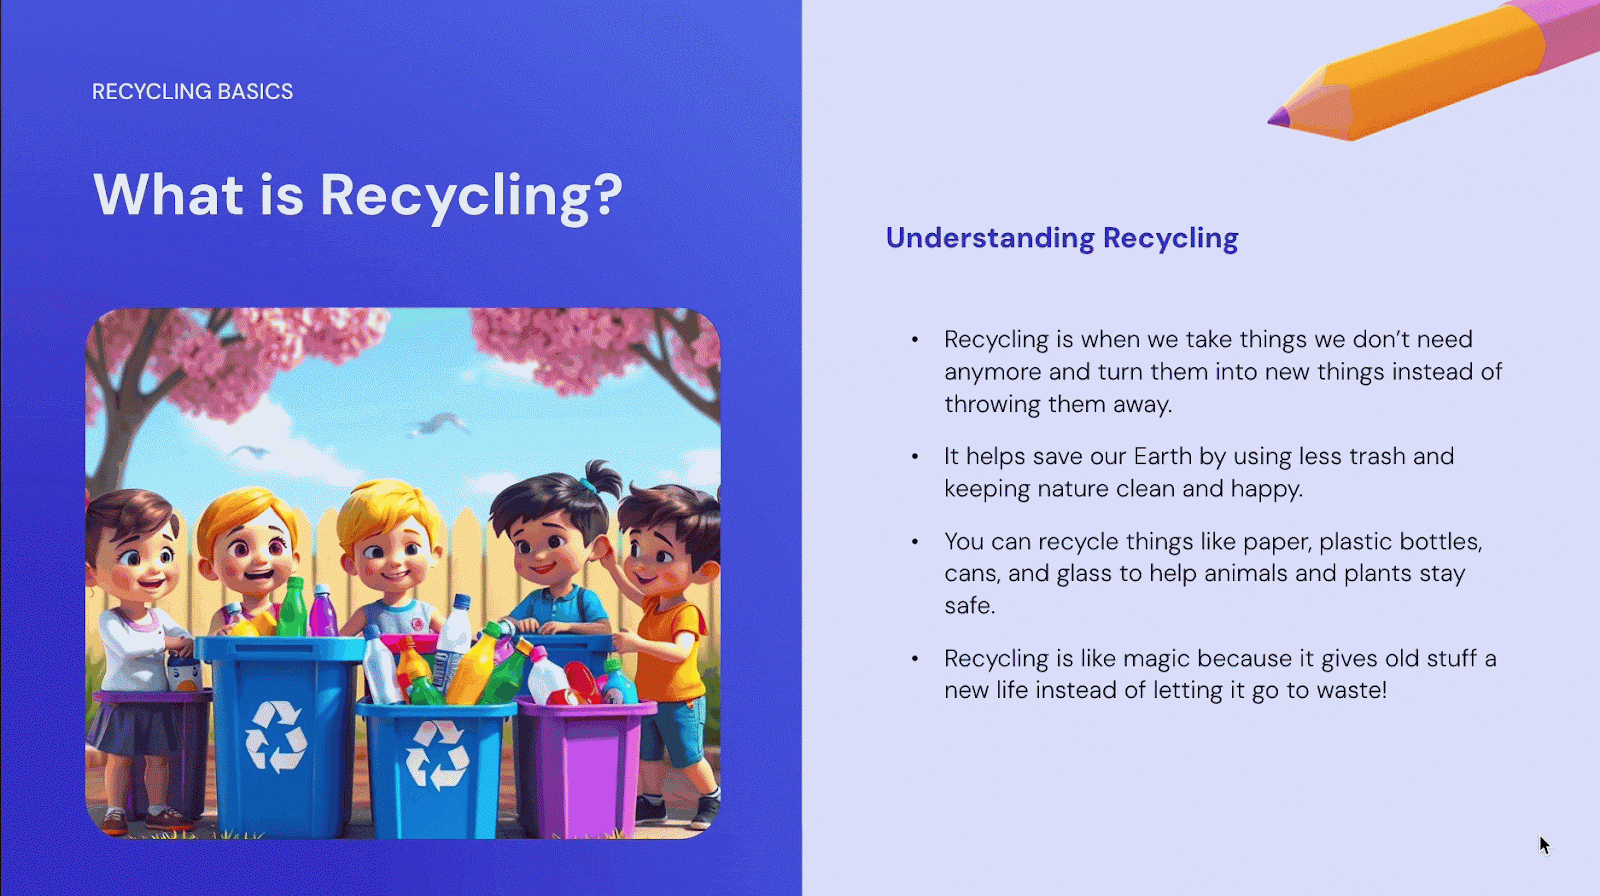
This first slide uses animations for both images and text. We use the animations to bring the images in with their labels as we present them and then have additional text with more details fly in afterwards.
This next slide uses animations for text and a shape. It’s a slide we can speak to or simply show on its own.

For one more idea, this slide uses one simple animation for the text box. Using a list of items, we can have each appear separately, giving us an opportunity to speak to each item as it appears.
Tip: Want ideas for PowerPoint too? Check out these unique animations for PowerPoint.
Tips for working with animations in Google Slides
As you add animations to your slide elements, certain things can be a bit unclear or just not obvious. So, we have some tips for you as you work with these visual effects, specifically in Google Slides.
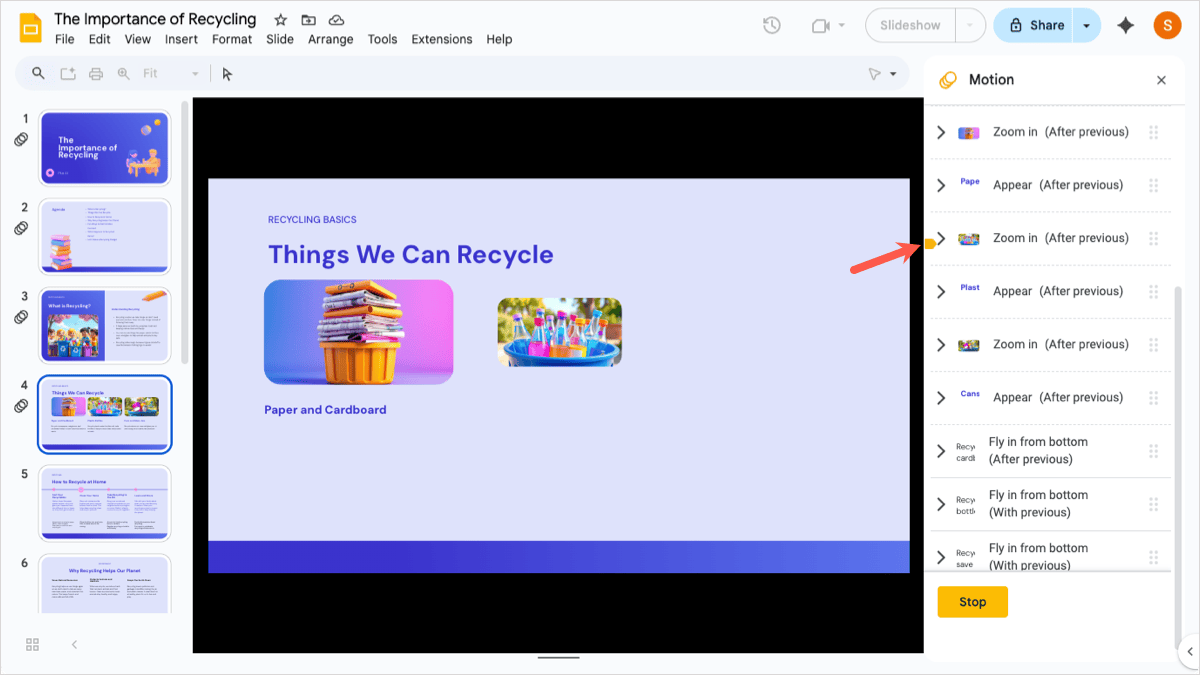
When you have an animation (or transition) on a slide, you’ll see an Animation indicator next to the slide in both Filmstrip and Grid View. This is useful if you’re unsure where you added or even missed adding an effect.
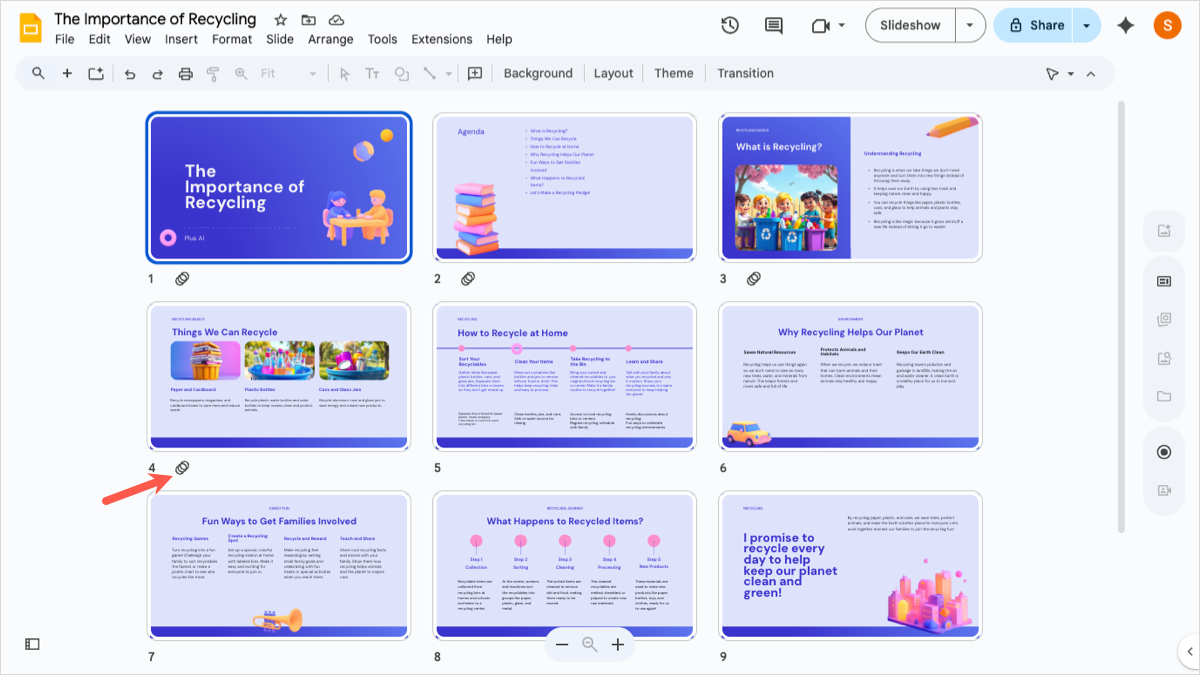
If you preview your animations with the Play button as described earlier, you’ll see each animation marked in the list as it plays on the slide. This is helpful if you have many and find that you need to adjust one.
When you have multiple animations listed in the sidebar and want to add another, you may no longer see the Add animation button. Select the element and go to Insert > Animation to apply the effect in the sidebar.
If you use the speed slider to increase or decrease the animation speed, you can slide the yellow dot to move in small increments or simply click the slider to move it in one-second increments.
Tip: Did you know that you can use animations to make interactive Google Slides?
Conclusion
Now that you know more about adding transitions and animations in Google Slides, it’s time to put that knowledge to work! Add something attractive to your slideshow that keeps your audience’s attention while still successfully delivering your message.
FAQs
Can Google Slides transition automatically?
To transition Google Slides automatically, you can set up a self-playing presentation. Select Slideshow to begin the presentation. Open the More menu (three dots), move to Auto-play, and choose the slide timing in the pop-out menu.
What should be avoided when adding animations to slides?
Try not to use too many animations on a single slide or those that are overly flashy. For example, you don’t want images and objects flying in from all directions or text that spins to the point it’s unreadable. The key is to use animations that enhance your presentation without distracting from the message.
How to make Google Slides look good?
To make both your content and your visuals look great, consider using a template. Presentation generators like Plus AI provide attractive templates with effective layouts that accommodate all slide elements.
You should also keep your slides consistent in style and color, use fonts that are easy to read, and not include many image-heavy slides. Check out how to make Google Slides that look good for more tips and tricks.