Designing slides isn’t always the easiest job. You want to use elements that are useful but also complement the appearance. Maybe you have a shape in Google Slides that you want to lock into place so that you can design around it, place other items over it, or use it as a slide border.
Depending on how or where you want your shape locked, we’ll show you a few different methods.
{toc}
Lock a shape by grouping objects
If you want to lock a shape with other objects on your slide so it can’t be moved or edited individually, you can group it with the other items.
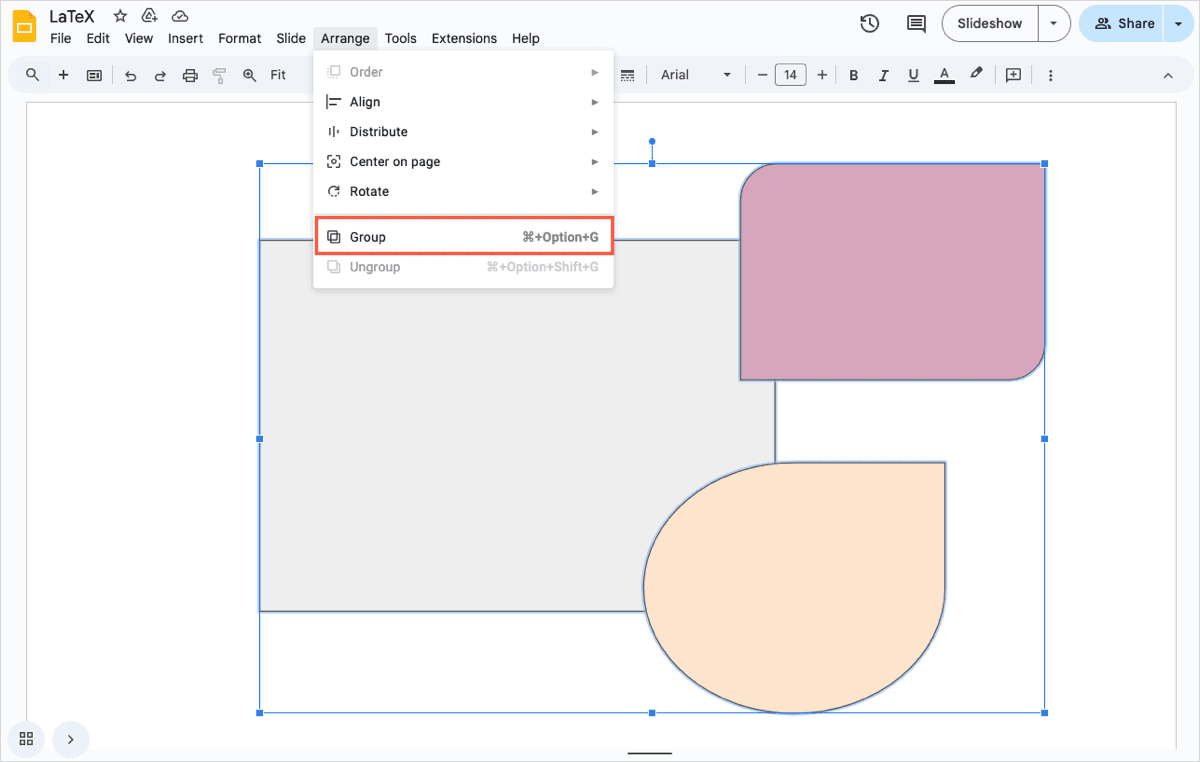
- Select the shapes you want to group by holding Shift as you choose each one.
- Pick Arrange in the menu or right-click and select Group.
- You can then move, resize, rotate, or copy the group as if it was a single object.
You can check out our complete how-to for grouping items in Google Slides to learn more about selecting multiple items and ungrouping objects.
Lock a shape by editing the theme
If you only have a single shape that you want to lock in place on a slide, you can do so by editing the theme. With this method, you can customize the shape and place it into a permanent position on the slide. You can then reuse the slide with the locked shape, and the only way to change the shape moving forward is to edit the theme.
- Select a slide using the layout you want to change.
- Choose Slide > Edit theme in the menu.
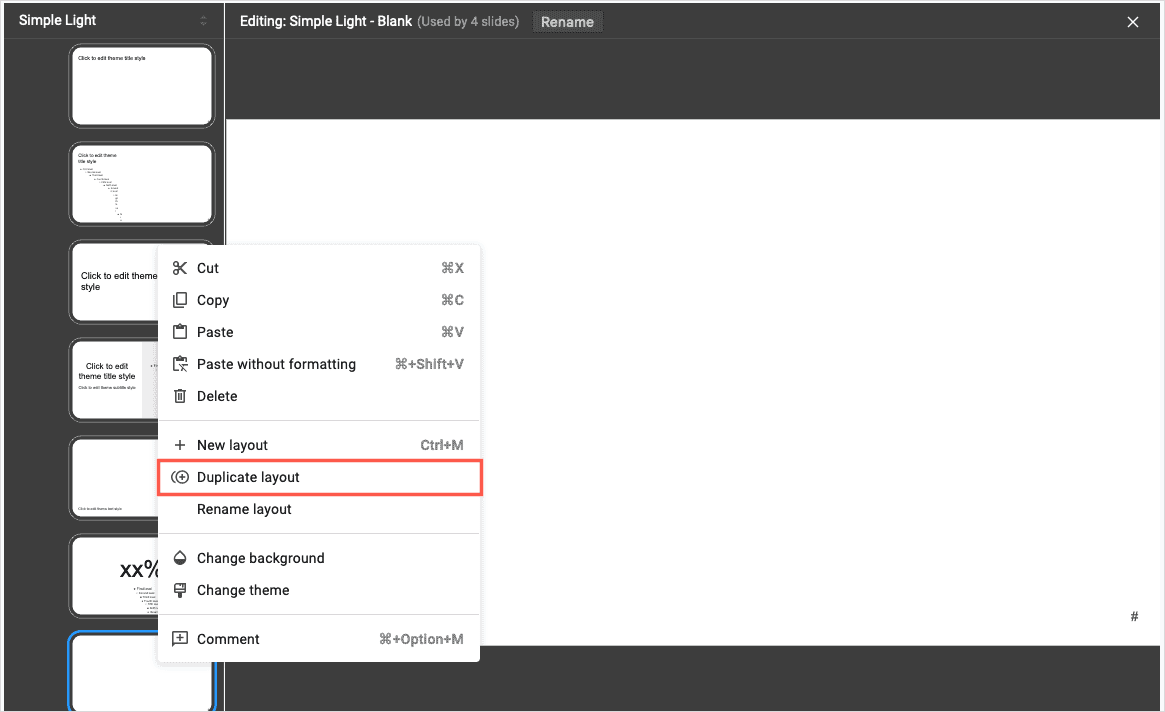
- Right-click the slide in the theme editor and pick Duplicate layout.
- When the slide copy appears, add your shape to it and customize it per your preference.
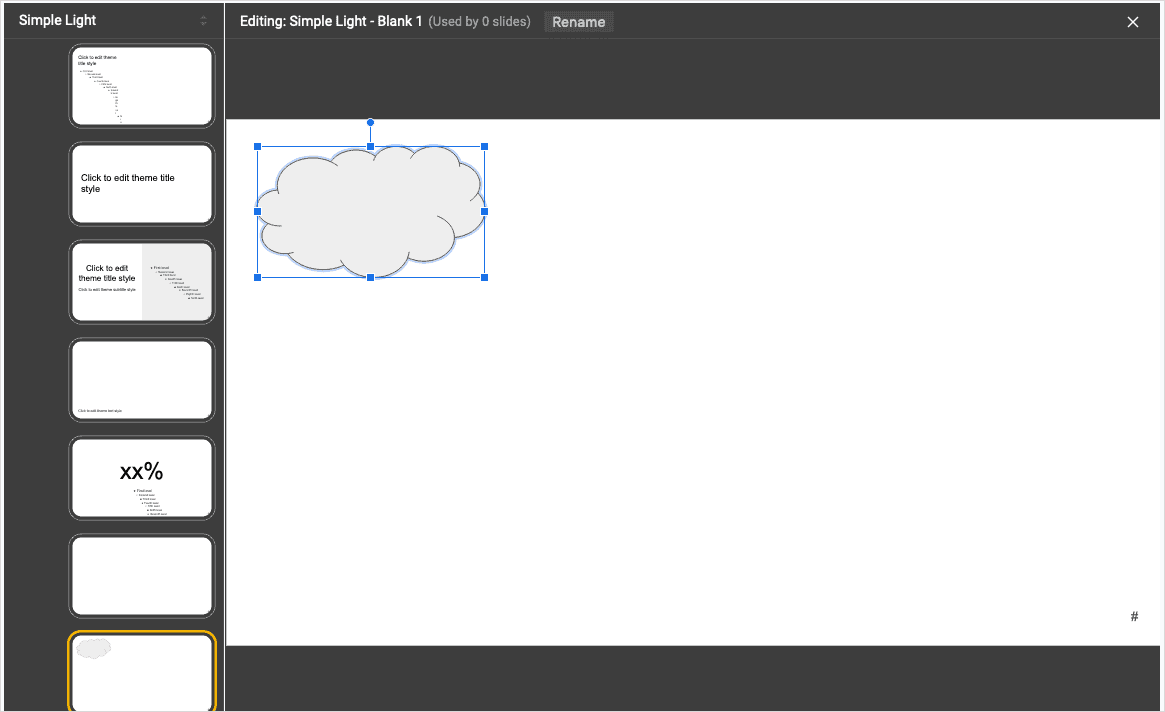
- Use the X on the top right to close the editor.
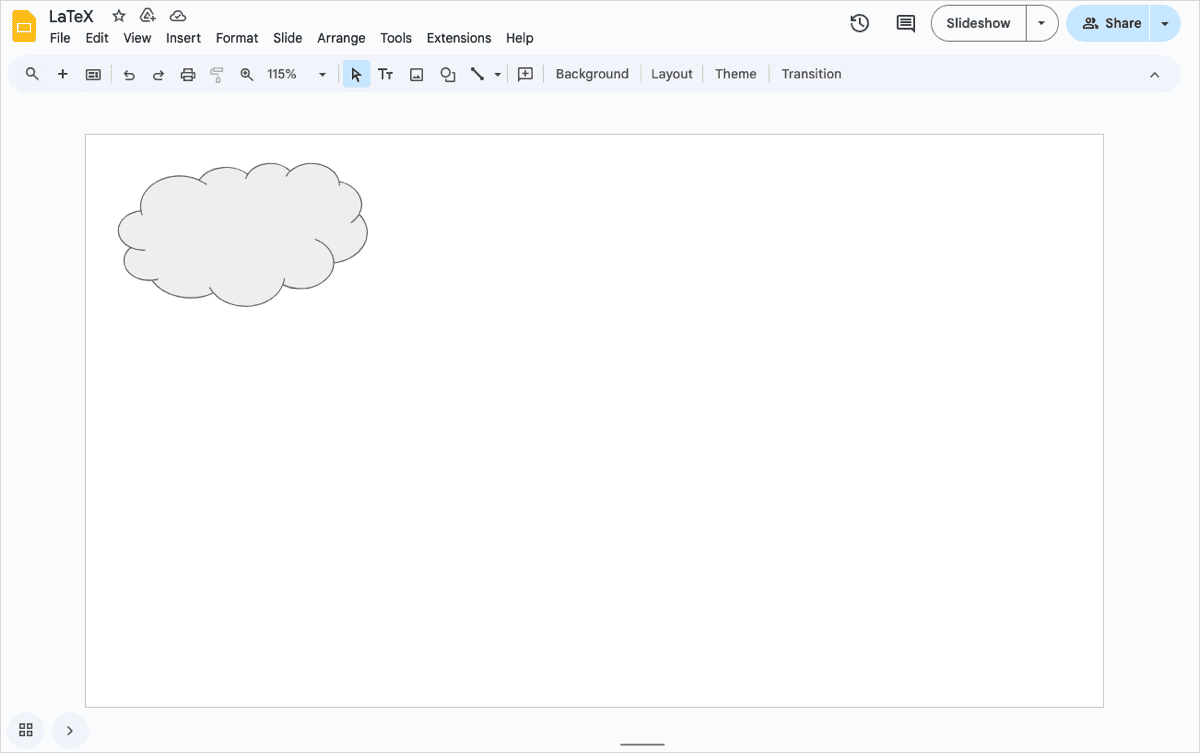
You’ll then see the duplicated layout with the shape locked in place.
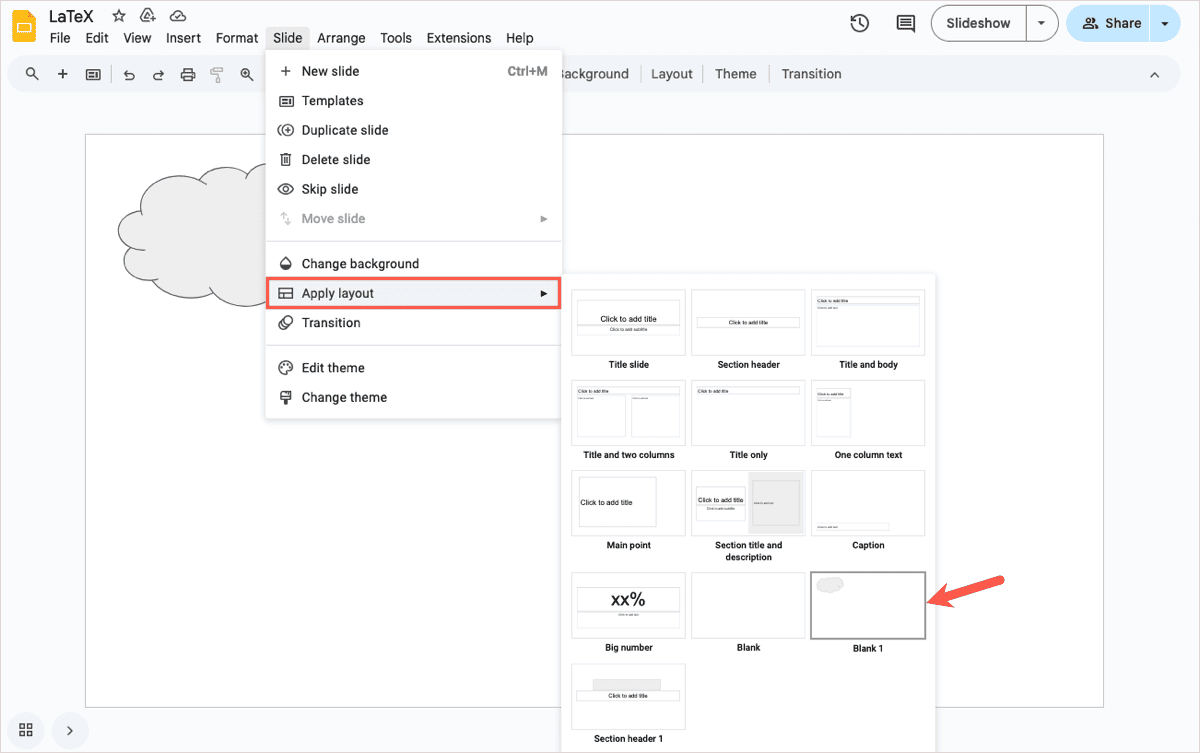
To reuse the same slide layout, simply select it when you add a new slide by using Slide > Apply layout in the menu.
Tip: Learn how to change transparency in Google Slides for your shape.
Lock a shape by making it the background
One more way to lock a shape in Google Slides is to make it the slide background. This is ideal if you use a shape as a slide border or other design element.
- Add the shape to your slide and customize it as you please.
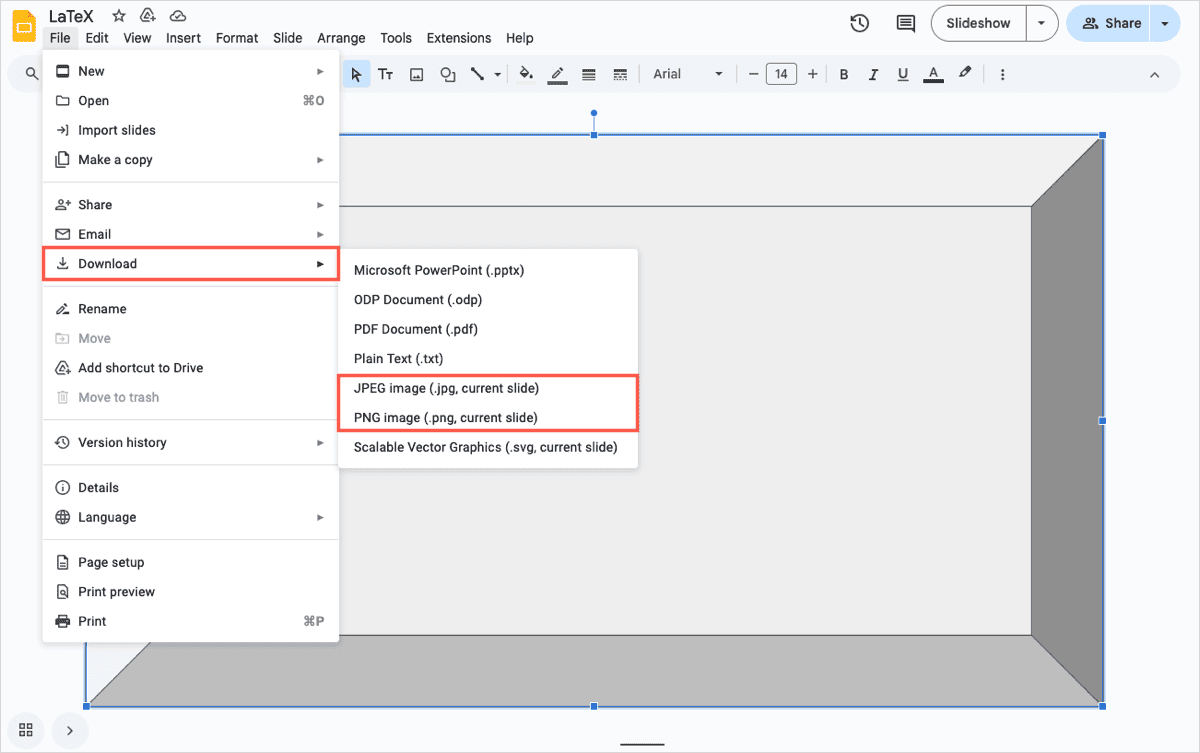
- Save the slide as an image by going to File > Download and picking either the JPG image or PNG image file format for the current slide.
- Select the slide where you want to use the locked shape as a background.
- Click Background in the top toolbar.

- Pick Choose image, locate the image you saved in Step 2, and select Insert.
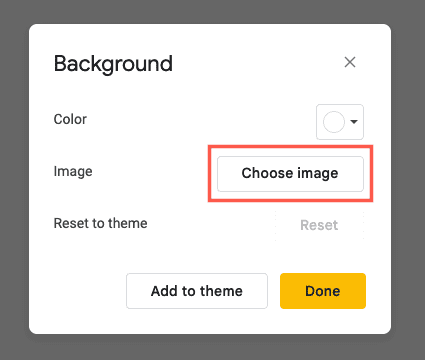
- Click Done and you’ll then see your shape locked in as the slide background and can make it the background on other slides if you like.
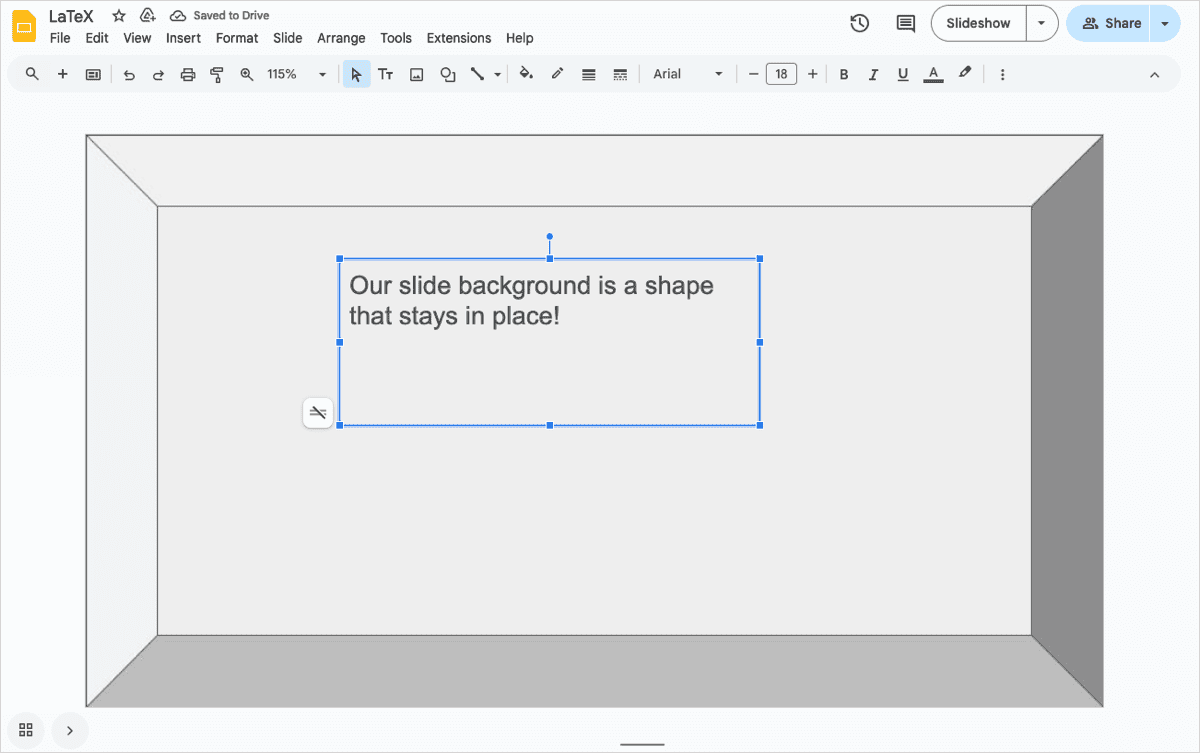
Tip: Look at how to change the opacity in Google Slides if you’re working with images in addition to shapes.
Get design help with Plus AI for Google Slides
As mentioned, designing slides for a presentation isn’t always easy. With Plus AI for Google Slides, you can use attractive templates and custom branded designs for appealing and consistent slideshows.
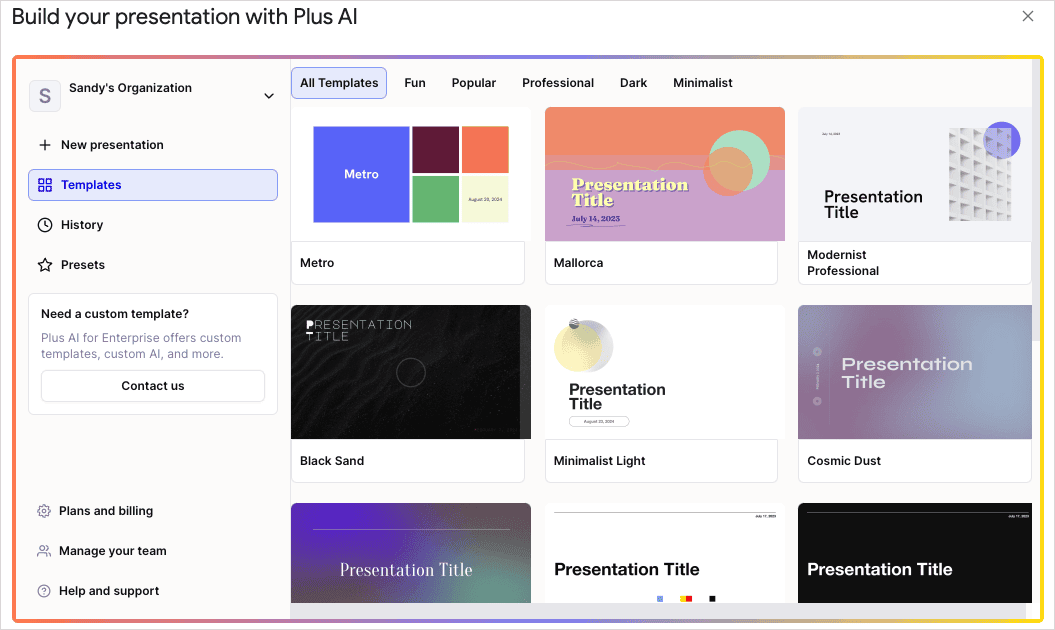
You can create new presentations by selecting a template which includes slide layouts and other elements fitting for any type of slideshow.
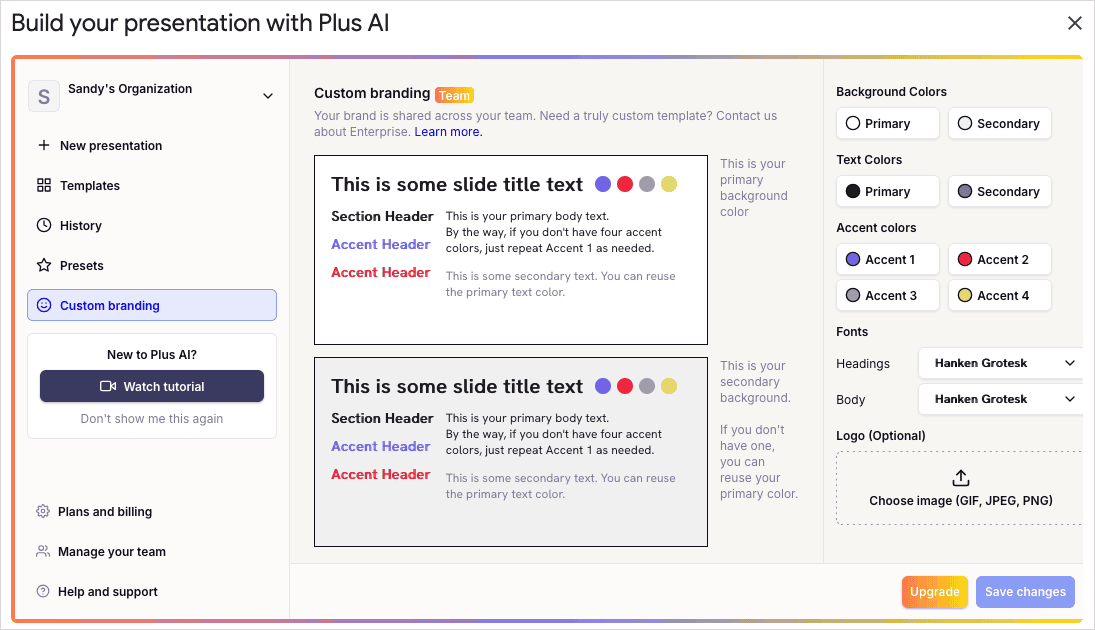
You can also set up custom branding with colors and fonts to create harmonious slides for each presentation you build.
Visit the Plus AI website to see details on features, templates, and starting your free trial.
Conclusion
By locking a shape with these methods, you don’t have to worry about accidentally moving it, whether in a group with other objects, as a permanent element, or even a slide background.
Now that you know how to lock a shape in place on Google Slides, take a look at our comprehensive guide to using AI in Slides.
FAQs
How do you make a shape move in Google Slides?
You can animate shapes and other objects in Google Slides to make them move on your slides. Select the shape and go to Insert > Animation in the menu. Choose the type of movement and its trigger in the sidebar. Use Play to see a preview.
How do you change the position of a shape in Google Slides?
Along with dragging to move a shape to its new spot on the slide, you can set an exact position. Select the shape and click Format options in the toolbar. Expand the Position section of the sidebar and either pick a position in the drop-down menu or enter the coordinates in the boxes.
How do you align shapes in Google Slides?
If lining up objects on your Google Slides results in the appearance you want, this is easy. Select the shape(s), open Arrange in the menu, move to Align, and choose an option in the pop-out menu.


