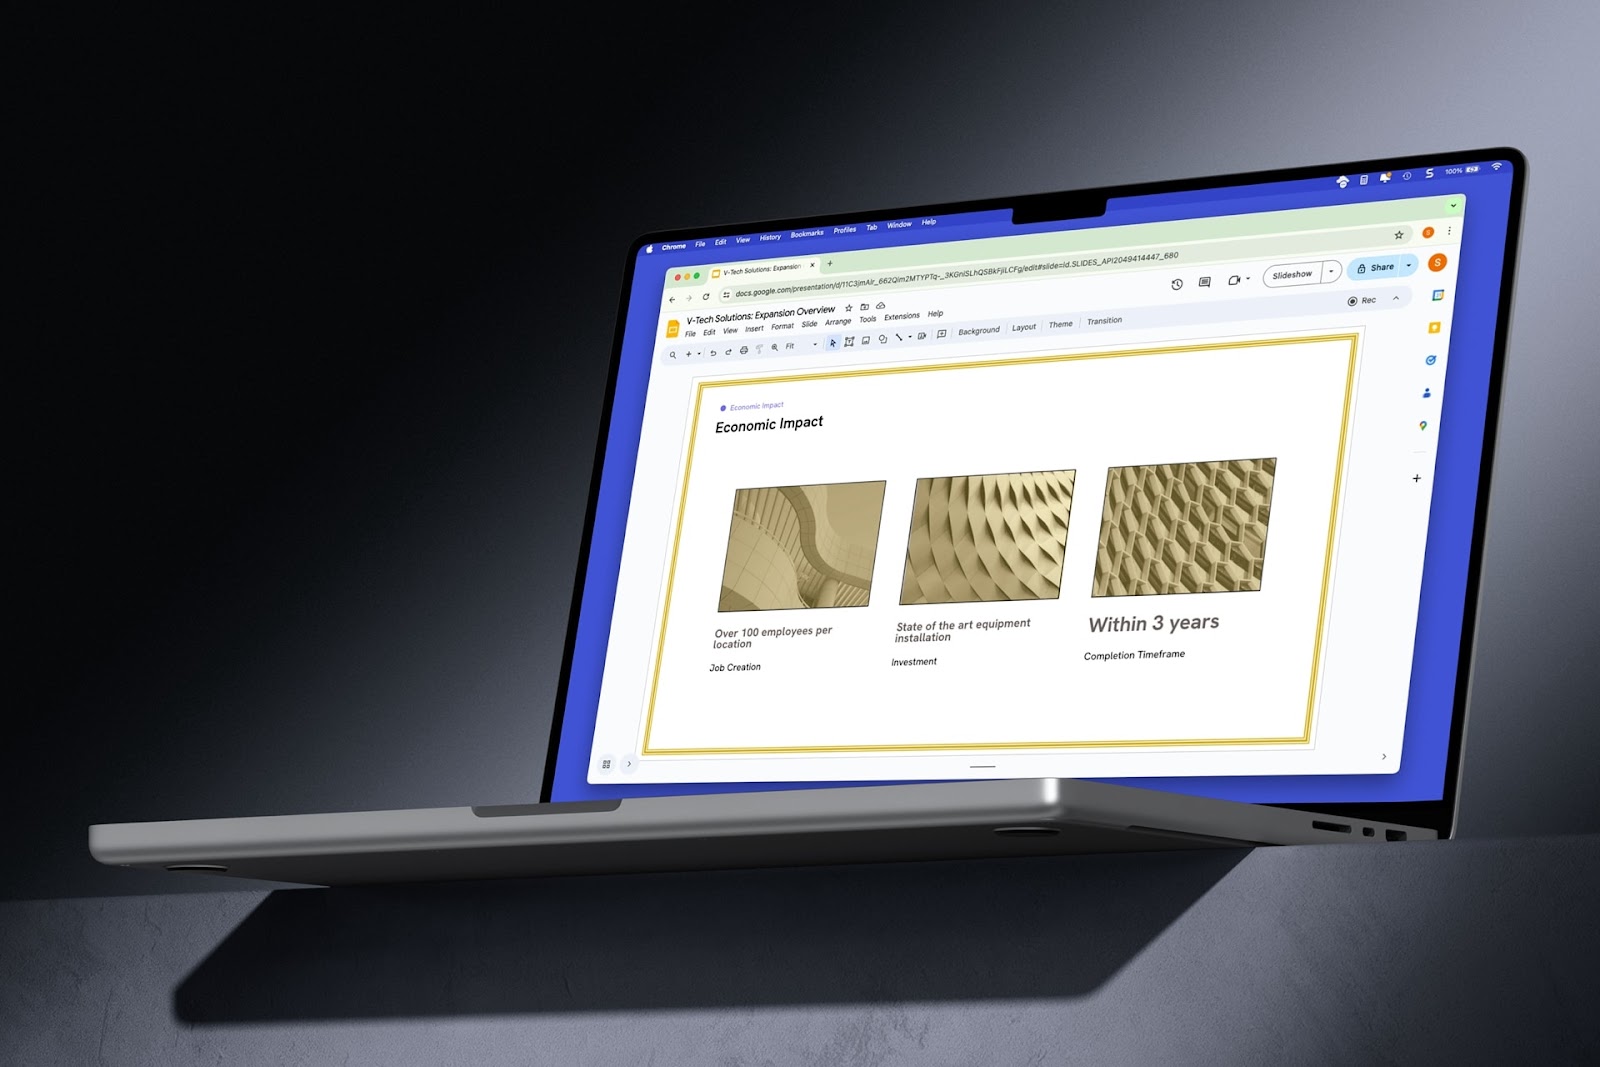
If want to add a subtle flare to make your slides pop, you can add borders in Google Slides.
A border can provide a consistent appearance if you add one to each slide, keep your pictures from blending into the background, and make selected text stand out from the rest of the presentation.
We’ll show you how to add a slide border, as well as borders around objects. Additionally, we’ll explain how you can use templates with Plus AI for a consistent and professional slideshow appearance from the start.
{toc}
Add a basic border to a slide in Google Slides
While you can change the background of your Google Slide, you won’t currently see a way to add a border around the edges.
The best way to add a border is to insert a rectangle shape, customize the border, and send the shape to the back of the slide.
Here's how to add a border to a Google Slide:
- Open your presentation in Google Slides and choose the slide where you want the border.
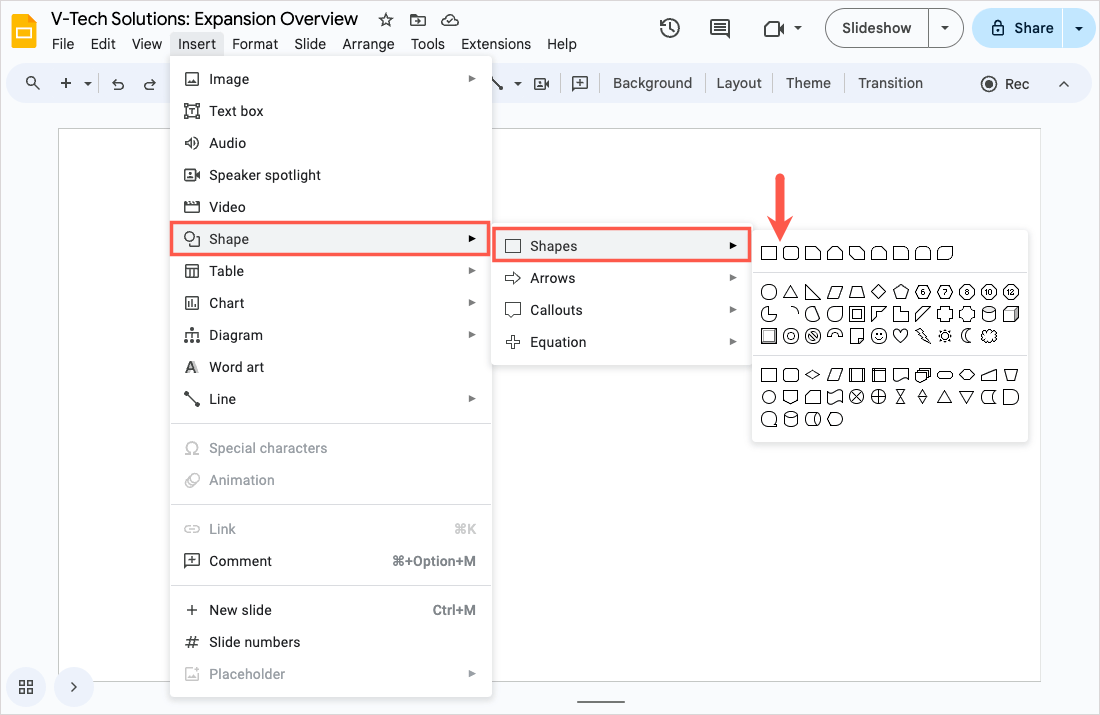
- Go to Insert in the menu, move to Shape > Shapes, and pick the Rectangle or Rounded Rectangle.
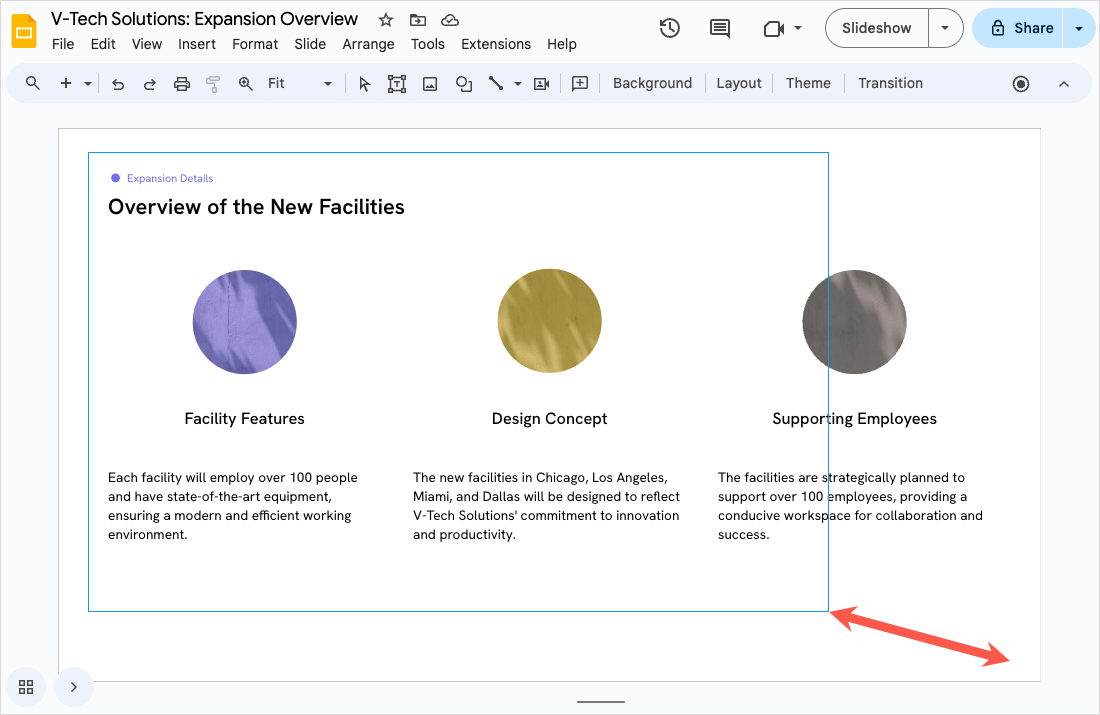
- Drag your cursor to cover the slide with the shape. You should see red lines as you reach the margins for the slide with the edges of the shape.
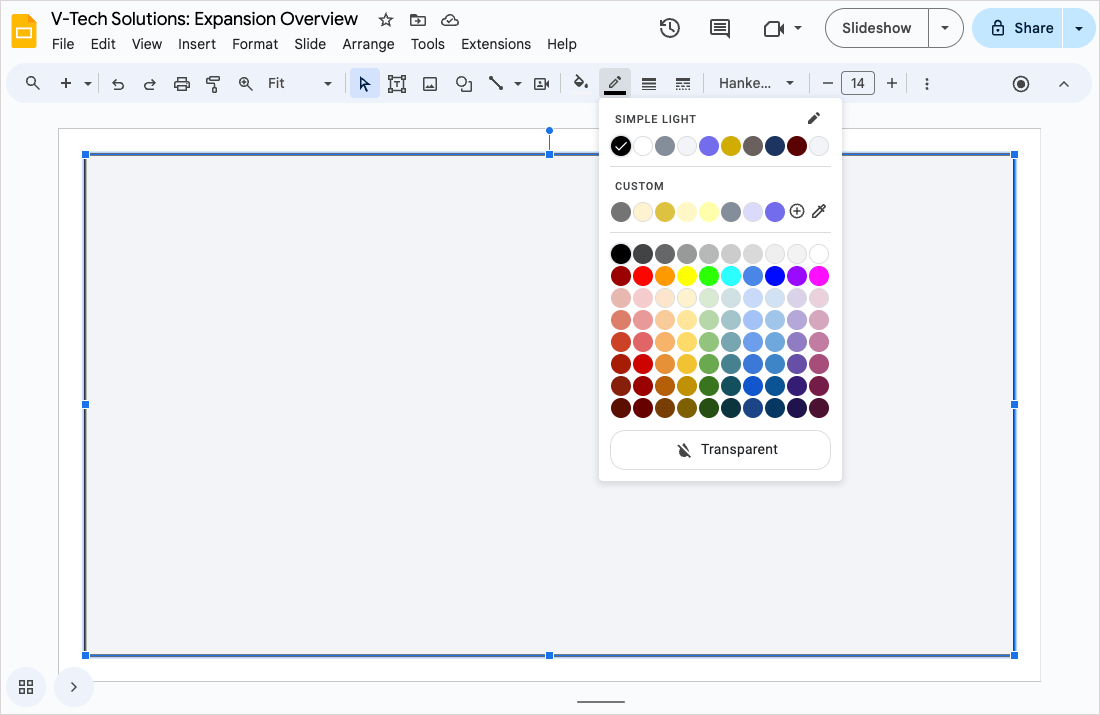
- Once you have your shape, keep it selected and use the Fill and Border buttons in the toolbar to customize it.some text
- Fill color: Optionally, you can choose a particular color or pick Transparent for no fill color.
- Border color: Choose the color for the border.
- Border width: Choose the width of the border in pixels.
- Border dash: Choose the line style for the border.
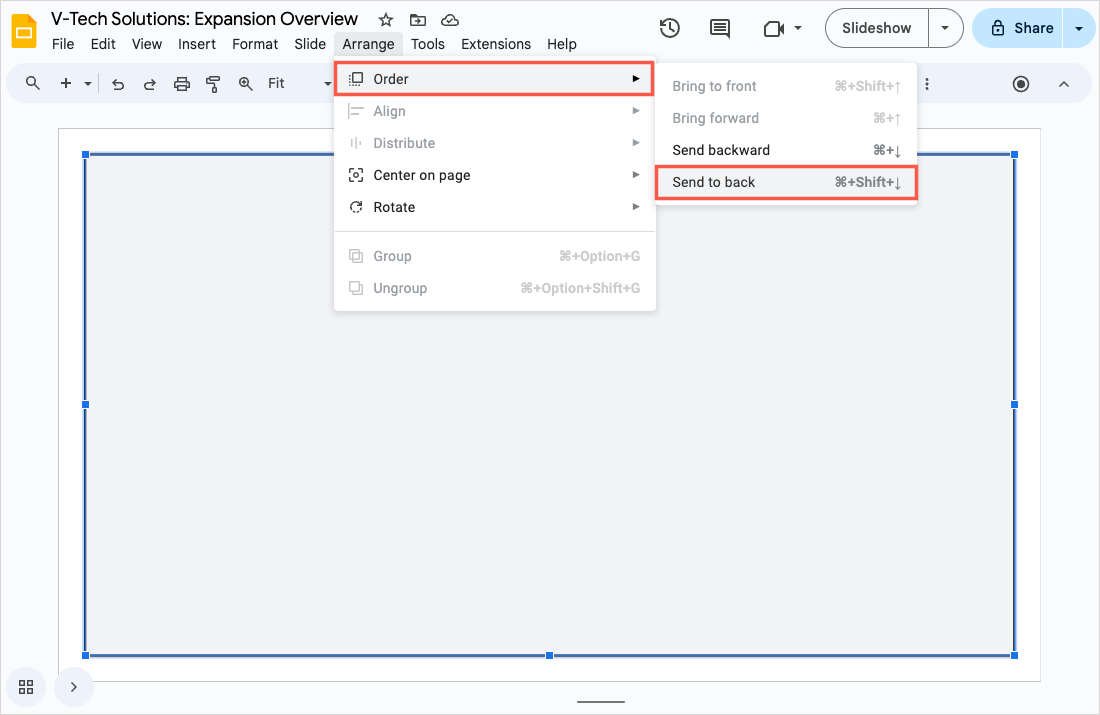
- Once you're done formatting the shape, send it to the back of the slide. Whether you have your other slide elements already or plan to add them later, this keeps the shape behind them. Do one of the following:
- Open Arrange in the menu, move to Order, and pick Send to back.
- Right-click, move to Order and pick Send to back.
- Use the keyboard shortcut Ctrl + Shift + Down arrow on Windows or Command + Shift + Down arrow on Mac.
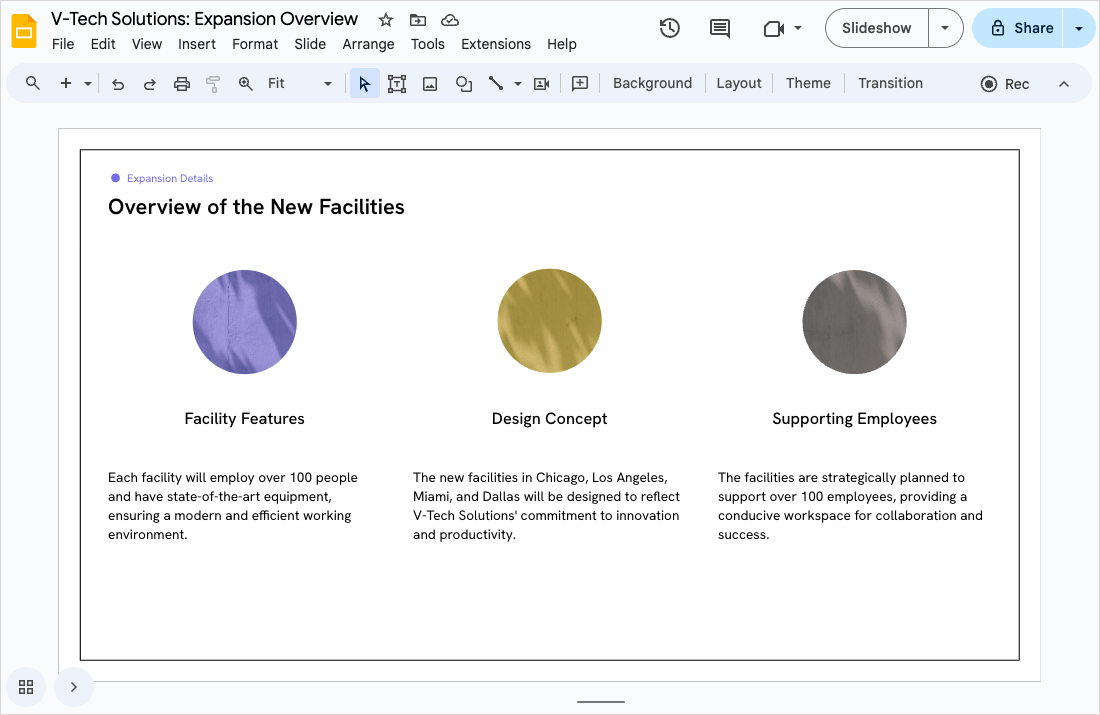
Now you have a border around your slide for a nice and neat appearance.
Related: Read our how-to for bringing an image forward in Google Slides.
Add borders to all slides
If you want to add a border to all slides in your presentation, this gives you a consistent appearance. You simply adjust the Theme (formerly known as the Master).
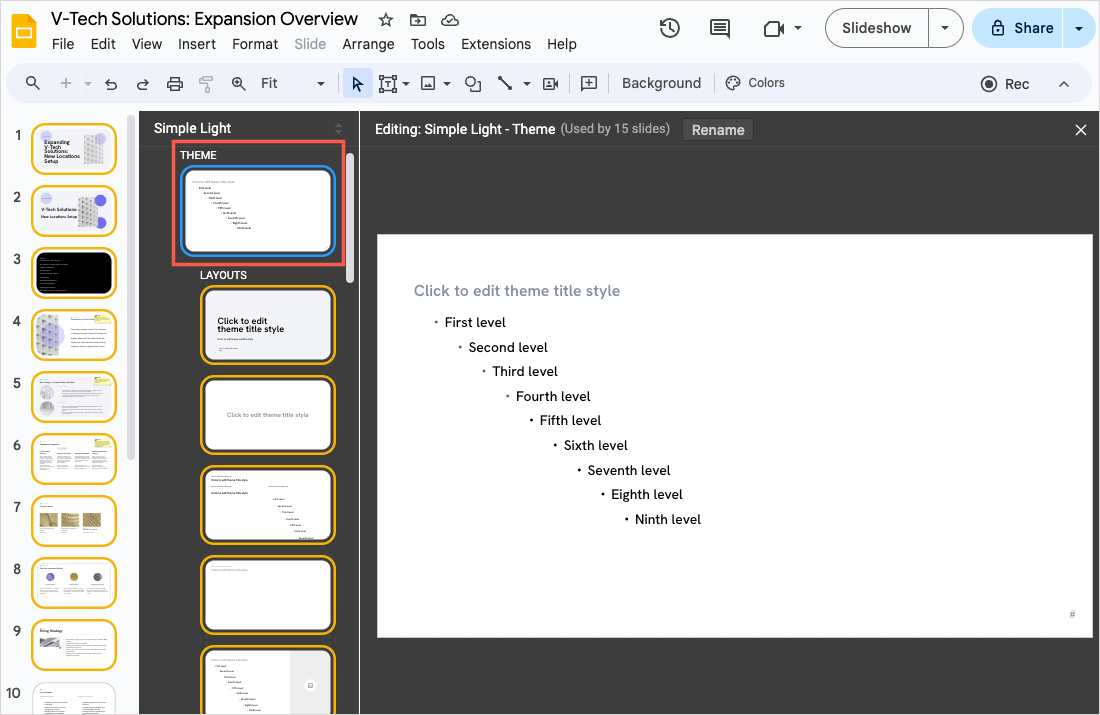
- Select Slide in the menu and pick Edit theme.
- Choose the first slide below Theme on the left.
- Follow the steps above to add, customize, and send the shape to the back.
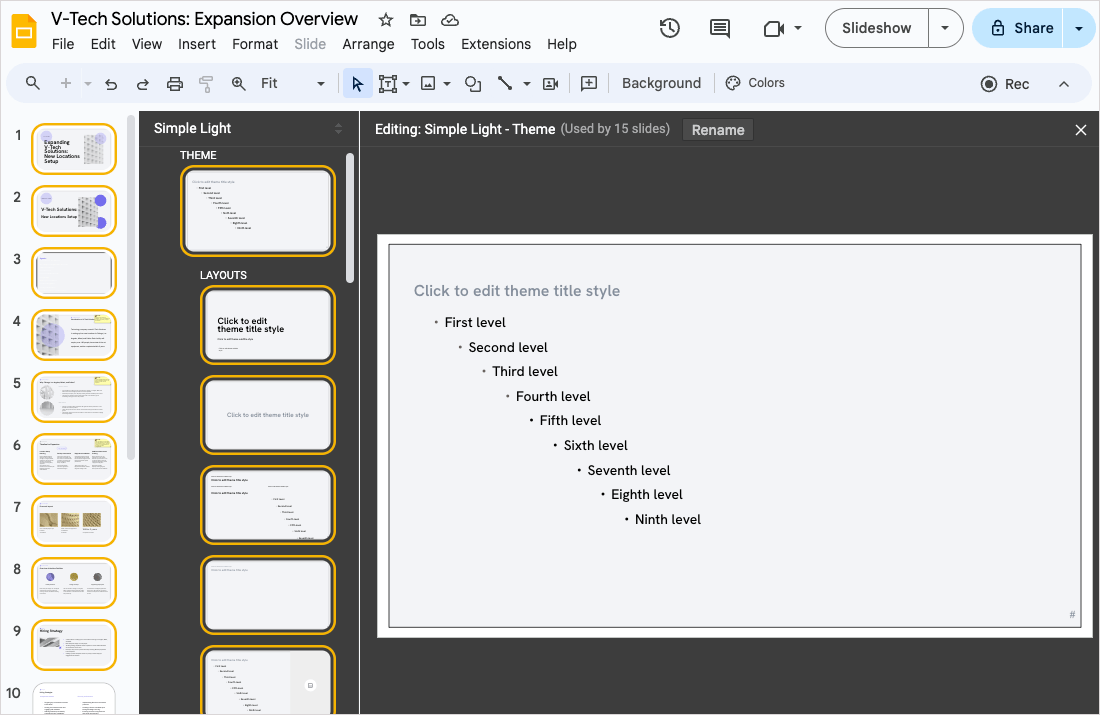
- Use the X on the top right to close the Theme editor.
You should then see your border around all slides in the presentation.
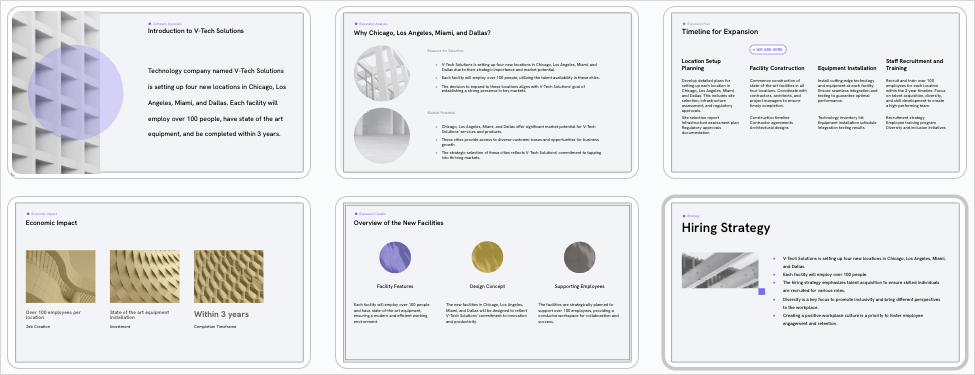
Note that you may have to follow the above steps to add the border to different layouts in the theme beyond the first slide, depending on your slideshow setup.
Related: Look at how to create a custom template in Google Slides.
Add a border to an object in Google Slides
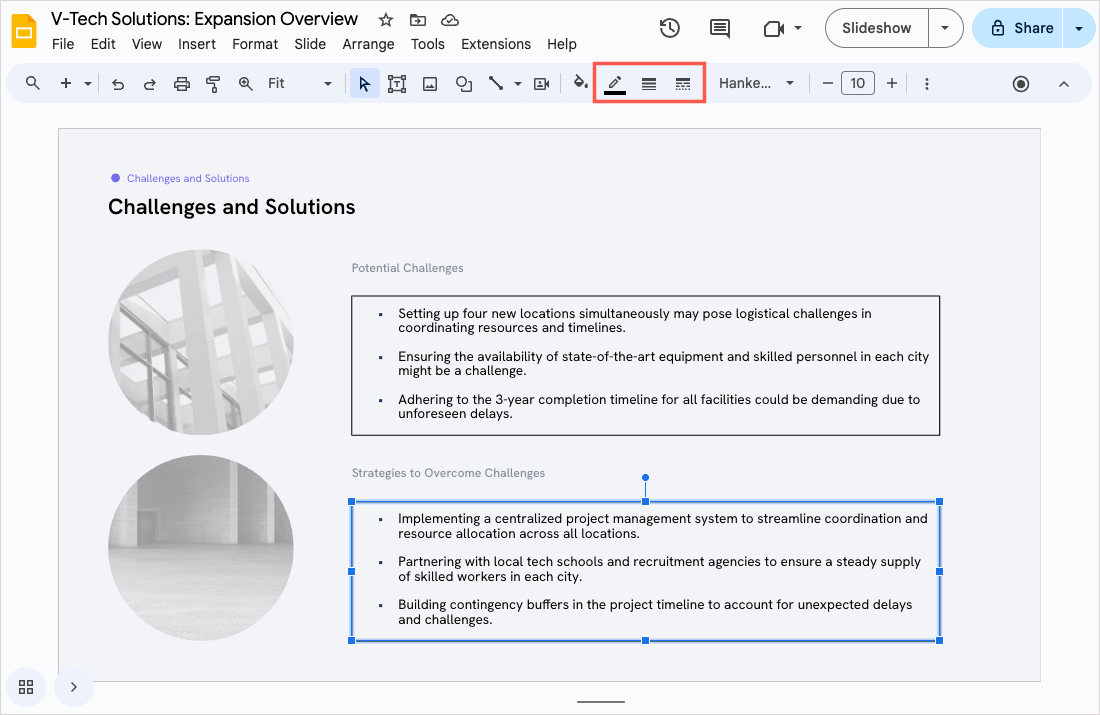
Maybe the border you want to add in Google Slides is to an image, text box, or other object. For these types of items, you can use the Border options in the top toolbar, similar to how you added a border to the shape described earlier.
Select the slide element and use the Border color, Border width, and Border dash buttons in the toolbar to add and customize the border.
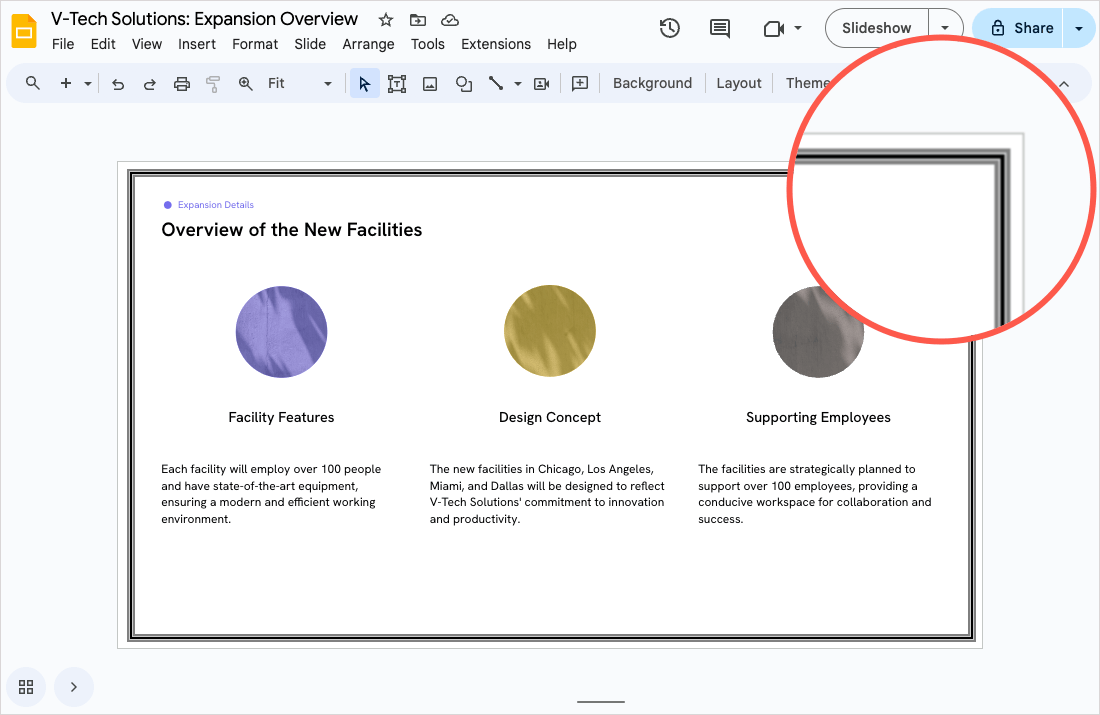
Add a decorative border in Google Slides
Along with basic borders that have a single line or dashed line style, you can create one with a bit of pizzazz. Whether a border for a slide, image, or text box, you can spruce it up!
- Follow the steps above to insert a shape for a slide border or select your slide element.
- Open Format in the menu and move to Borders & lines.
- In the pop-out menu, you’ll see those basics described above for border color, weight, and dash, but you’ll also see options for Border type and Border decorations. These let you pick something unique like a triple line or round cap.
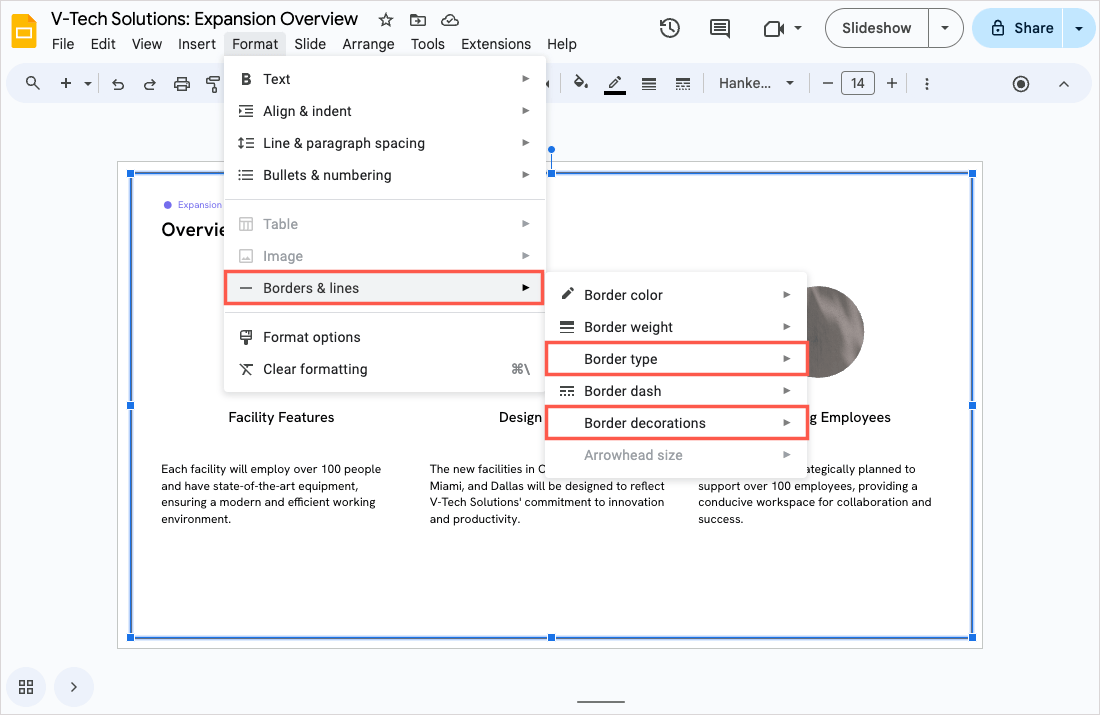
By choosing one of these styles and adding a splash of color, you can create a distinctive look for your border.
Create professional presentations with Plus AI
One important aspect of a visual presentation is consistency. Like adding borders to all your slides, you should strive to use consistent font styles, colors, and layouts. This shows professionalism and forethought that your audience will appreciate.
Using Plus AI for Google Slides can help you make beautiful slides in minutes. When you start with a template, you’ll receive fonts, styles, and color themes that match, complement each other, and carry over throughout the slideshow.

From a minimalist design to one that’s either professional or fun, you can choose from a variety of professionally-designed templates with Plus AI.
Conclusion
Adding a slide border or borders around your slide elements can enhance the appearance of your presentation and give it an appealing look and feel.
Now that you know how to add a border in Google Slides and get a professional look with Plus AI, take a look at how to add music to a presentation or how to change opacity in Google Slides.
FAQs
How do I add an outline in Google Slides?
Along with borders in Google Slides, you can use the outline tool to give your text a nice-looking appearance. Go to Insert > Word Art and enter the text. Then, use the font tools in the toolbar to choose a different font style if you like and then pick the colors for the fill and outline (border).
How do you hide borders in Google Slides?
If you have a border that you want to hide, just add transparency. Select the shape for the border and choose Transparent in the Border Color menu in the toolbar. To completely remove a slide border, simply delete the shape you used to create it.
How do I add a border in Google Sheets?
You can add borders around cells in Google Sheets to make certain data stand out. Select one or more cells where you want the border and then use the Border button in the top toolbar to choose the style, color, and edge locations.
