As a teacher, you want your classes to be fun and engaging for students by including presentations. But you already have a lot on your plate. Planning lessons, grading, and actually teaching take up most of your day. That’s when AI tools for teachers, like Plus AI, can help you create presentations faster without sacrificing quality.
Imagine taking a topic like the American Revolution and having a polished slide deck ready in minutes. That’s exactly what we are going to teach you today.
In this post, we’ll walk through how to use our AI presentation maker to build a complete lesson slideshow about the American Revolution quickly and effectively.
Plus AI is built directly into the tools you already use, working as an add-on in PowerPoint or Google Slides. We’ll start by brainstorming content, use ChatGPT for research and planning, then let Plus AI’s AI PowerPoint generator draft the slides.
Finally, we’ll refine the presentation and show how you can reuse it for future classes. Let’s dive in!
{toc}
Step 1: Choose and Brainstorm Your Lesson Topic
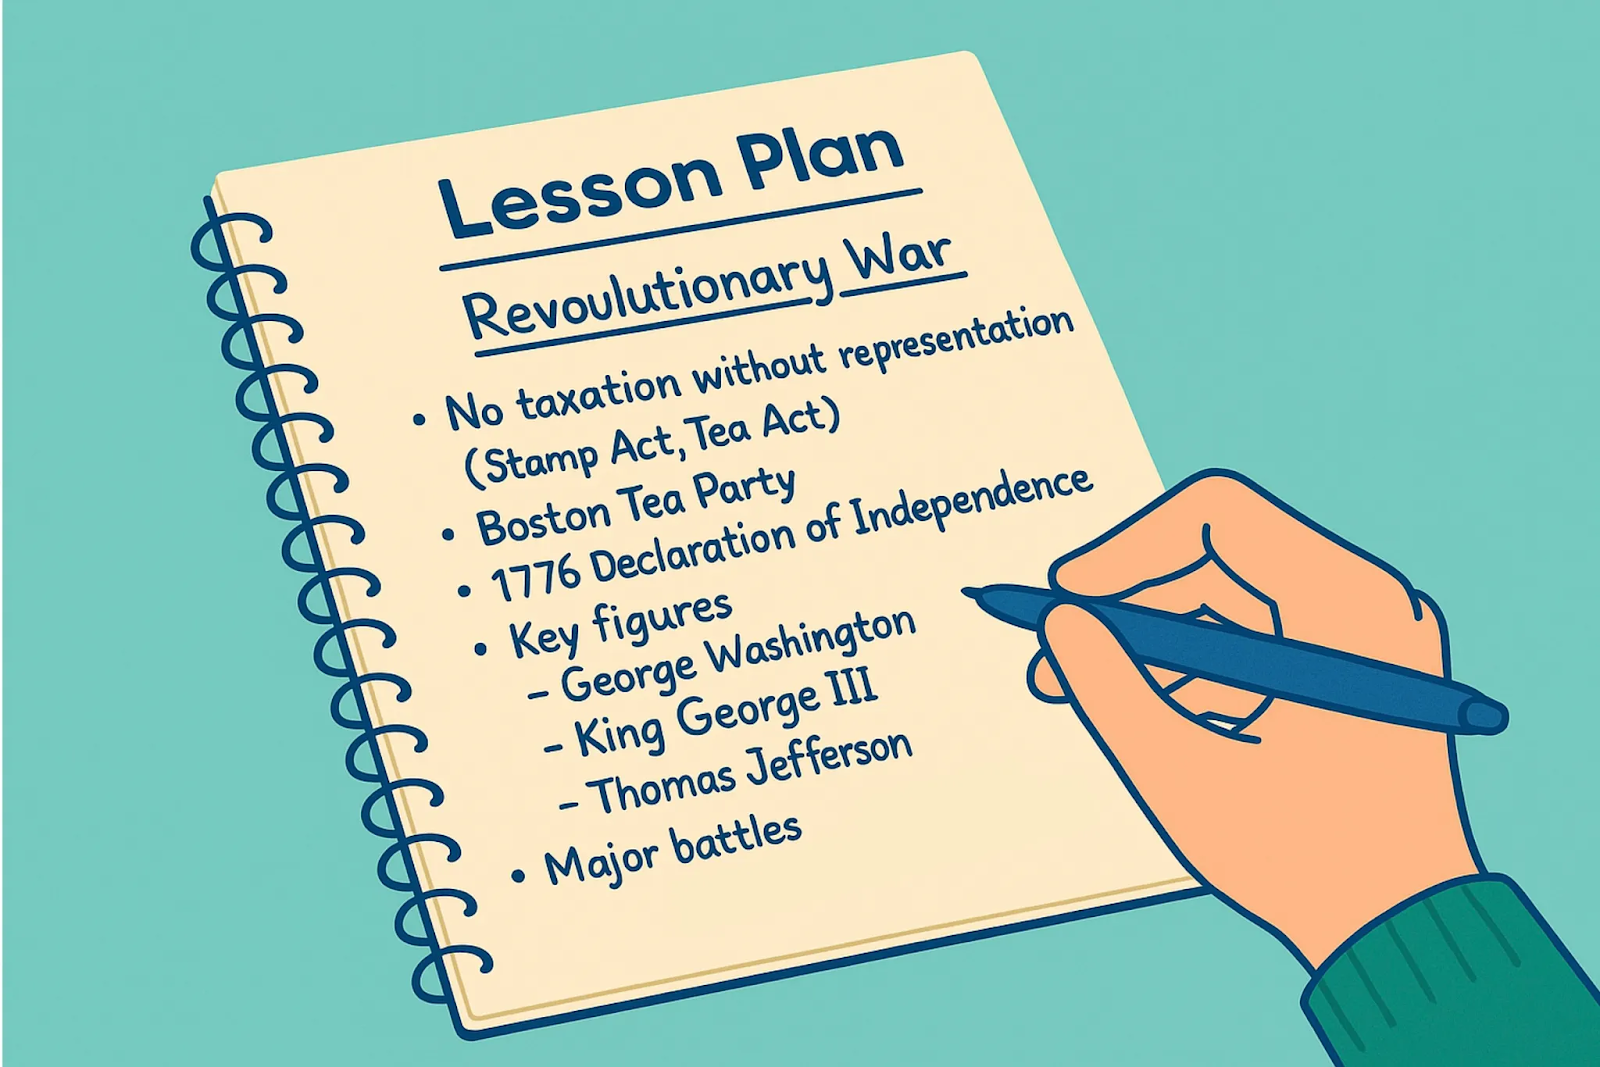
Every great presentation starts with a clear topic and outline. Begin by picking a lesson or unit you want to cover. Let’s say you’re preparing for a history class on The American Revolutionary War.
Jot down the key points you want students to learn. These might include the causes of the war, important events or battles, key figures, and the outcome. At this stage, don’t worry about slides or wording. Just focus on the main ideas.
For our example, you might jot down items such as “No taxation without representation” (Stamp Act, Tea Act), the Boston Tea Party, the 1776 Declaration of Independence, key figures (George Washington, King George III, Thomas Jefferson), major battles (Lexington & Concord, Saratoga, Yorktown), and the outcome (American independence).
These notes give you a rough scope of what to cover on the slides.
💡Tip: Keep your list of subtopics small and focused. Aim for 3-5 main points for a typical class period. You can always elaborate on details during the lesson, but having a concise outline will make your slides clearer and easier to digest for students.
Step 2: Plan and Research Your Content with ChatGPT
Now that you have an outline of key points, it’s time to fill in the details. ChatGPT (or a similar AI chatbot) can serve as your virtual teaching assistant for this step. You can ask it to help expand each point into sub-points, provide historical facts, or even suggest a lesson structure. For instance, you might prompt ChatGPT with something like:
Teacher: "Give me a brief, bullet-point lesson outline on the American Revolutionary War for middle school students. Include the introduction, causes of the war, two major battles, key figures, and the outcome."
Within seconds, the AI will generate a structured outline. Here’s an example of what ChatGPT might give you:
ChatGPT: “Sure! Here’s a lesson outline:
- Introduction
- Overview of the 13 colonies and the concept of revolution (fighting for change or independence).
- Causes of the War
- “No taxation without representation” – Colonists were taxed but had no say in the British Parliament.
- The Stamp Act, Tea Act, and the Boston Tea Party (1773) were major protests.
- Major Battles
- Lexington & Concord (1775): First shots of the war—“The shot heard ’round the world.”
- Battle of Saratoga (1777): Turning point; American victory convinced France to help.
- Key Figures
- George Washington: Leader of the Continental Army.
- King George III: King of Britain during the war.
- Outcome
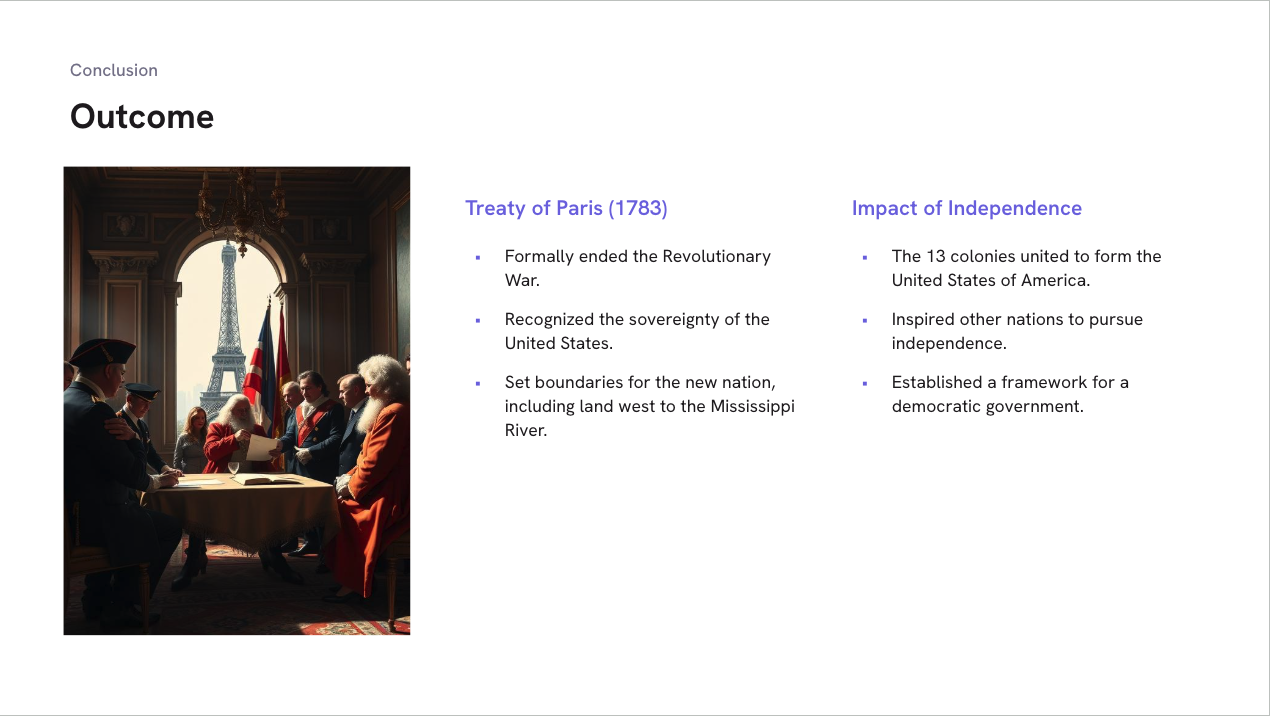
- Treaty of Paris (1783): Ended the war.
- The 13 colonies gained independence and became the United States of America.
This outline covers all the bases and took only a single prompt to create! You can dig deeper as well. If you need more details on, say, the Battle of Saratoga, ask ChatGPT for a short summary of that battle to include on your slide.
Copy the AI-generated notes into a document or keep the chat open for reference. You’ve now got plenty of raw material for your slides without having to flip through textbooks for hours.
📝 Note: AI is a huge time-saver for research, but always double-check important facts and dates. Ensure the content is accurate and age-appropriate for your students. ChatGPT is pretty good with factual info, but it’s not infallible.
Step 3: Generate Slides with an AI Presentation Maker (Plus AI)
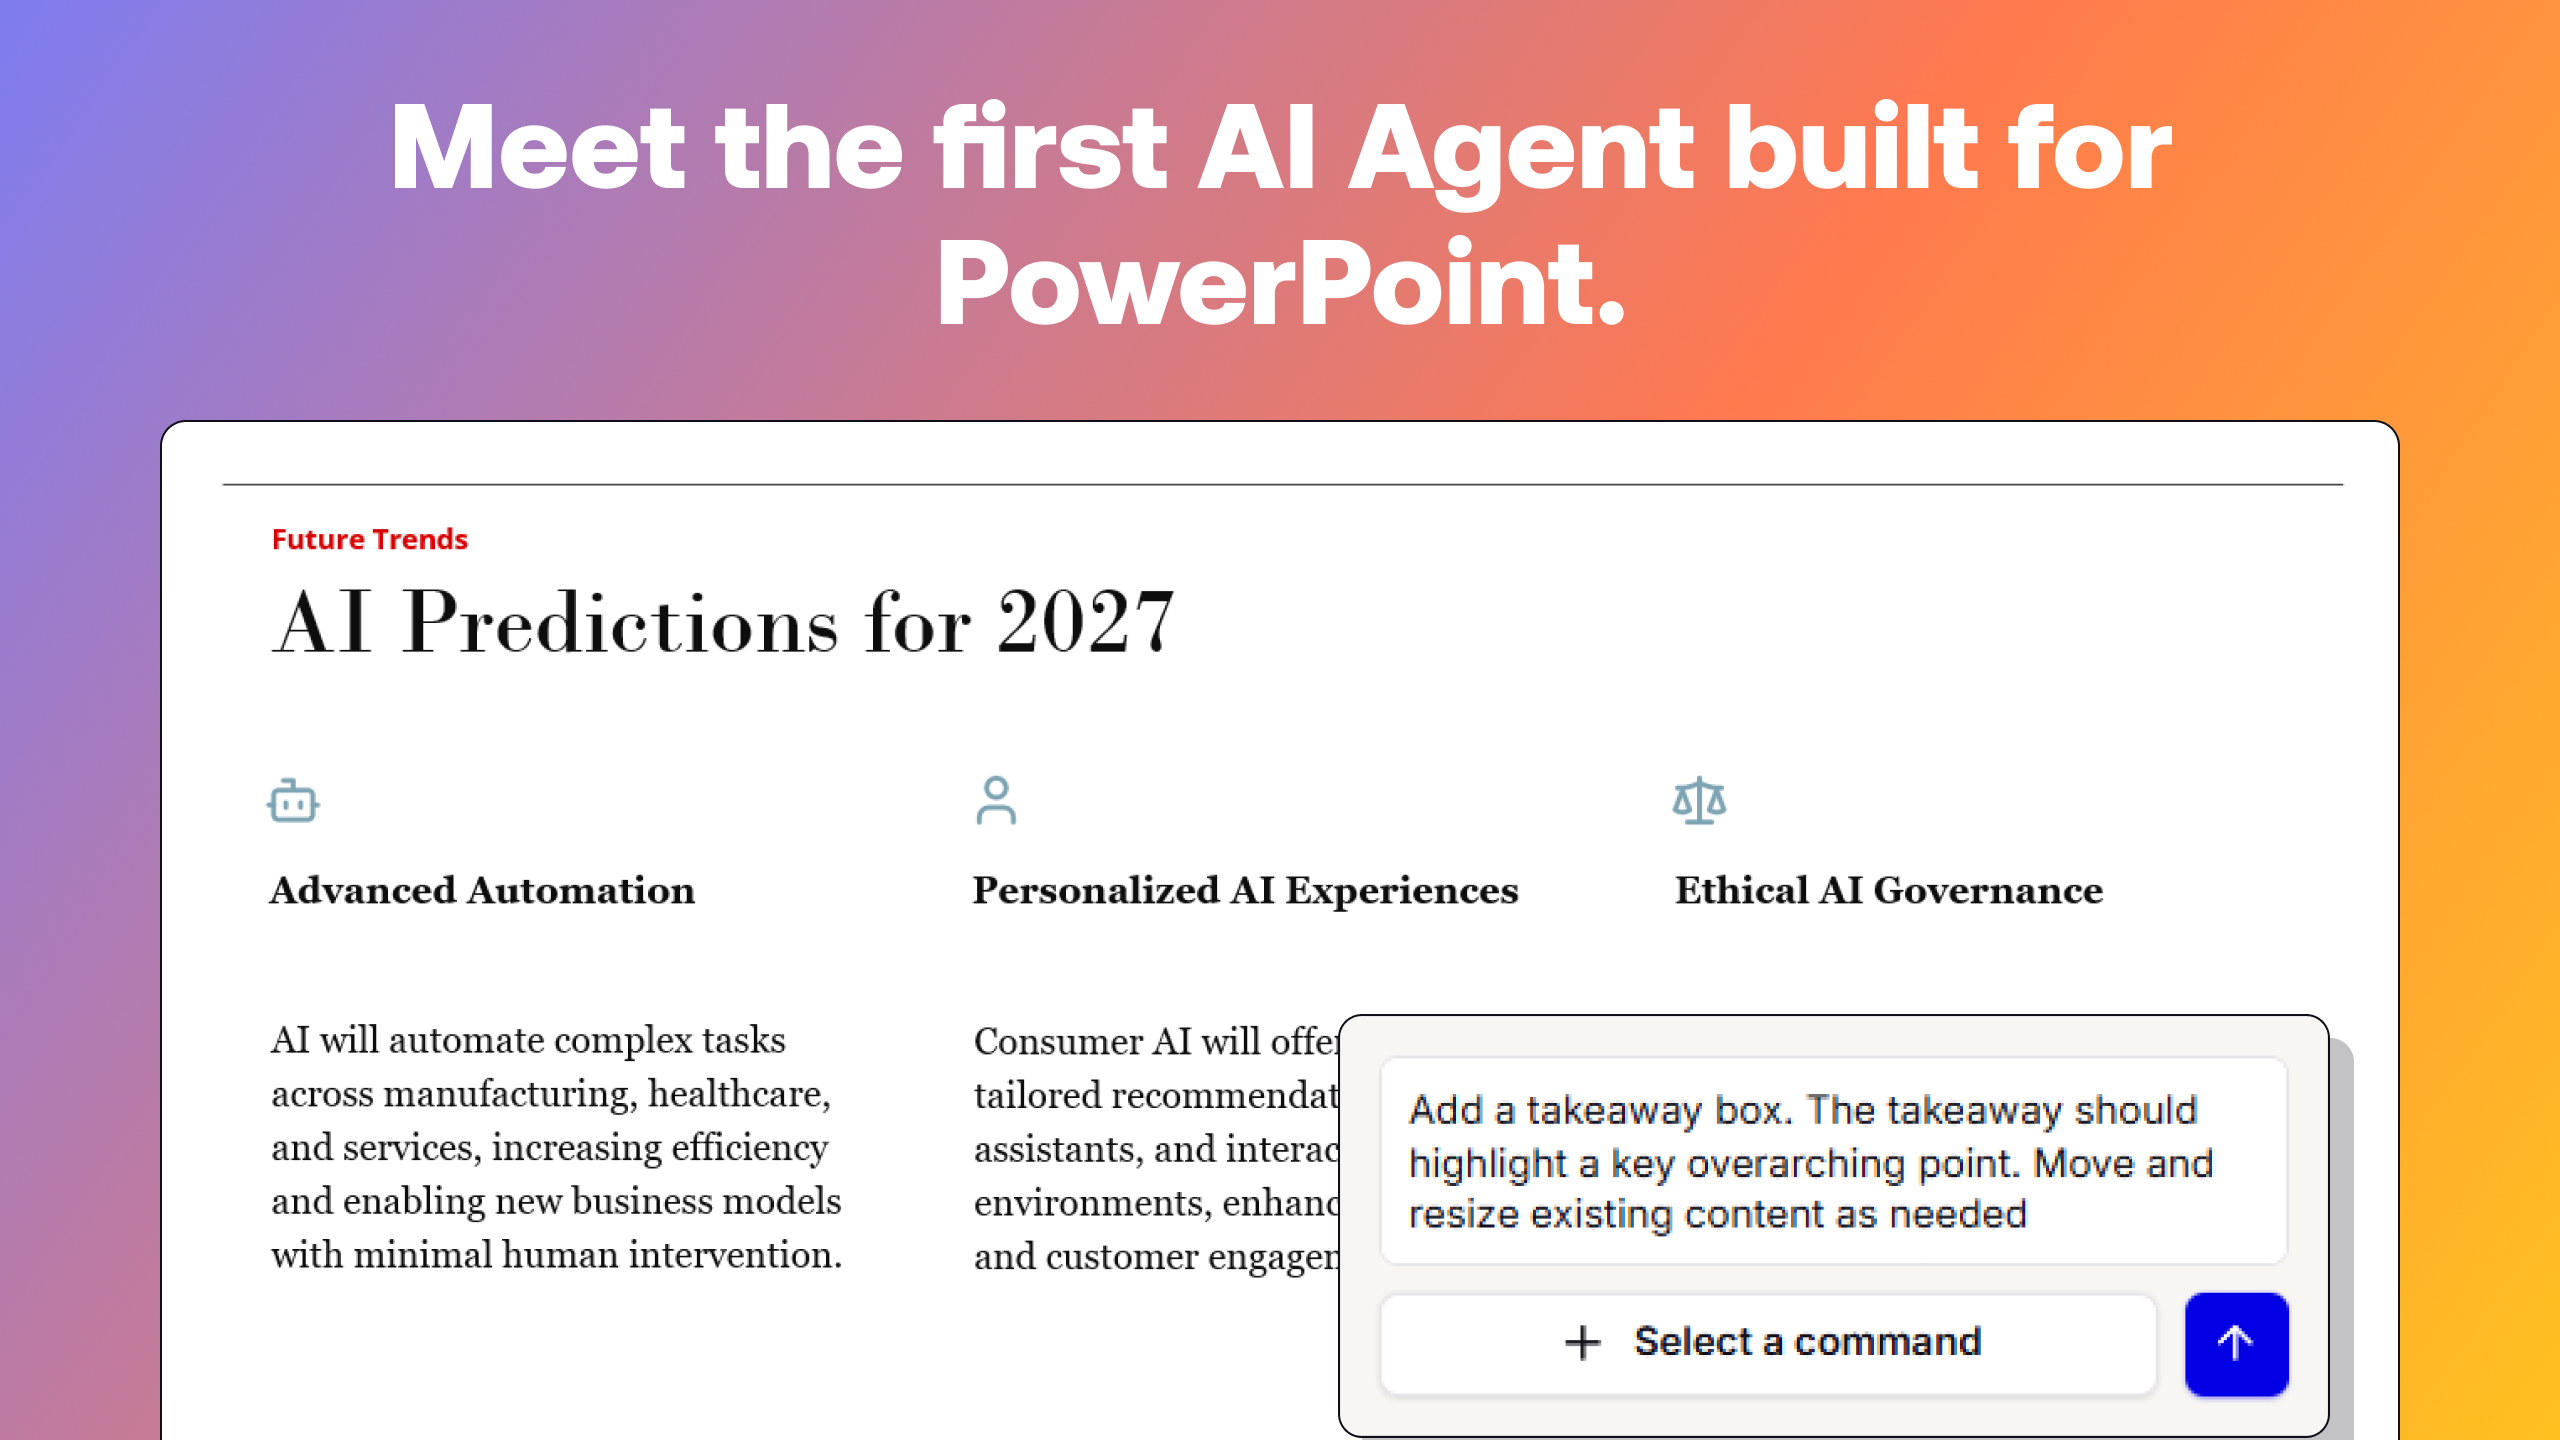
With your lesson content prepared, it’s time for the magic: turning those notes into a slideshow using Plus AI, an AI presentation maker. It works directly within Google Slides and PowerPoint to create slides from your prompts or content. This means you don’t need to learn a new app or copy-paste text between tools.
In our example, you would open a new Google Slides presentation (or PowerPoint deck) and launch the Plus AI add-on. Then, feed it the outline and notes you got from ChatGPT.
There are a couple of ways to do this.
- You can simply give Plus AI a short description like “Presentation about the causes, major battles, and outcomes of the American Revolution for an 8th-grade history class” and let it draft the slides for you.
- You might take the detailed outline from ChatGPT and paste it into Plus AI’s prompt box to guide the slide generation.
In both cases, the AI will generate a set of slides covering all your key points, complete with slide titles and bullet points for each subtopic.
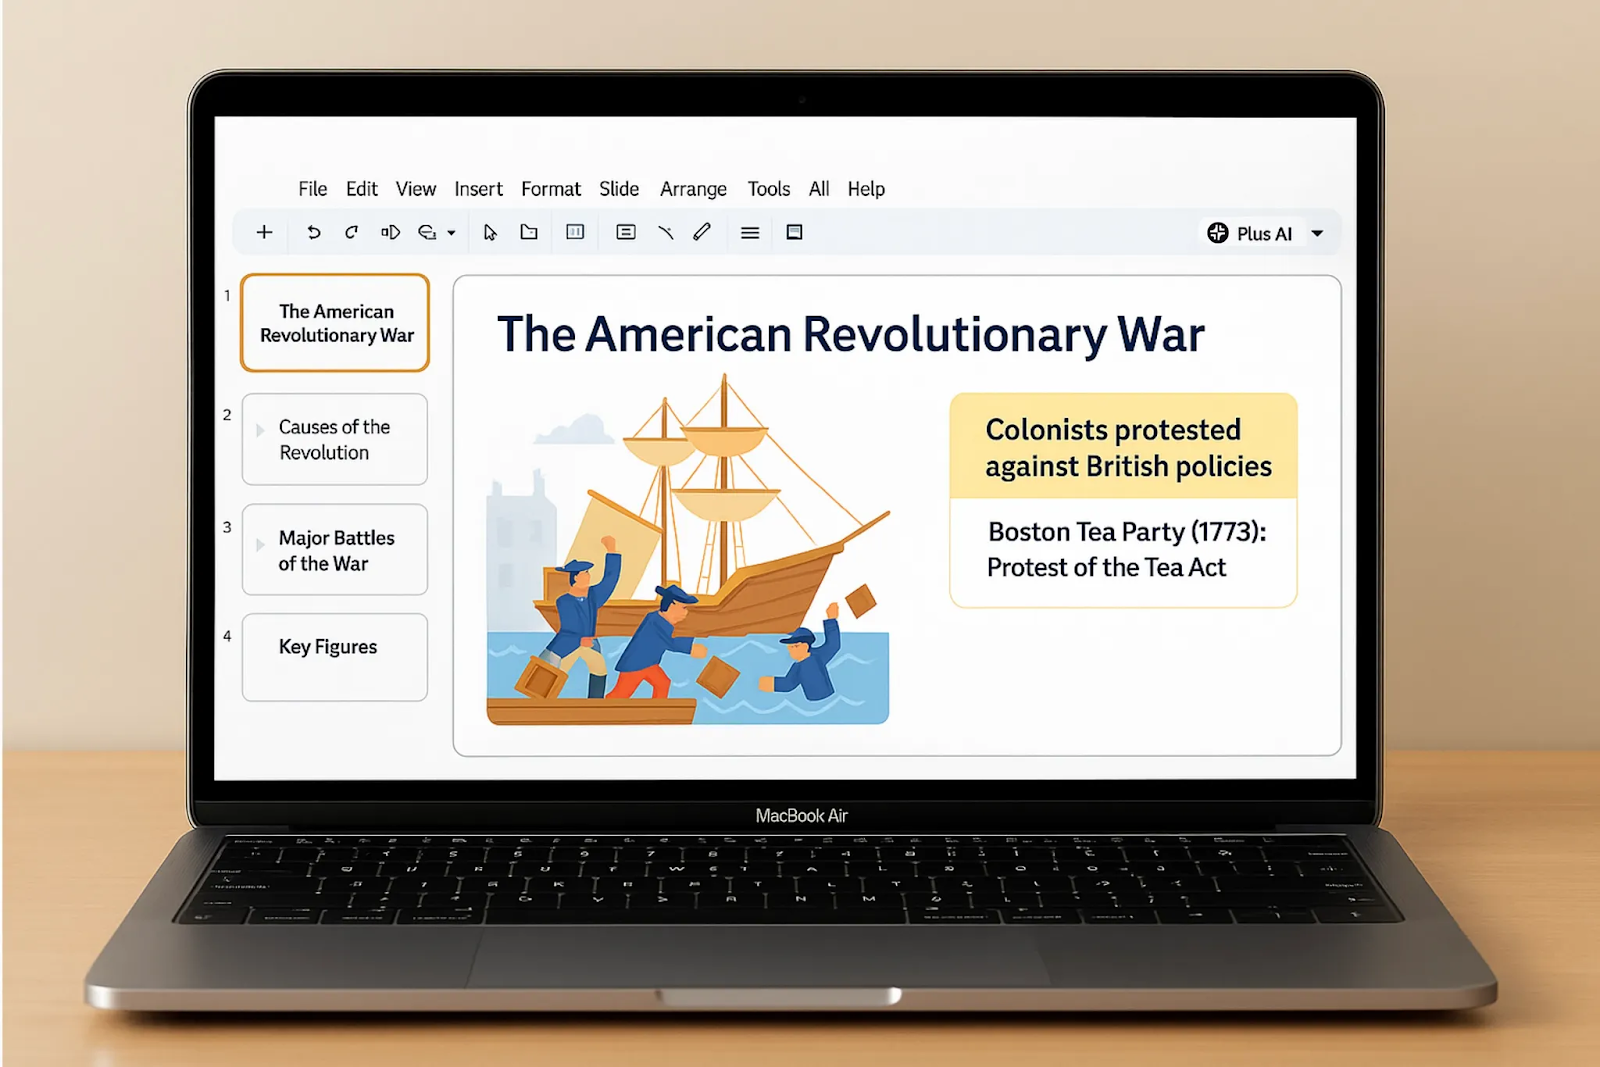
Within moments, you’ll have a multi-slide deck ready. For example, Plus AI might create a title slide “The American Revolutionary War” followed by slides like “Causes of the Revolution,” “Major Battles of the War,” “Key Figures,” and “Aftermath: Independence.” Under each, it will fill in bullet points (drawn from the info we provided). It might even include relevant images or graphics for visual appeal.
All of this appears right in your Slides or PowerPoint editor as if you had spent hours designing it. The difference? It took only a minute or two for the AI to do it.
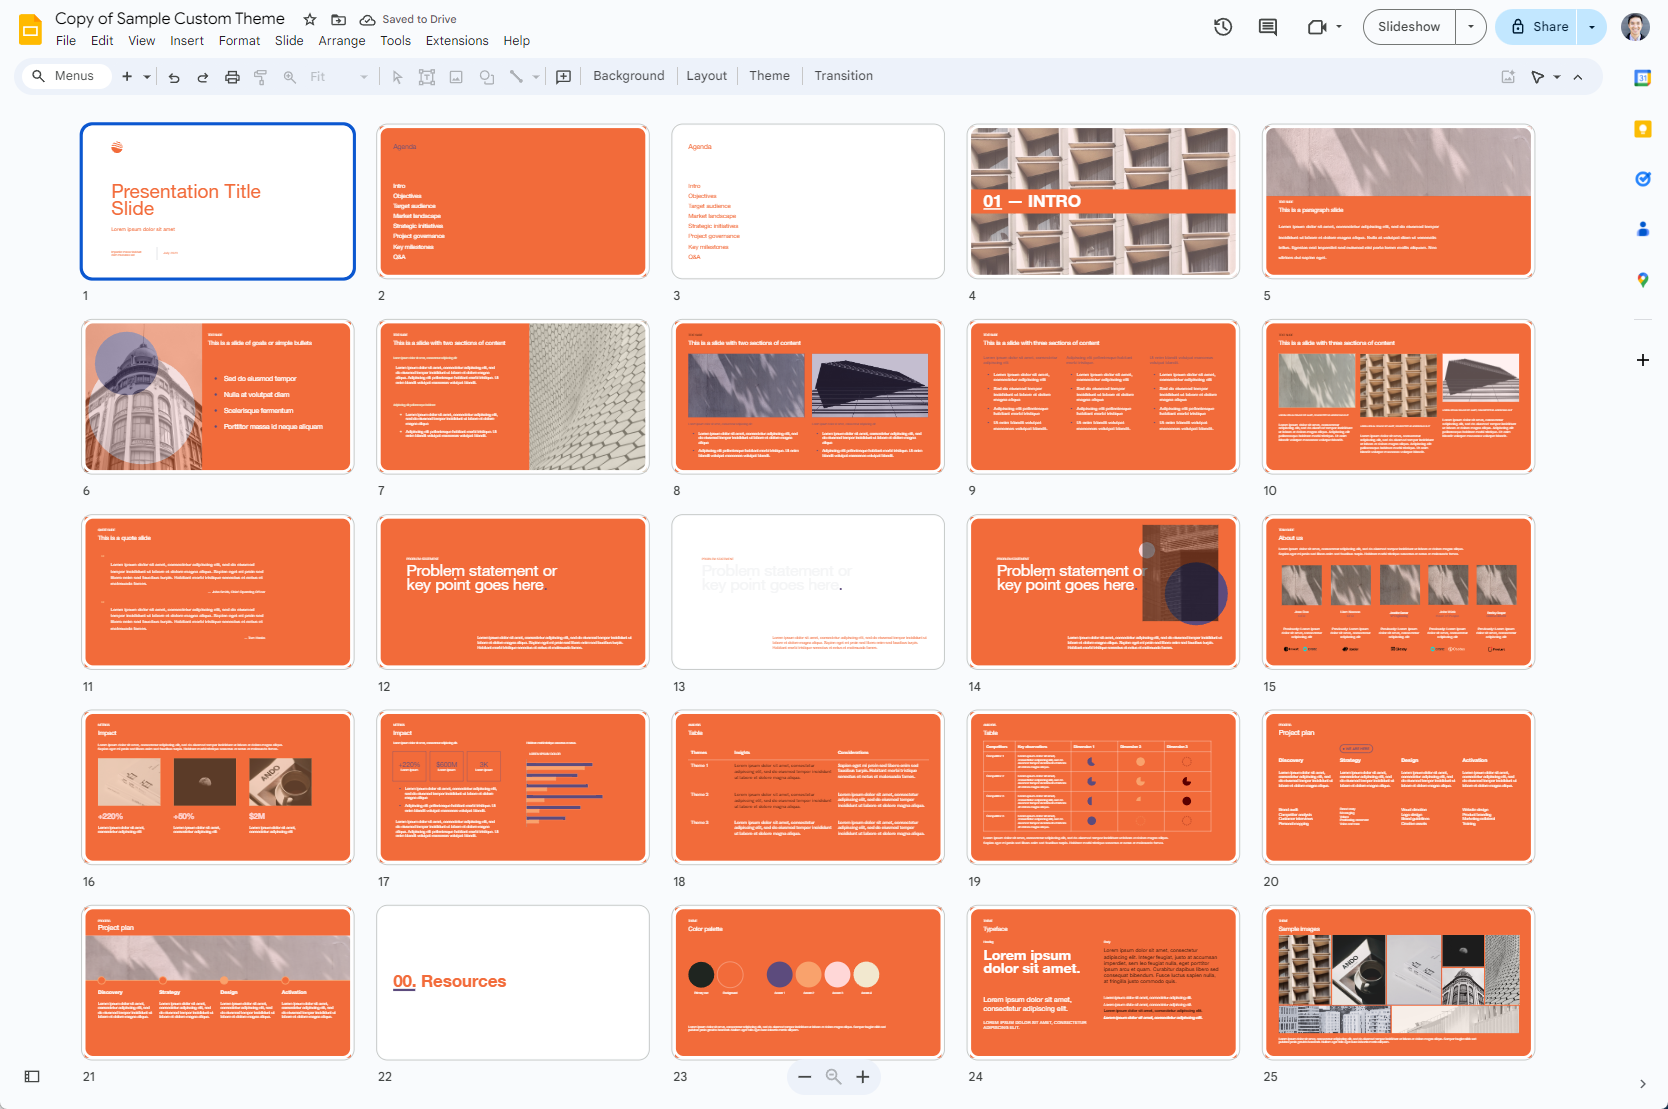
📝 Note: Plus AI essentially adds a PowerPoint AI co-pilot to your workflow. It uses professionally designed templates, so your AI-generated slides look polished from the start. You can always switch the theme or layout later, but often the default it provides is good enough for a starting point.
Step 4: Refine and Personalize Your AI-Generated Slides
At this point, you have a draft presentation that was created in seconds. The next step is to review and polish it to suit your teaching style. That’s one of the great features of Plus AI: it gives you editable results. You can change anything on the slides just like a normal presentation.
Here are a few tweaks that you can make on the rough draft:
- Check that the wording is appropriate for your students’ reading level and that the information is correct. If a bullet point is too detailed or too vague, edit the text to be clearer. You know your class best, so adjust the tone and depth of content as needed.
- Feel free to add a personal touch to each slide. Maybe you want to include a fun fact or a question for discussion ("Q: What do you think the colonists felt after the Boston Tea Party?").
- You might also trim down text. AI sometimes writes a bit more than you’d put on a slide, so condense sentences into concise bullet points where possible. Remember, slides should support your talking points, not replace your lecture.
- If you need to add an extra slide that the AI missed, you can use Plus AI’s insert function to generate one on that subtopic. Conversely, if a slide seems unnecessary, feel free to delete it.
- You can also use the remix tool to instantly try a different slide design or layout. For instance, if you have a slide that's just a wall of text, use Remix to transform it into a more visual format with a couple of clicks.
Finally, consider visuals and formatting. Plus AI may have already inserted some images or icons related to the Revolutionary War, but you can swap them out using an AI image generator or add your own. Maybe you have a favorite map of the 13 colonies or a portrait of George Washington you’d like to show – go ahead and put it in!
Also, double-check that slide titles and section headers make sense for your lesson flow. You might re-order a couple of slides or even split one into two if it has too much information. Small tweaks like these personalize the deck and ensure it’s ready for your classroom.
💡Pro Tip: You can use Plus AI’s AI image generator to create custom illustrations for your slides. For example, ask it to generate a simple map of colonial America or a graphic of the Declaration of Independence. This saves you from hunting for images and keeps your presentation visuals consistent.
Step 5: Present with Confidence and Reuse Your Work
With your slides polished, you’re ready to teach! Run through the presentation just like you normally would. Because Plus AI generated the slides right inside Google Slides or PowerPoint, you can present them as usual (no special setup required).
As you go through the lesson on the Revolutionary War, you’ll notice how much smoother it feels when you haven’t had to scramble to create the deck from scratch. You can focus on engaging with your students and discussing the material, rather than worrying if you forgot to add a slide on an important event.
Another big benefit of using an AI-powered approach is reusability. If you need to adapt it for another class, that’s easy too. For instance, if next year you want to delve more into the French involvement in the war, you can add a couple of slides on that. You could even ask Plus AI to generate those new slides for you when the time comes.
Likewise, if you teach a similar lesson in a different language or at a different grade level, you can leverage the slideshow you’ve already created. Just tweak the content or use the AI translate function to convert the slides for a new audience.
In essence, each presentation you create with Plus AI becomes part of a growing library of lessons you can reuse. In the future, instead of making slides from scratch every year, you’ll spend just a few minutes updating these saved presentations (with a bit of AI help) and use the time saved for other teaching tasks or even a well-deserved breather.
📌 Insight: Think about how this scales over a school year. If you use AI to create even one presentation per week, you could save dozens of hours by the end of the term. That’s time you can invest back into one-on-one student support, creative lab activities, or simply resting so you come back to class refreshed. Working smarter with tools like Plus AI for teachers helps you focus on high-priority tasks.
Conclusion
Creating a full lesson presentation used to be a time-consuming task when AI presentation makers didn’t exist. In our example, we went from a blank canvas to a complete AI-generated PowerPoint on the Revolutionary War in a fraction of the time it would normally take.
By combining ChatGPT for brainstorming and research with Plus AI’s slide generation and editing capabilities, teachers can drastically cut down their prep time. The end result is a well-structured, visually appealing presentation that still carries your personal teaching charm.
So, the next time you need to make a slideshow, give Plus AI a try.
Let the AI do the heavy lifting on your PowerPoint presentation, while you focus on the creative and interactive aspects of teaching. With the hours saved, you might even get to leave school a bit earlier or spend more time on other priorities. Check out Plus AI for teachers to get started, and see the amount of hassle you can avoid for your own lesson planning process!