
Resources
How to create a picture in PowerPoint
Can’t find the image you need? Here are four ways to create a picture in PowerPoint yourself.

Not every picture you want for a slideshow is readily available or even exists. But with handy tools, you can create the exact image you need in PowerPoint.
Depending on the type of picture you want, our guide walks you through four different methods to create it. You can use an image generator, draw the picture, assemble objects to make the image, or grab a screen capture.
With each of these ways to create a picture in PowerPoint, you’ll have the right visual for your presentation.
Method one: Use the Plus AI image generator
You don’t have to scour the internet or search stock image options. With Plus AI’s image generator in PowerPoint, you can get the exact picture you want --- no matter how unique or rare it may be.
- Go to the Home tab and choose Plus AI in the ribbon.
- Pick Edit with AI and select Generate images.
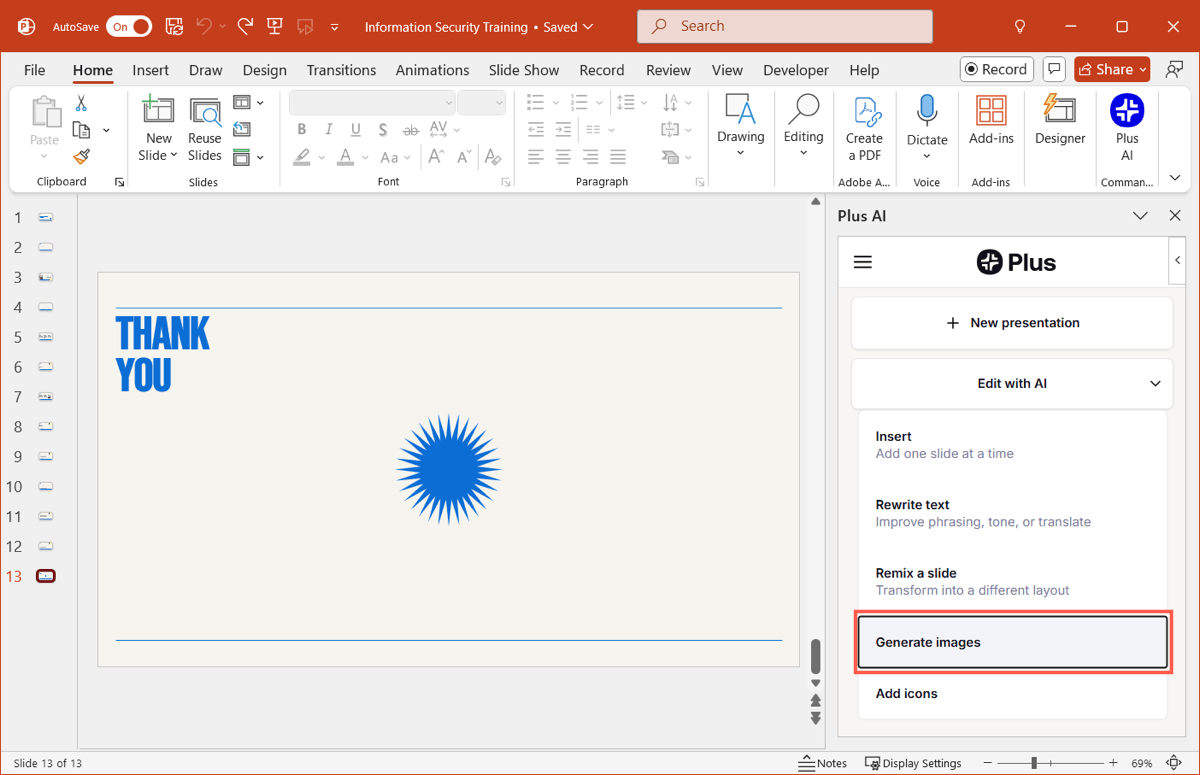
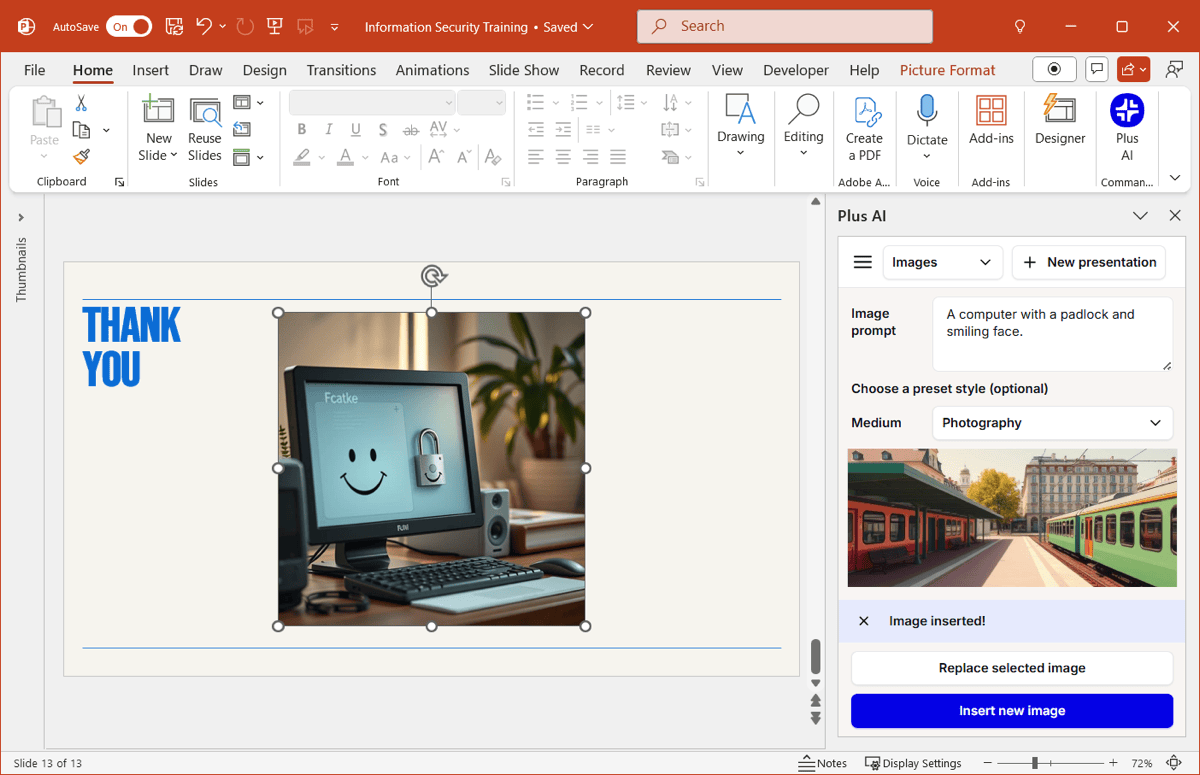
- Enter a description of the picture in the Image prompt box and optionally choose a Medium and Preset.
- Click Insert new image and you’ll see the picture appear on your slide.
Method two: Use the drawing tools
Maybe the picture you need can be created with your own skills. You can access the drawing tools in PowerPoint and use your talent to make the image.
- Go to the Draw tab and choose a pen, pencil, or highlighter in the Drawing Tools section.
- To adjust the tool, use the arrow in its drop-down menu. You can change the color or thickness.
- Use your mouse or stylus to draw your picture on the slide.

Tip: If your image requires a larger slide, look at how to change the slide size in PowerPoint.
Method three: Use objects
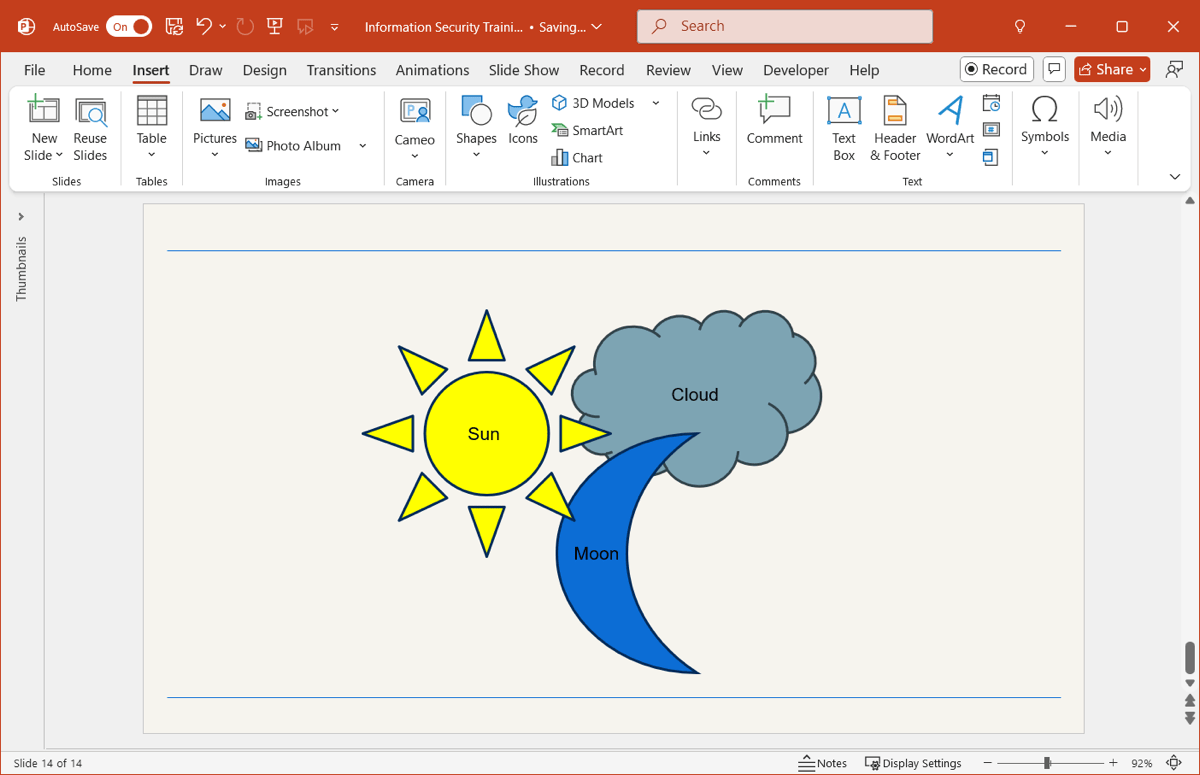
Sometimes creating a picture means pulling different items together. You can use shapes, text, and other objects to make the ideal image for your PowerPoint slide.
- Go to the Insert tab and use the available tools you want in your picture. You can insert shapes, icons, text boxes, and more.
- Arrange the items per your preference, select them all, go to the Shape Format tab, and choose Group in the Arrange section.
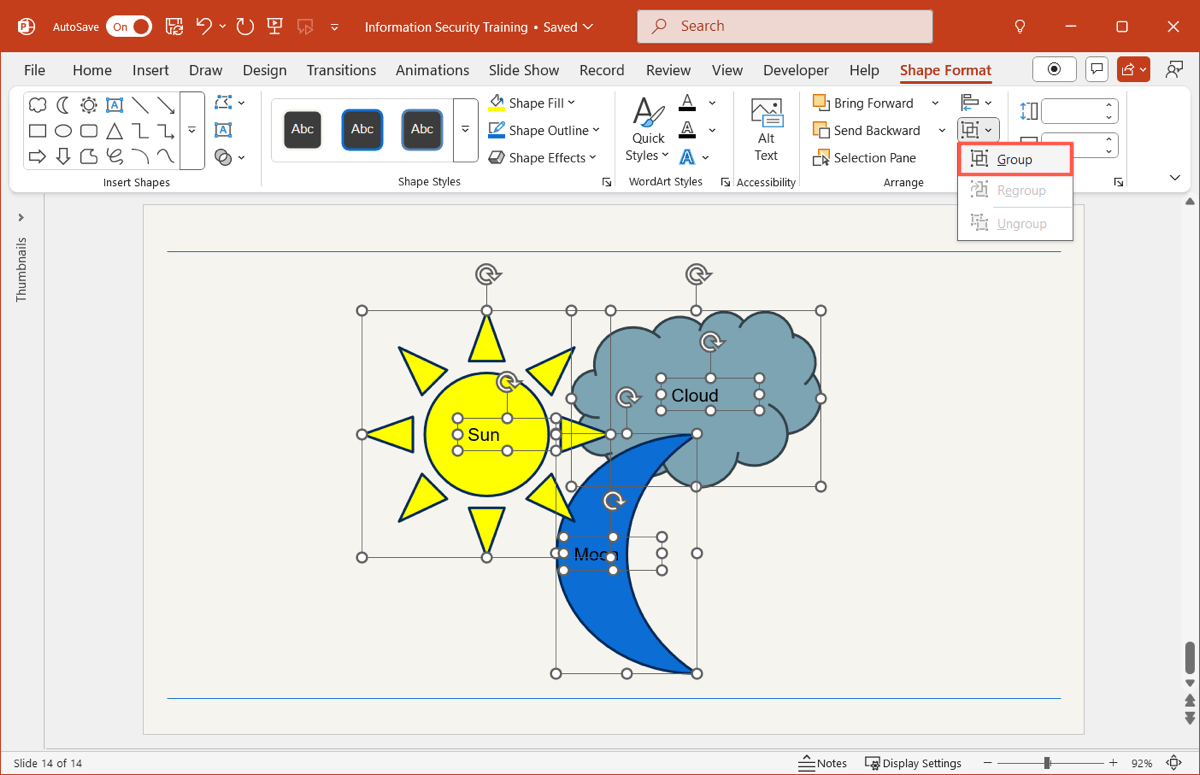
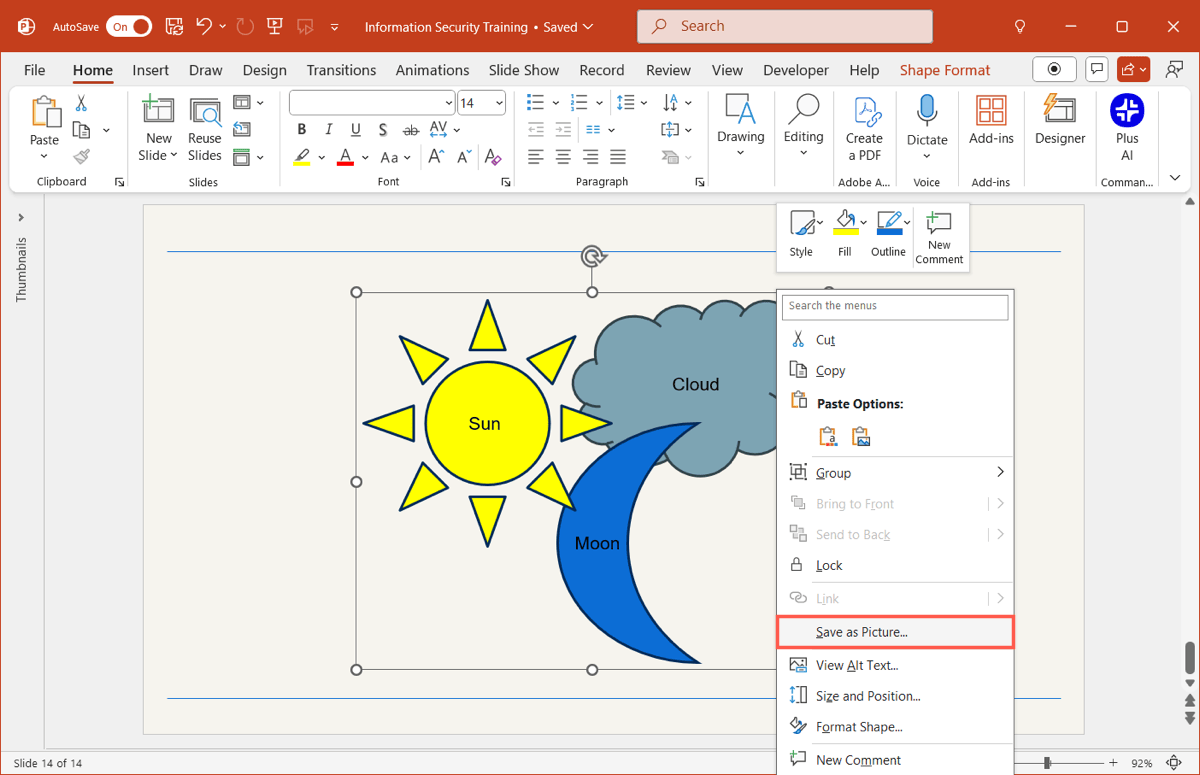
- You’ll then have a single picture that includes all of your items. To use it in other applications, right-click the image, pick Save as Picture, and select a location and name.
Tip: Learn how to flip an image in PowerPoint for a distinctive look.
Method four: Use a screen clipping
Is the picture you want to use somewhere on your screen? Whether you want to show an instruction, a website, or an application, you can use PowerPoint’s screen clipping feature to grab a screenshot.
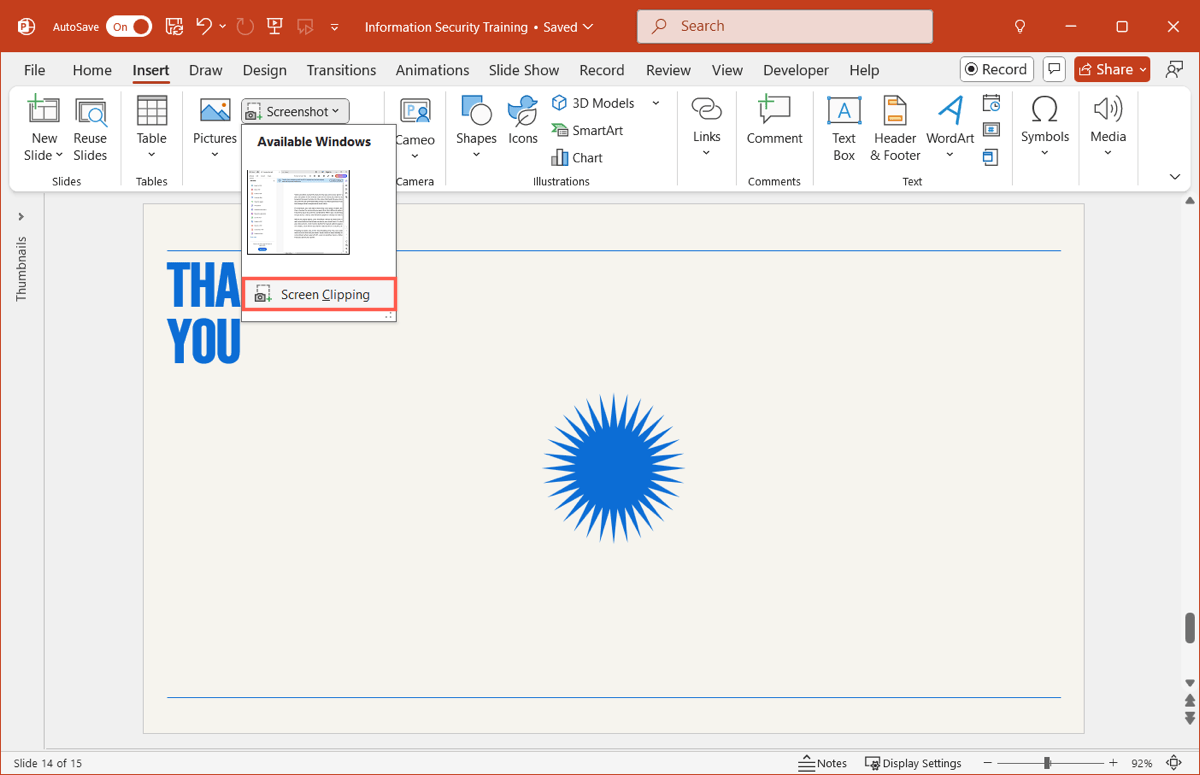
- Go to the Insert tab, open the Screenshot menu, and select Screen Clipping. Notice that you can also pick a screenshot of other applications open on your workspace.
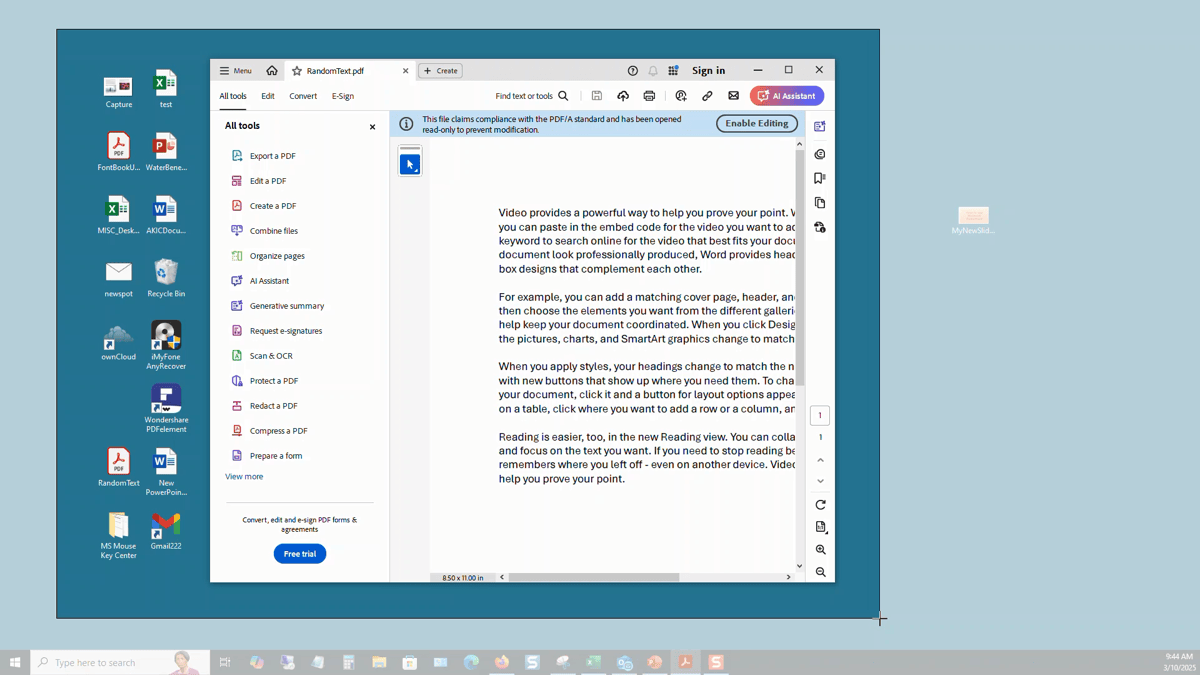
- When your cursor changes to a crosshair symbol, drag to capture the portion of the screen you need.
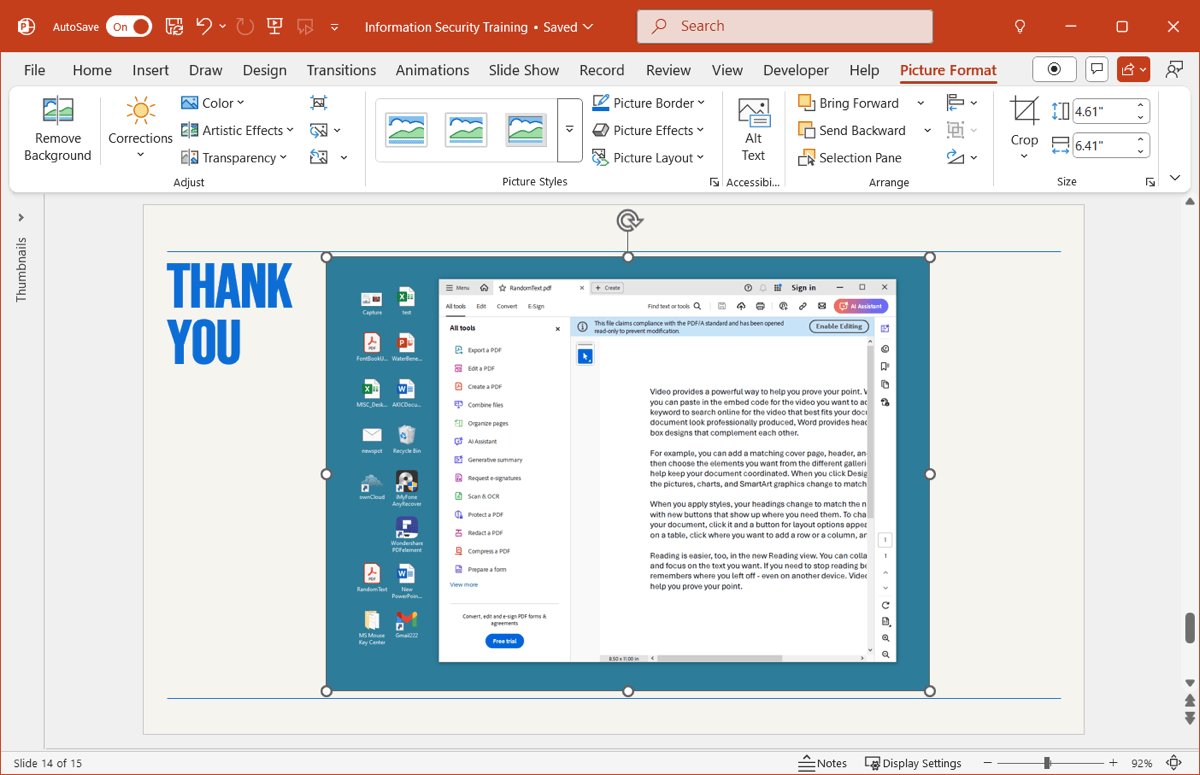
- Release and you’ll see the screen clipping appear on your slide as a picture. You can then use the Picture Format tab to make adjustments as needed.
Conclusion
With these four simple ways to create a picture in PowerPoint, you can make the ideal visual in no time. Whether you want an unusual photo, sketched picture, assembly of objects, or capture of your screen, you’re set!
FAQs
How do I make an image appear on every slide in PowerPoint?
Rather than copy and paste the picture onto each slide, you can simply add it to the slide master. Go to the View tab, select Slide Master, and add the image to the slide layout that applies to those in your presentation.
How do you add your own picture as a background in PowerPoint?
To upload your own picture as a background, go to the Design tab and select Format Background. In the sidebar, choose Picture or texture fill and pick Insert to locate and select the picture.
How to create a picture slideshow in PowerPoint?
You can use either the Photo Album feature or insert image manually to create a picture slideshow in PowerPoint. Check out our how-to for inserting pictures on individual slides to see instructions for both.