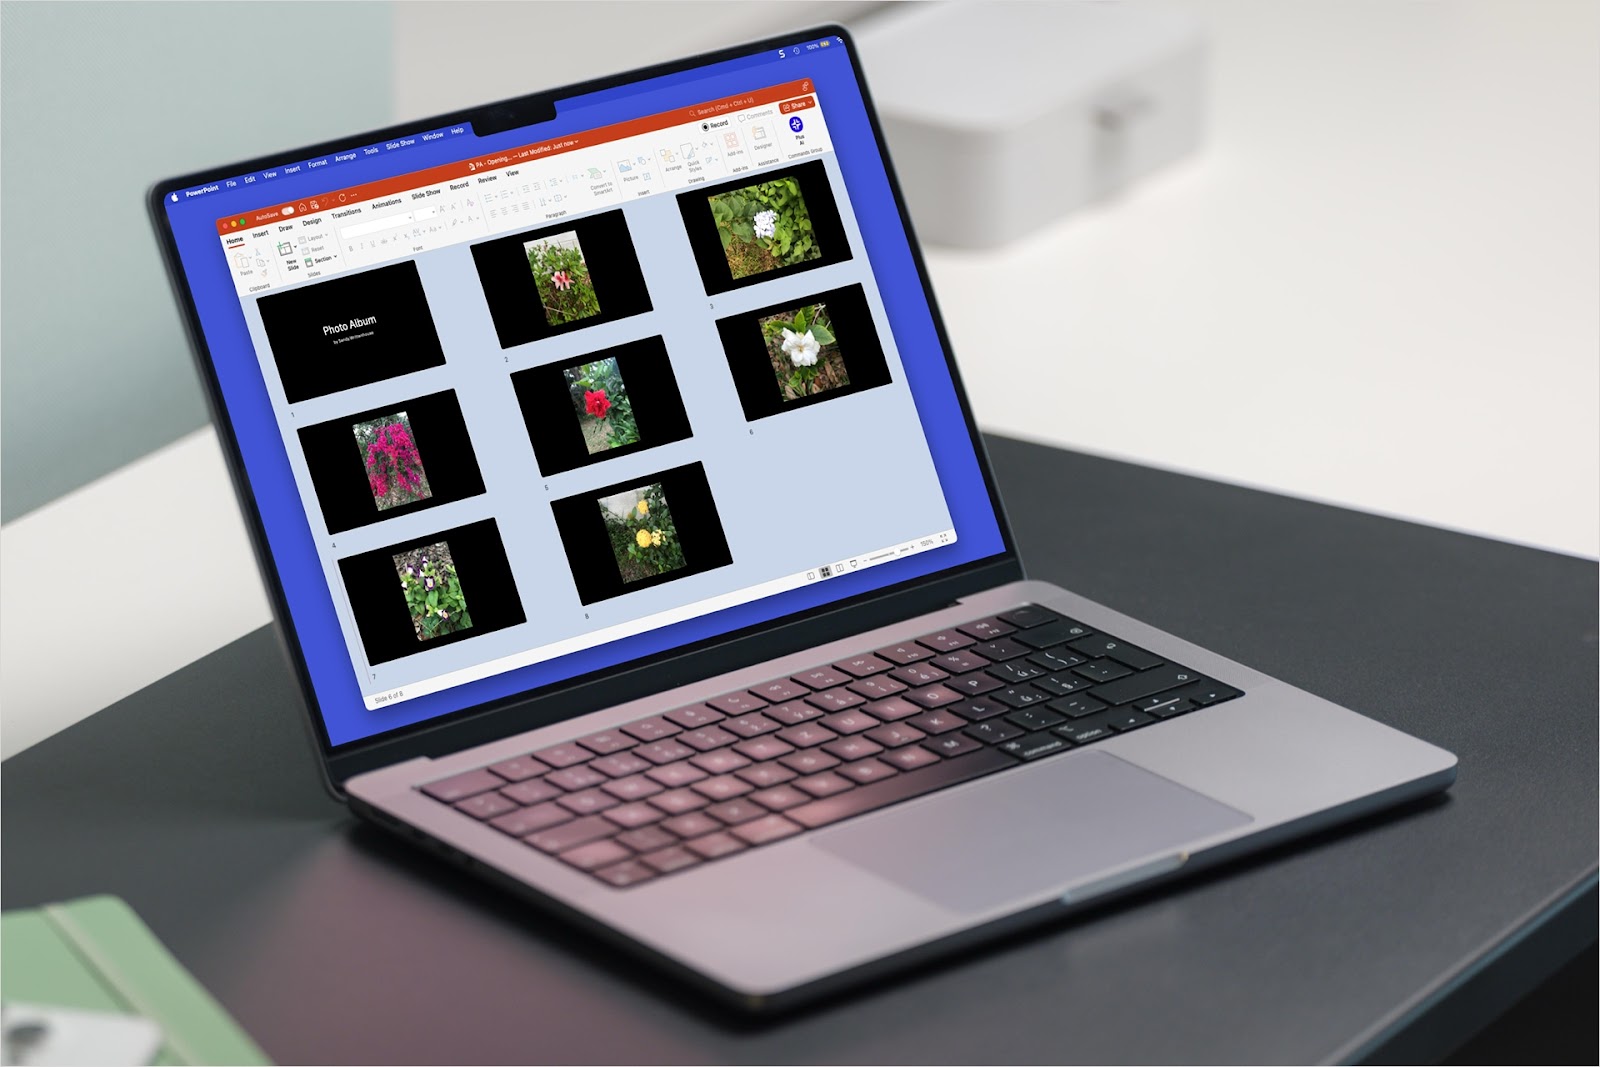
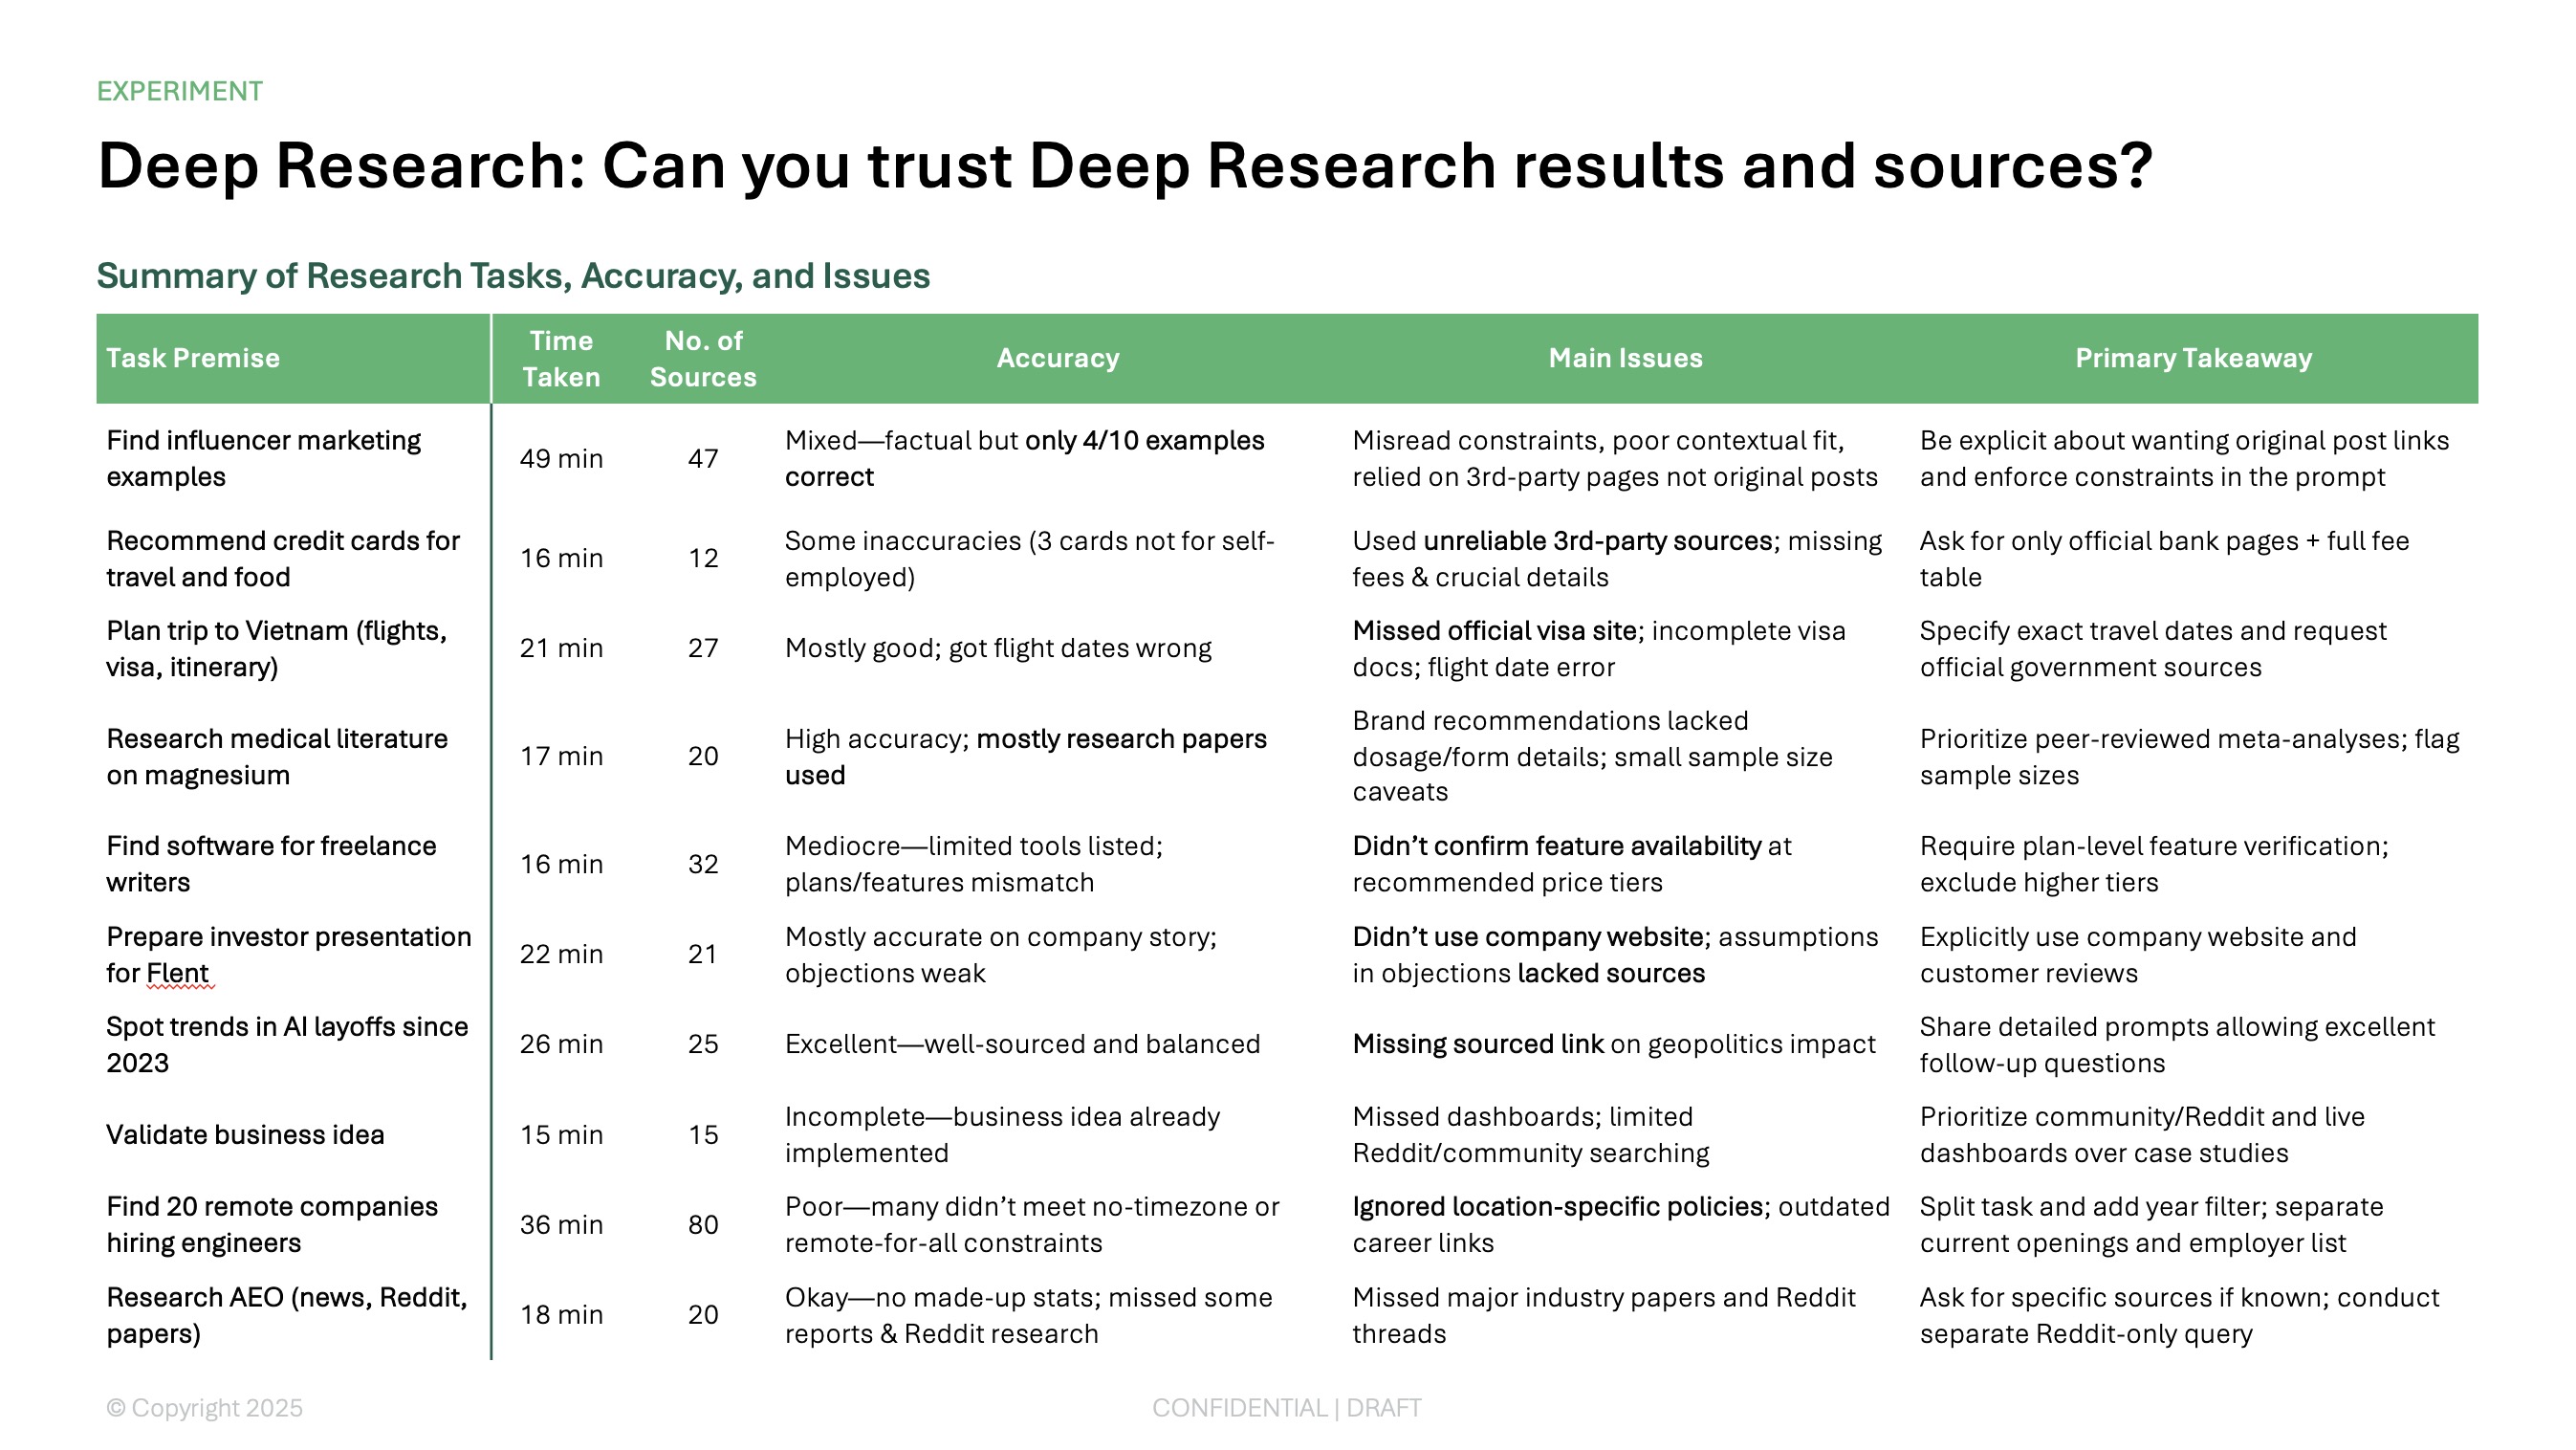
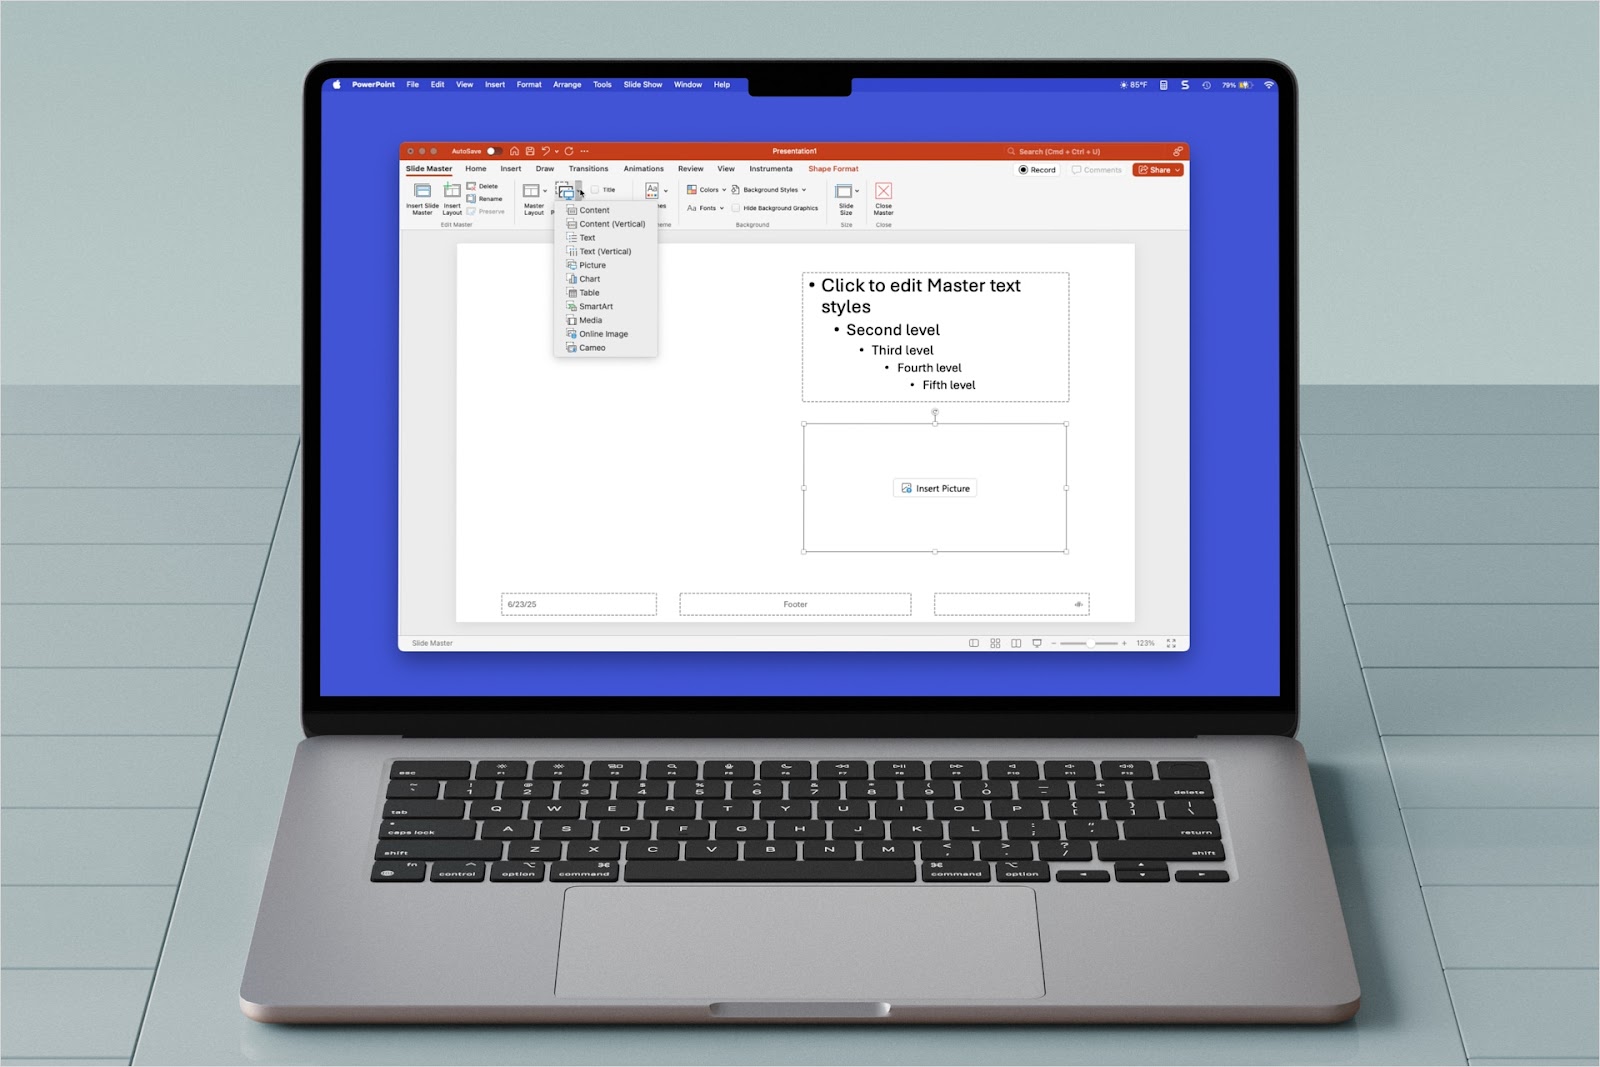
If you want to create a photo slideshow in PowerPoint, you may want each slide to be a picture. This is great for personal presentations where you display wedding pictures, vacation photos, or baby pictures. But can also be impactful for charitable organizations and essential for image-based quizzes.
We’ll show you how to insert pictures in PowerPoint as individual slides on both Windows and Mac. You’ll also learn how tools like Plus AI can help you add engaging content and images without the extra work.
{toc}
Use the PowerPoint Photo Album feature
One of the handiest ways to place pictures on individual slides is using PowerPoint’s Photo Album feature, available on Windows. With it, you can upload multiple photos at once and pop them onto each slide automatically.
- Open PowerPoint on Windows and create a Blank Presentation.
- Go to Insert, open the Photo Album menu in the Images section, and choose New Photo Album.
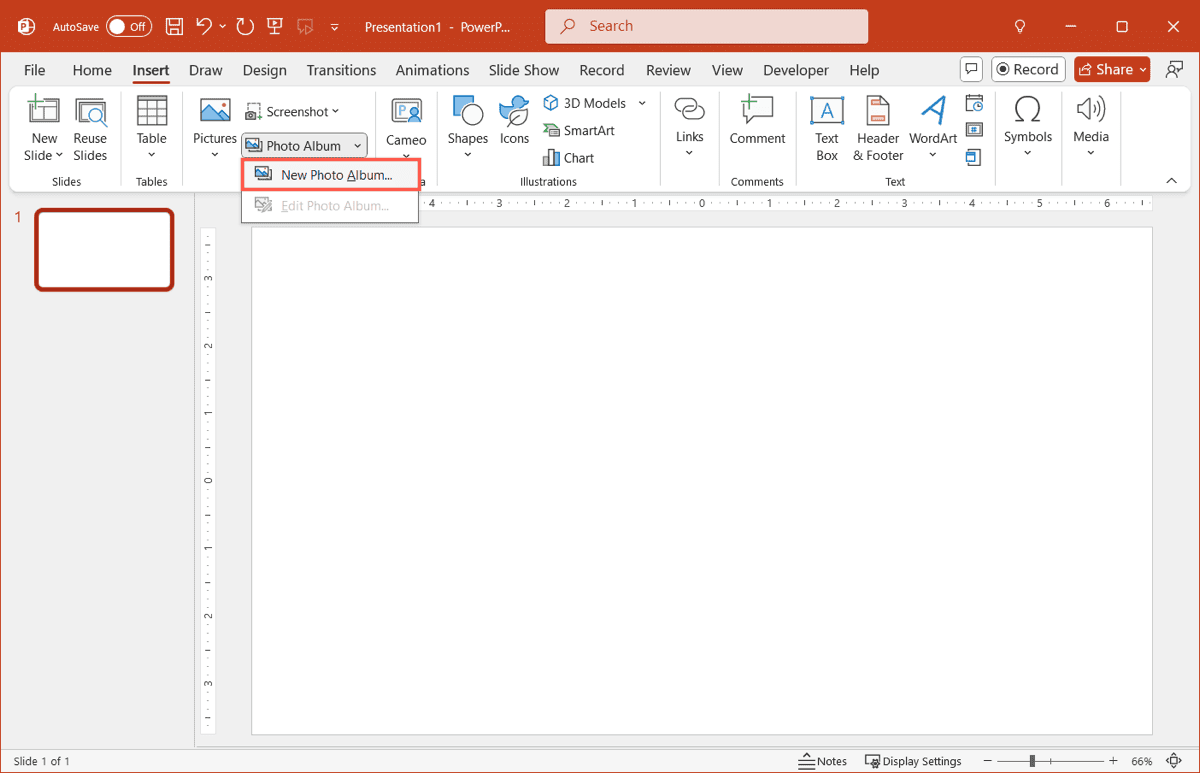
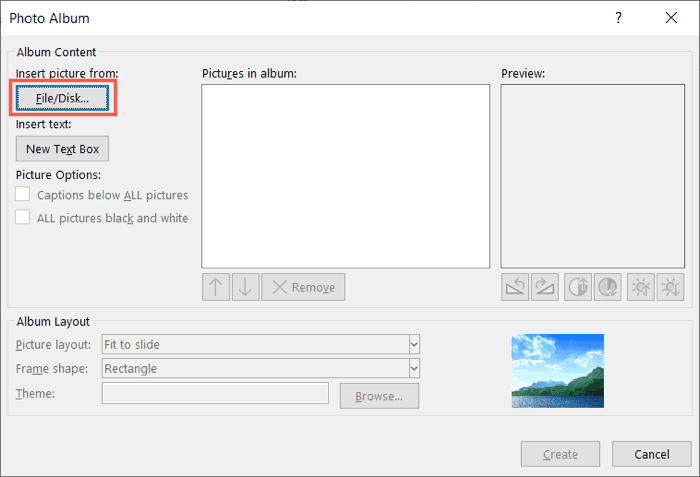
- In the pop-up window, click File/Disk to pick the pictures.
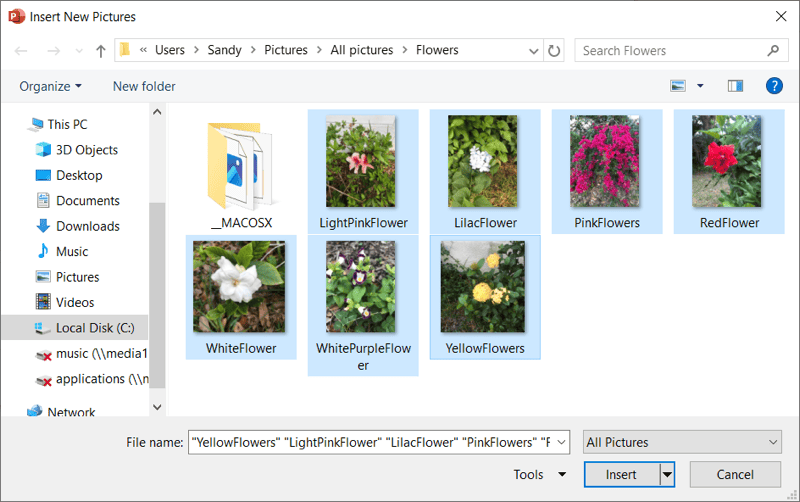
- Navigate to the location of the photos, select them, and click Insert.
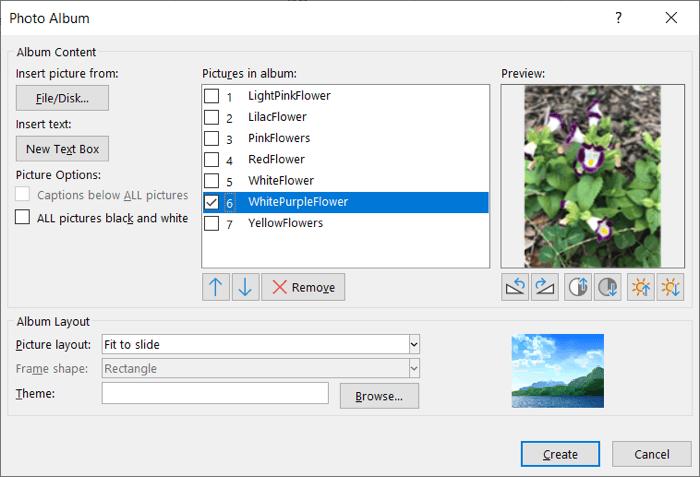
- In the Pictures in album box, you’ll then see each image with the slide number for its placement. To rearrange, select a slide/picture and use the up or down arrow at the bottom to change its position in the album.
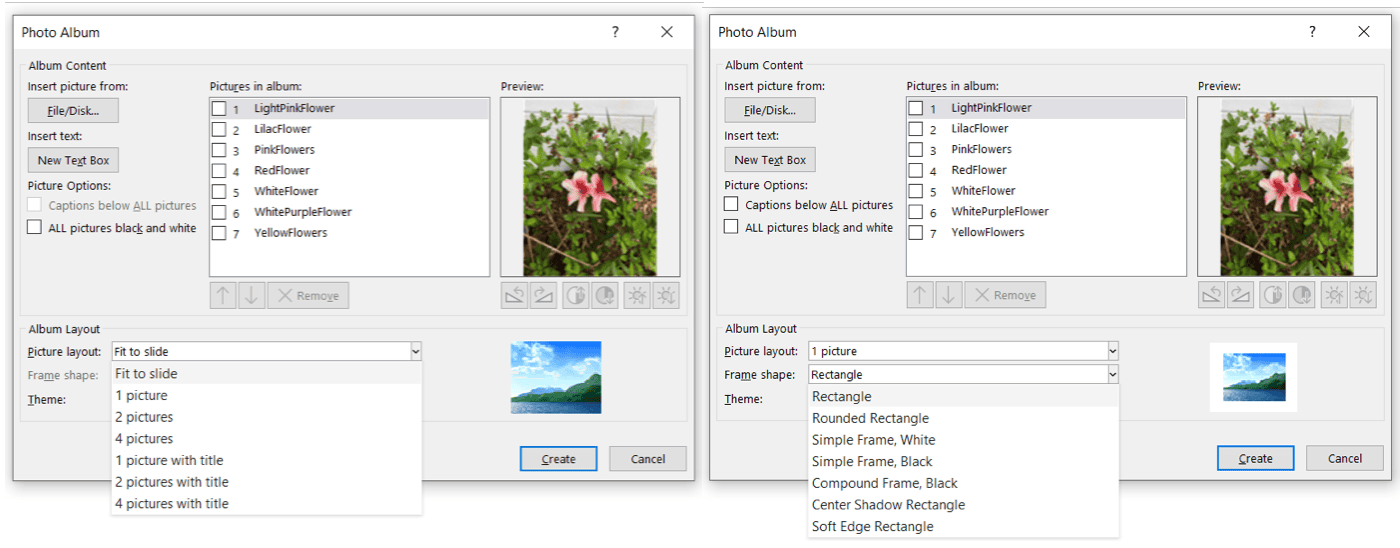
- In the Album Layout section, you can choose how to accommodate a picture per slide:some text
- Picture layout: Choose Fit to Slide to use the default Photo Album frame shape or one of the 1 Picture options.
- Frame shape: If you choose a 1 Picture layout above, select the shape of the frame you want to use.
- When you finish, click Create and you’ll see your photo album with one picture per slide.
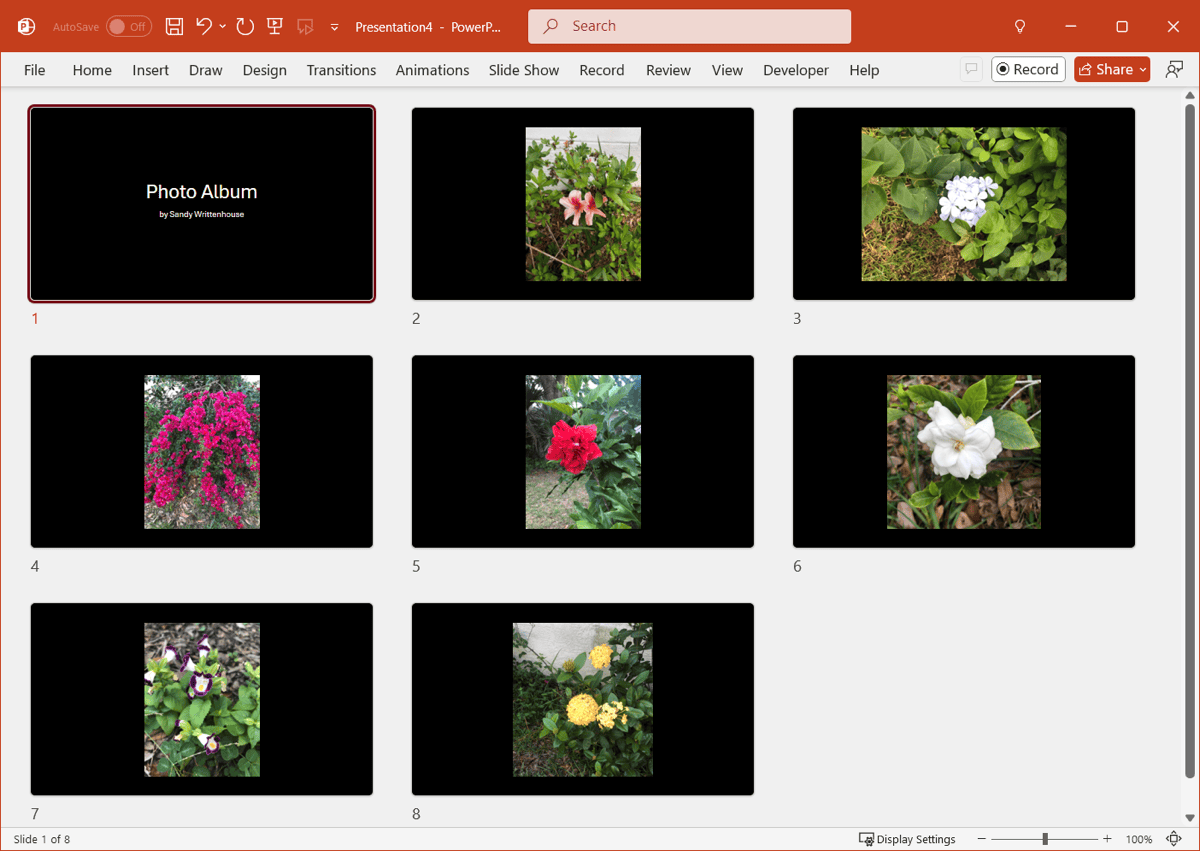
You can then resize the images to fit the slides if you like or change the PowerPoint slide size to better accommodate the pictures.
Tip: Learn how to make a slideshow on your phone with those pictures you capture on the go.
Insert pictures manually in PowerPoint
If you use PowerPoint on Mac, you won’t currently see the Photo Album feature. This means you’ll have to pull in your pictures and place them on the slides manually. Because this process can be tedious, we have a couple of suggestions to speed it up.
Insert, cut, and paste the pictures
With this method, all pictures will appear on one slide, but you can cut and paste each one onto a new slide.
- Open PowerPoint and create a New Presentation.
- Go to Insert, open the Pictures menu in the Images section, and choose how to add the photos. You can use the photo browser, add stock images, or pick another option.
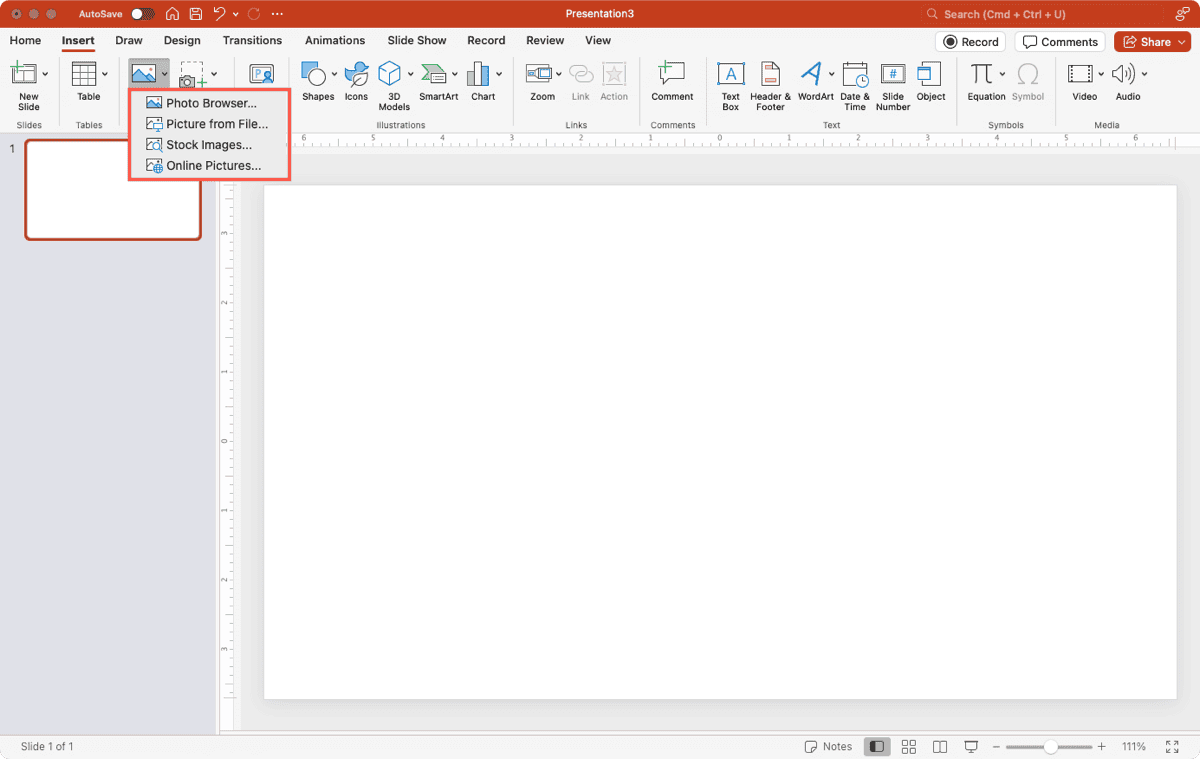
- Select all of the photos you want to use in the slideshow and insert them.
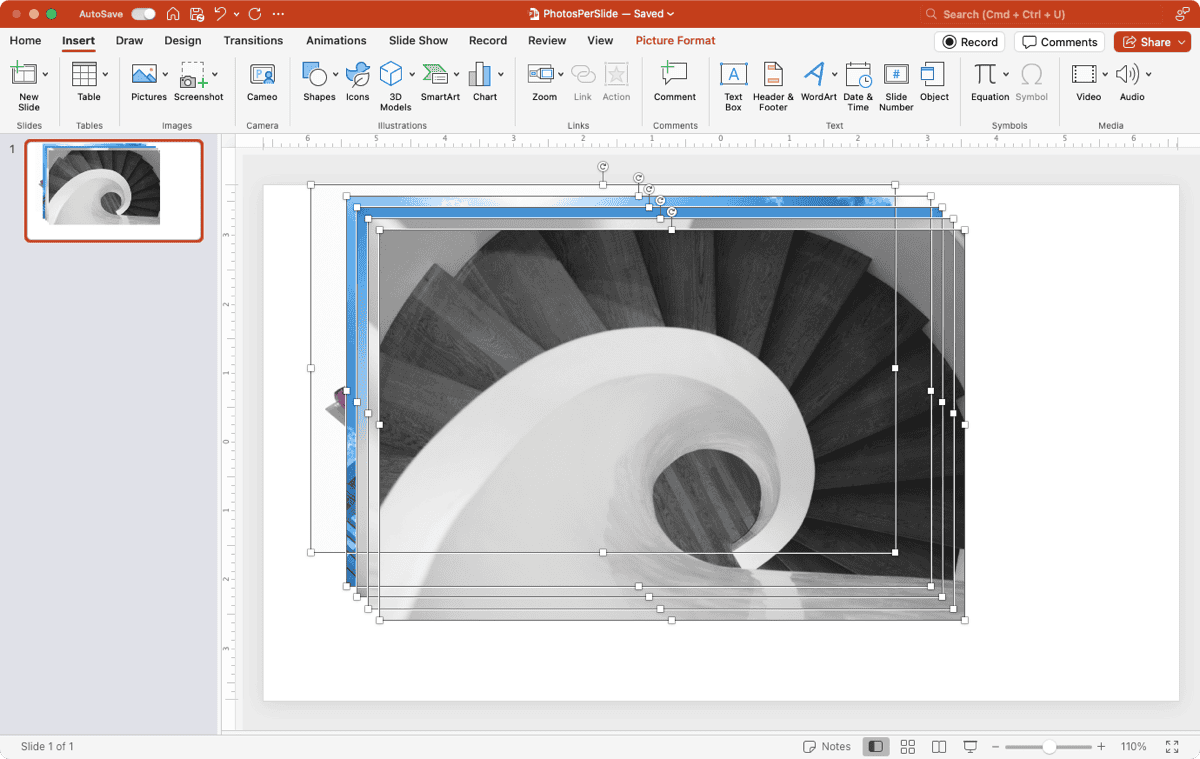
- Choose a picture, press Command + X to cut it, insert a blank slide, and press Command + V to paste the photo onto the blank slide.
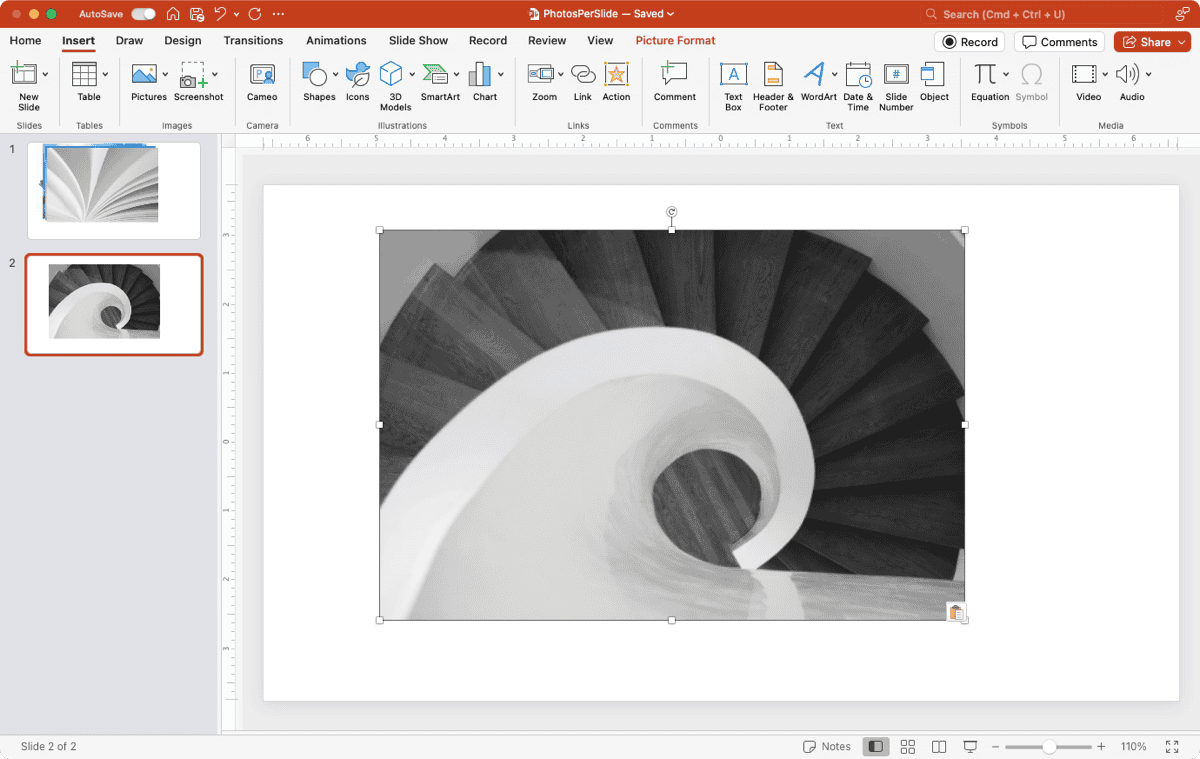
- Follow this same process for each picture.
Once you have each photo on its own slide, you can resize and customize them per your preference.
Tip: Need to add references for your pictures? Check out our how-to for citing photos in PowerPoint.
Insert by dragging the pictures
As an alternative, you can drag each photo onto a slide by placing PowerPoint and the picture location side-by-side.
- Open PowerPoint, create a New Presentation, and insert the number of blank slides you need.
- Next to PowerPoint on your desktop, open the Photos app, Finder folder, or other location depending on where you have the pictures.
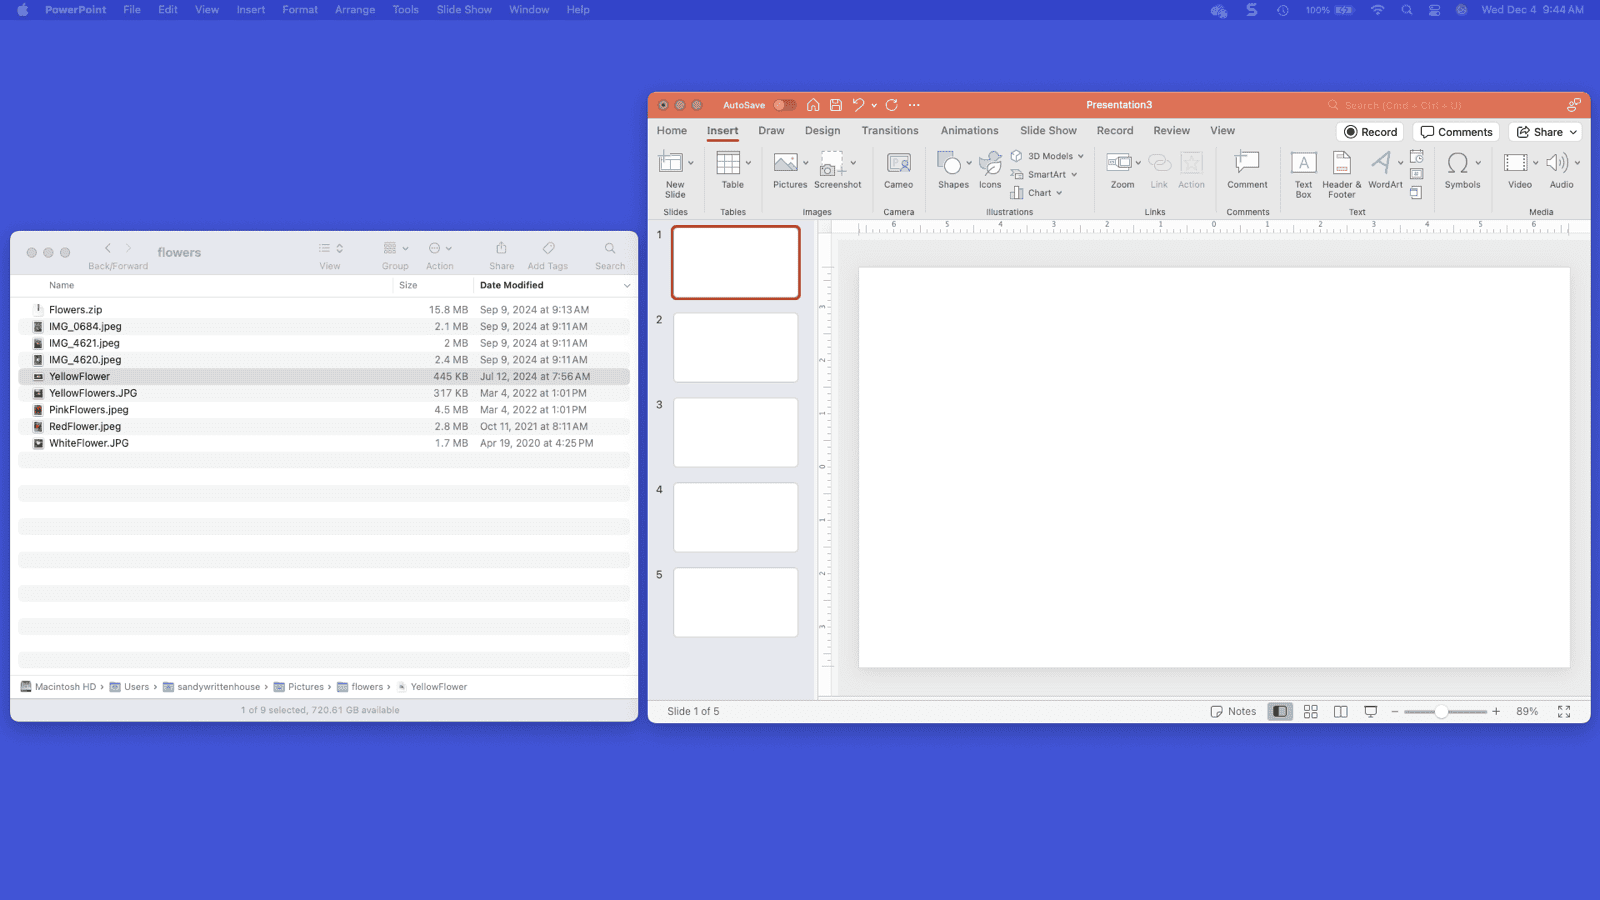
- Select and drag the first photo to a blank slide.
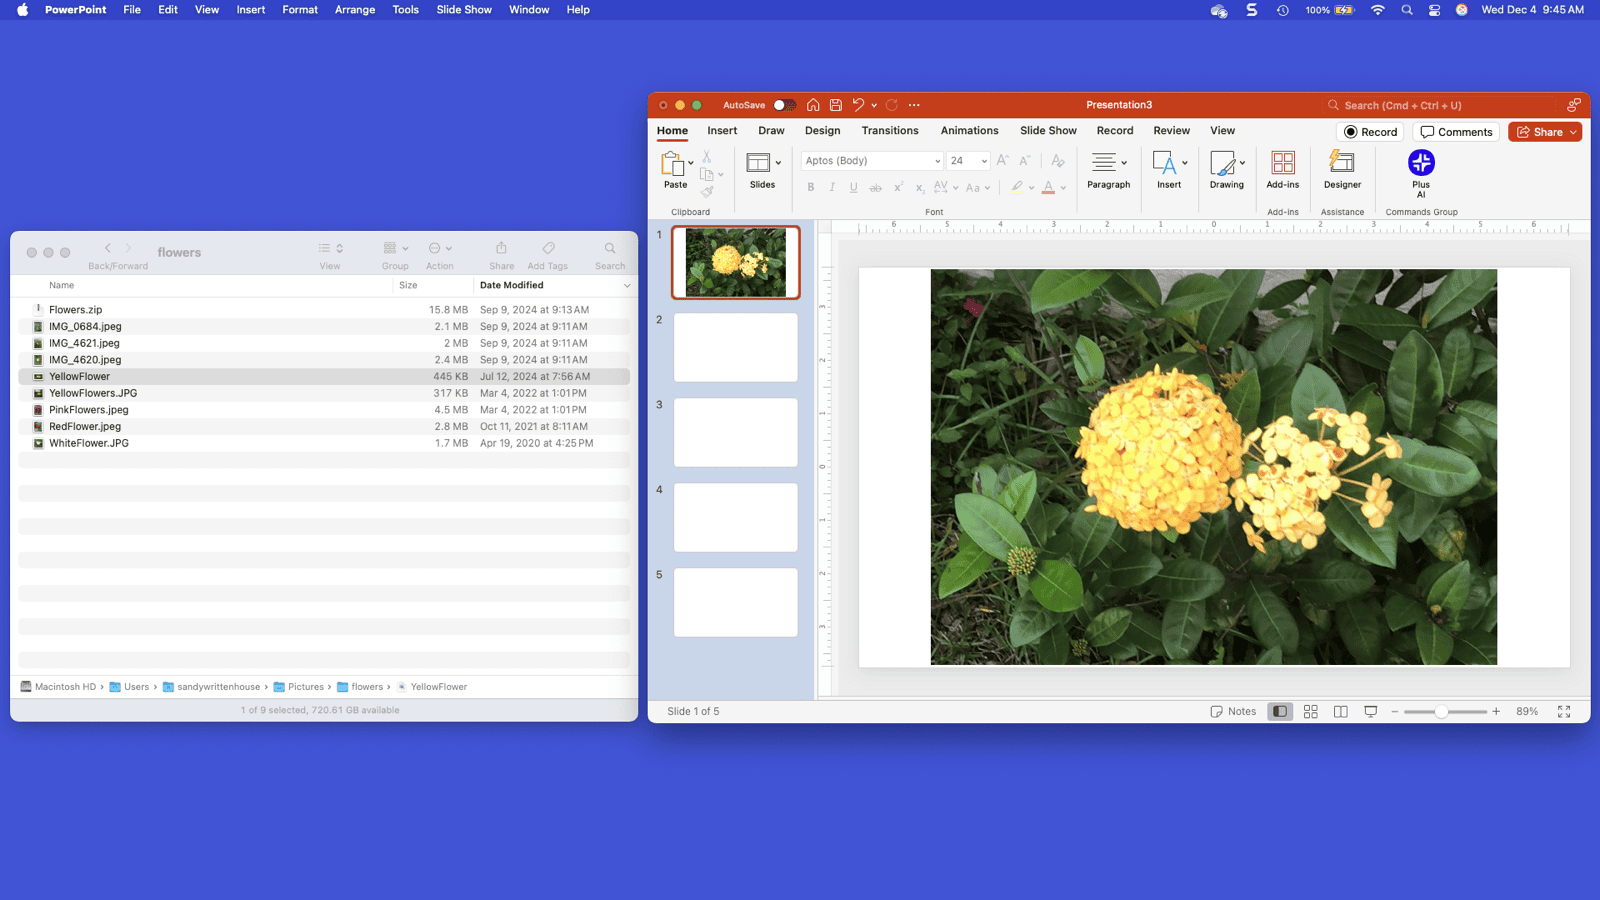
- Go to the next blank slide and drag the second photo to it.
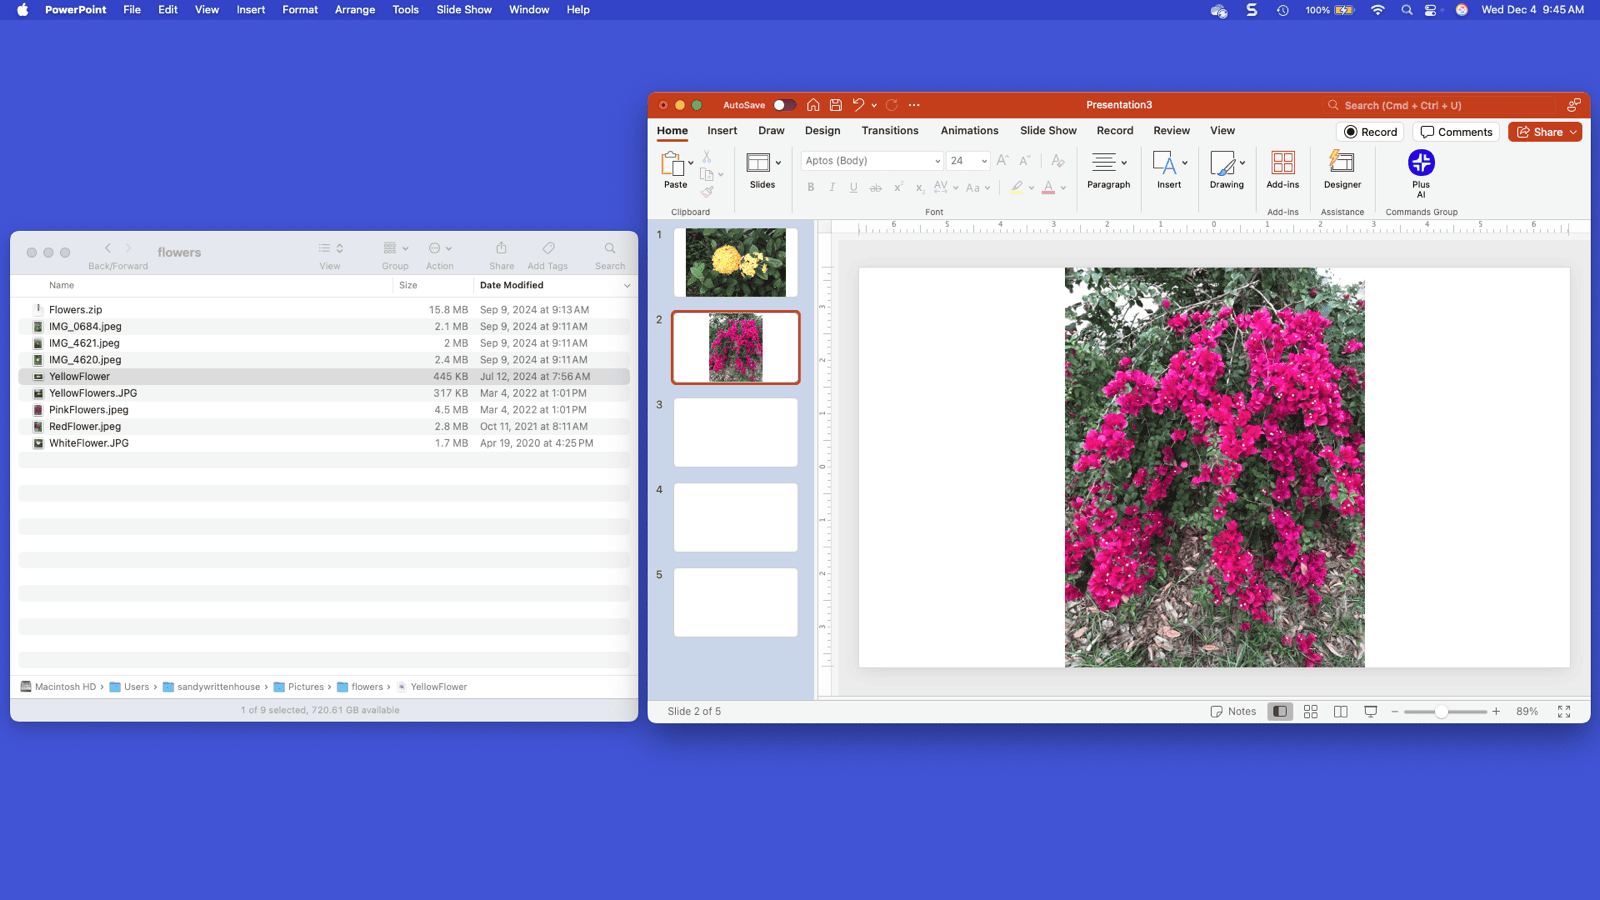
- Continue this process until you have placed all photos.
Tip: Want to merge text with pictures? Look at how to add an image through text in PowerPoint.
Create engaging content with Plus AI
Plus AI is a handy PowerPoint add-in that helps you build slideshows based on prompts, text, or documents you provide. But it can also help you edit existing presentations to add or rewrite content and switch up slide layouts.
As an example, we instruct Plus to insert a new slide with facts about housing development in New York City. Within a few seconds, we have our newly created content!
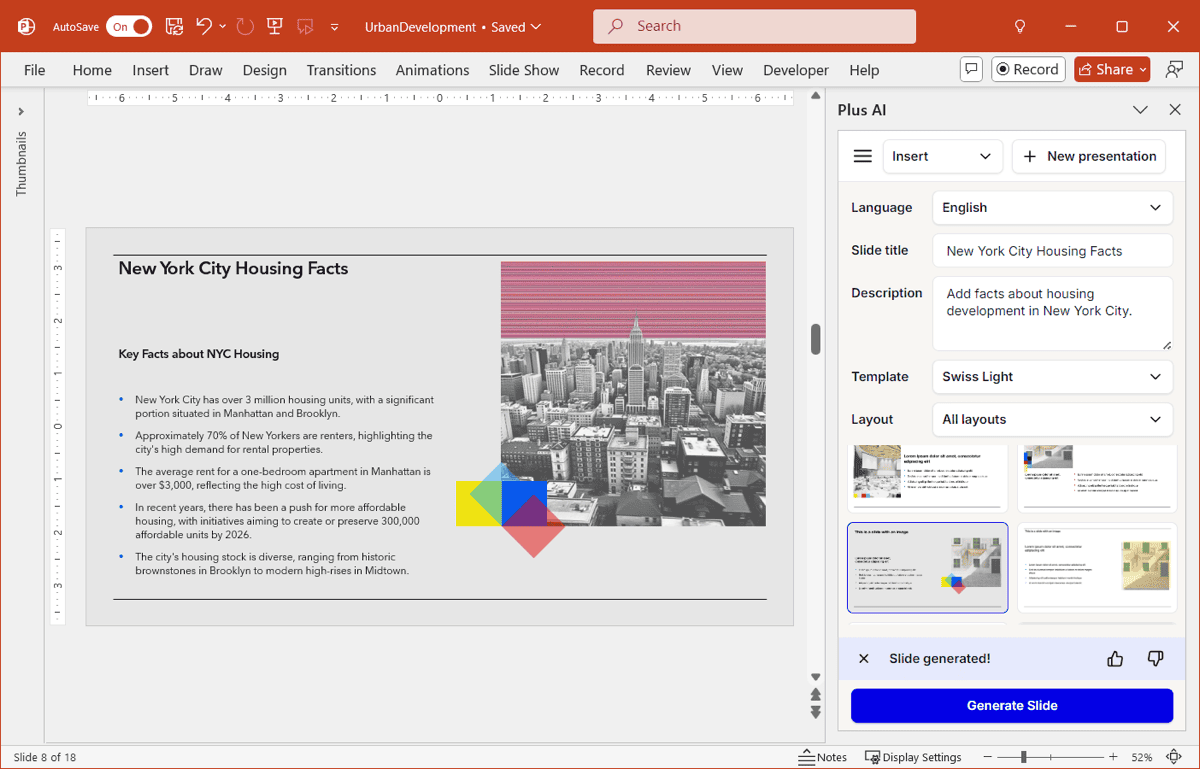
For additional information on Plus such as seeing example presentations, viewing the template gallery, and starting your free trial, visit the Plus AI website.
Conclusion
Whether a lengthy album or simple set of images, inserting pictures as individual slides in PowerPoint may be just the type of presentation you need.
And remember that with Plus AI, you can take much of the work out of slideshow creation.
FAQs
How do I save individual slides as pictures?
You can save any slide in PowerPoint as a JPEG or PNG image to use wherever you like. Right-click the slide, choose Save as Picture, and follow the prompts to name, pick a location and format, and save the slide.
How do I put multiple pictures in one slide?
To add several images to a slide, go to the Insert tab, open the Pictures menu, and pick the image location. Then, select the pictures you want to insert. Once they display on the slide, you can rearrange, format, or animate them, or consider making a PowerPoint photo collage.
How to set different backgrounds for different slides in PowerPoint?
You can change the background for individual slides to a color, pattern, or image. Go to the Design tab, choose Format Background, and use the sidebar to select the background. Be sure not to click Apply to All.
